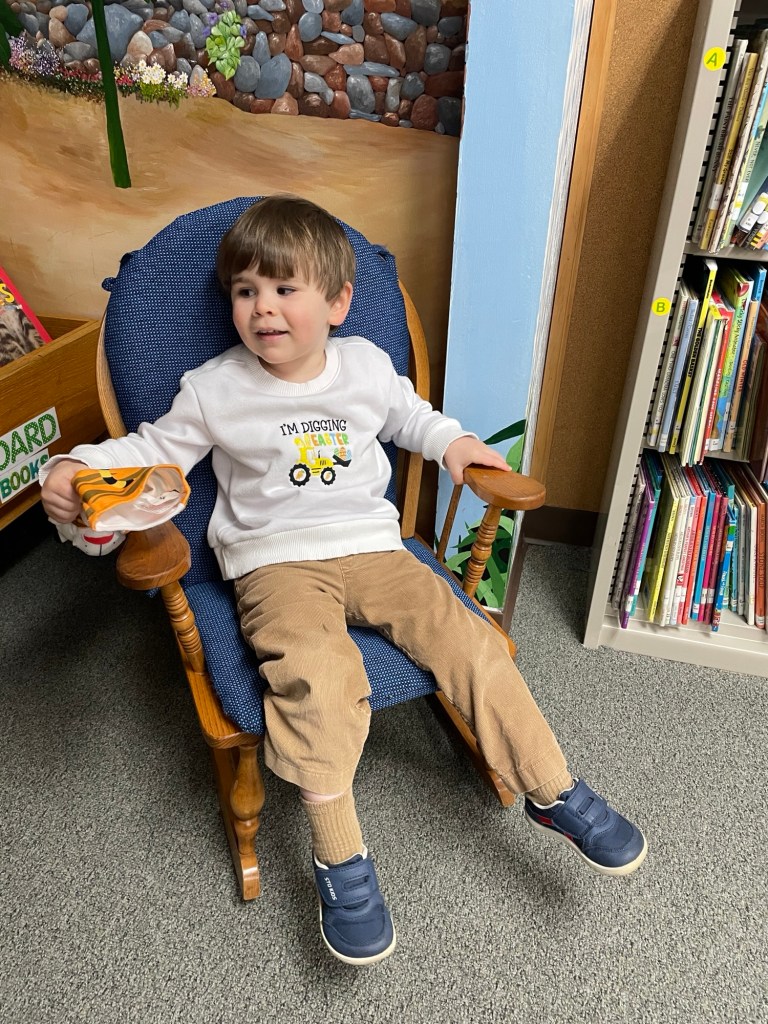
My son, who will be turning three this summer, has always been a messy eater. When he was an infant, during the warmer months we would just strip him down to his diaper (suggested by our lactation consultant) and put on a bib and let him go to town. For the colder months I discovered these waterproof smocks. My husband and I have been suiting him up with a silicone catch-all bib and smock and it’s been working really well. We are at the point now where the smocks are too small and the Velcro has gone out. While the waterproof fabric is good in some ways, it also delaminated over time and tended to be very sweaty during the non-winter months. For this reason I wanted to make him some sturdy 100% cotton smocks in a larger size. I wanted to avoid Velcro this time around too because as I mentioned before, over time it lost its effectiveness and it made washing more of a pain because things would catch on it (and over time fuzzies got caught in it too).
I found it surprisingly difficult to find a sleeved smock pattern. The sleeves are pretty crucial because as I mentioned before he’s messy and always finds a way to get his arms into whatever yogurt or marinara sauce he happened to have in front of him.
After some searching on Etsy I found the My Mum Makes art smock. I chose it because it had the size range I was looking for, good reviews, and actual finished garment photos.
Pattern Background
This is a PDF only digital pattern. The two sizes included are 1-4 and 4-8. In addition to written instructions the seller has video instructions available as well. I love this trend because it makes sewing so much more accessible to younger people who may not an actual in-person mentor to help them out.
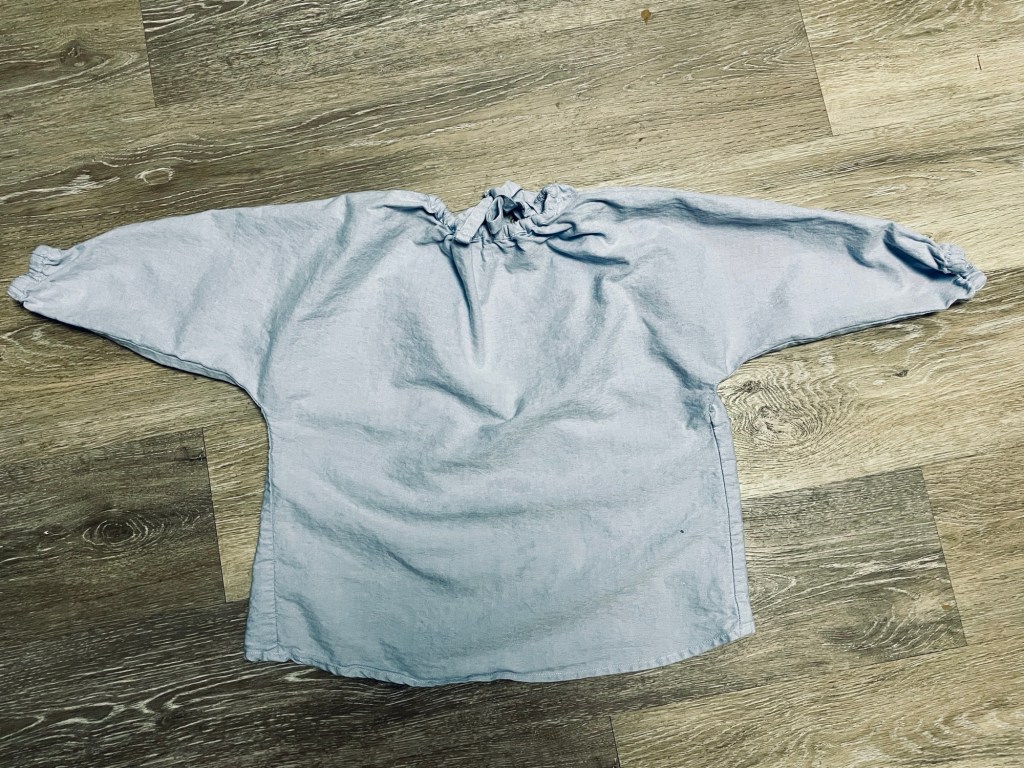
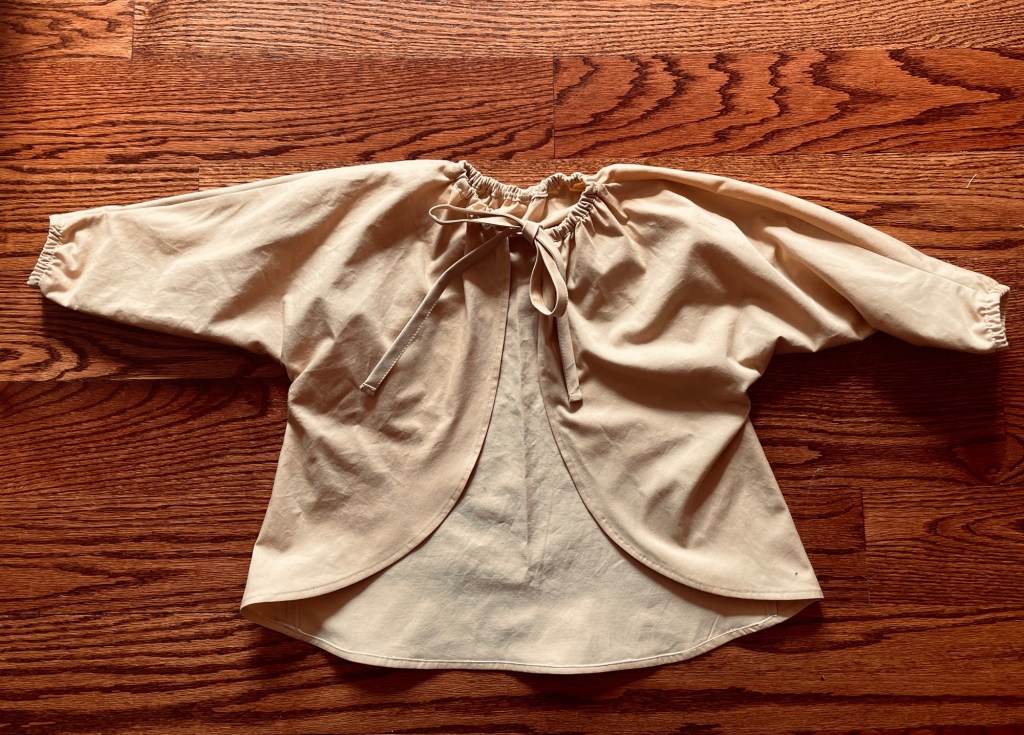
The smock has two pieces: front and back. They’re cut-on sleeves and just sewn together. The hems are finished with bias tape. Elastic is used to gather the neckline and sleeves.
Materials
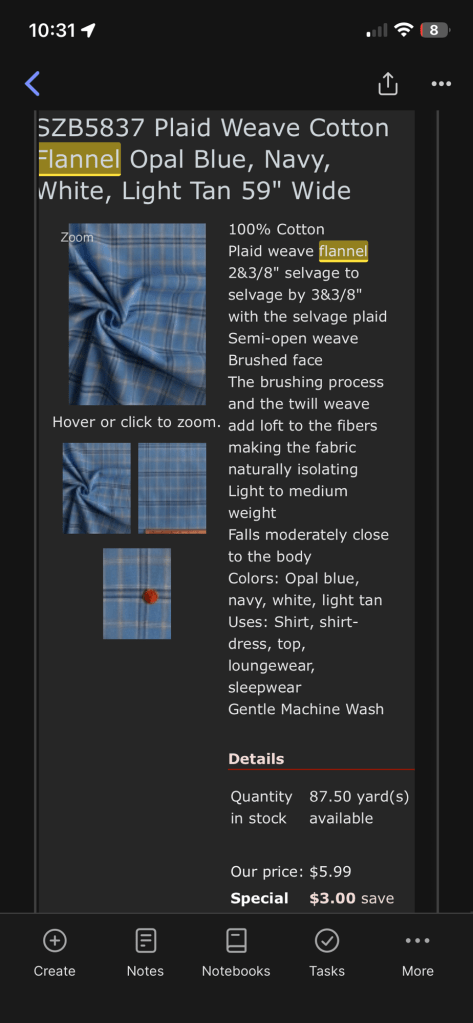
For my first version (the blue one) I used a sturdy cotton Kaufman Oxford cloth shirting I got from the long gone fabric.com back in 2012. It is the weight of a lightweight denim shirting.
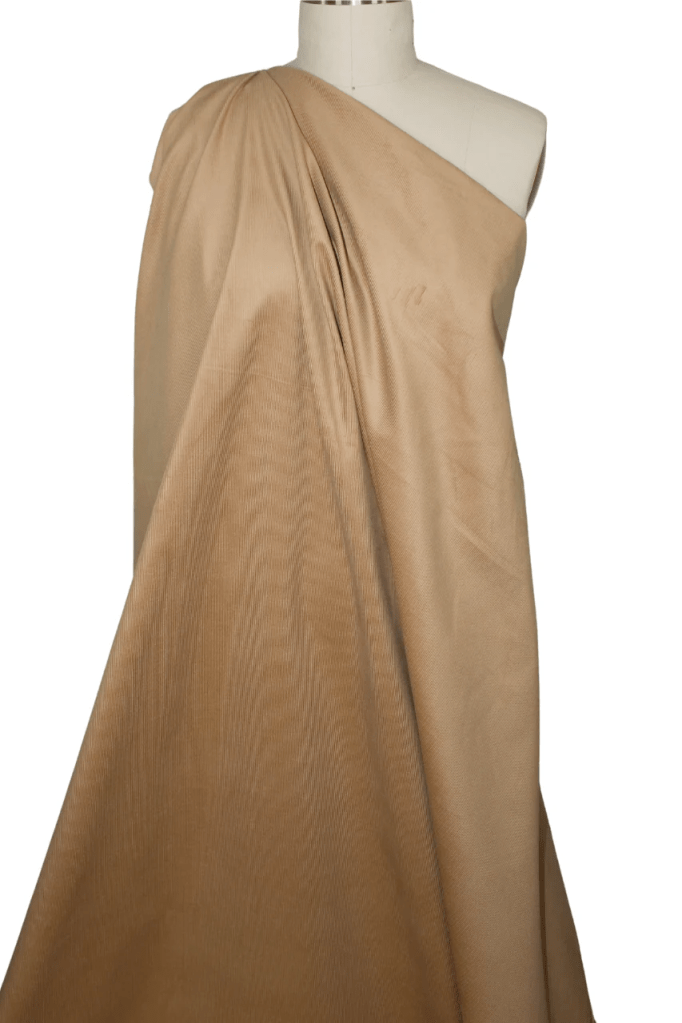
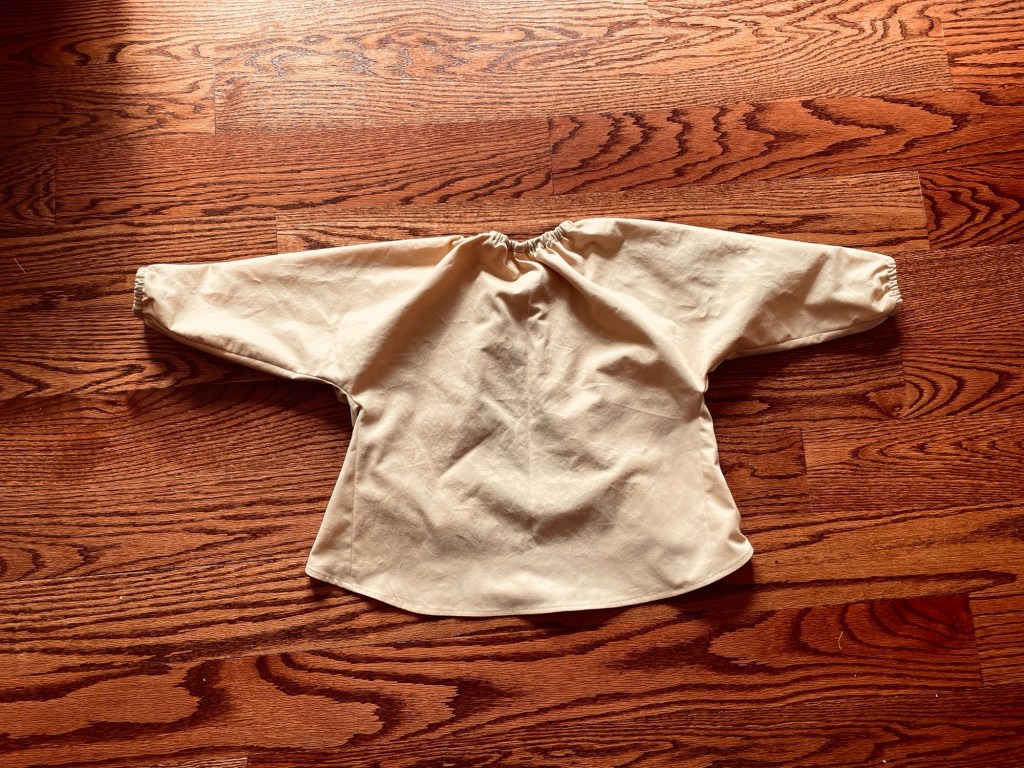
For my beige versions I used a Robert Kaufman 100% cotton fine line twill from Fabric Mart.
Construction
I changed a few things from the instructions.
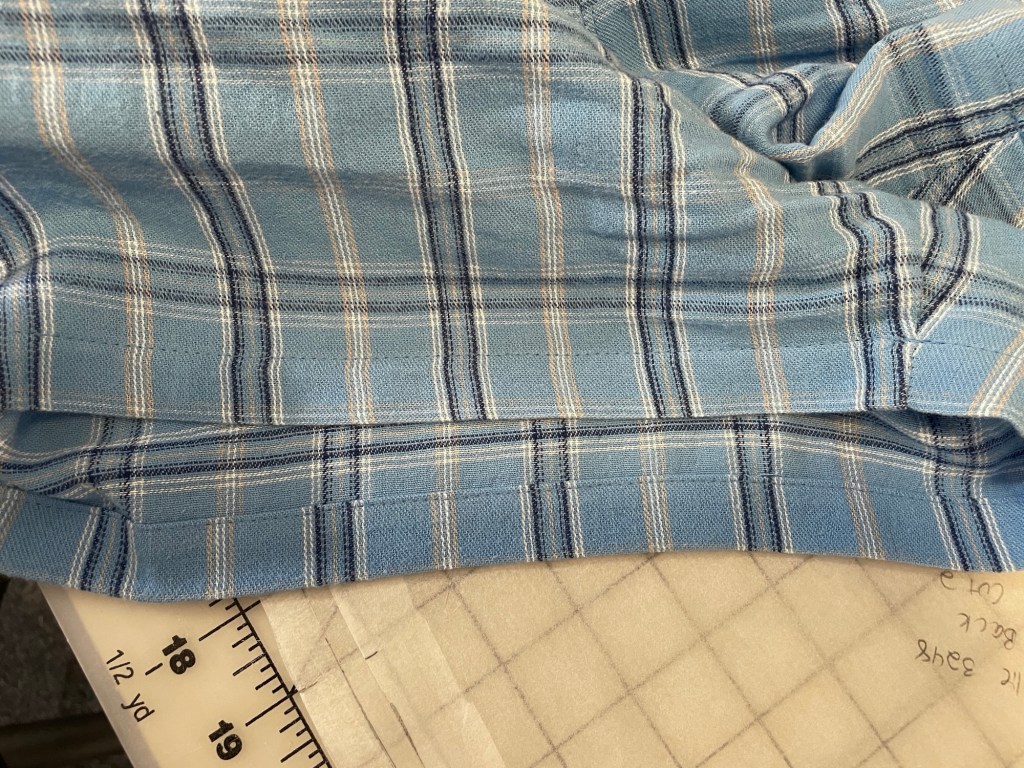
I didn’t use binding for finishing the back and hem. Instead I did a 1/4” rolled hem. For my blue version I used a rolled hem foot on my Juki TL-2010Q. For my beige version I used the paper hem method.
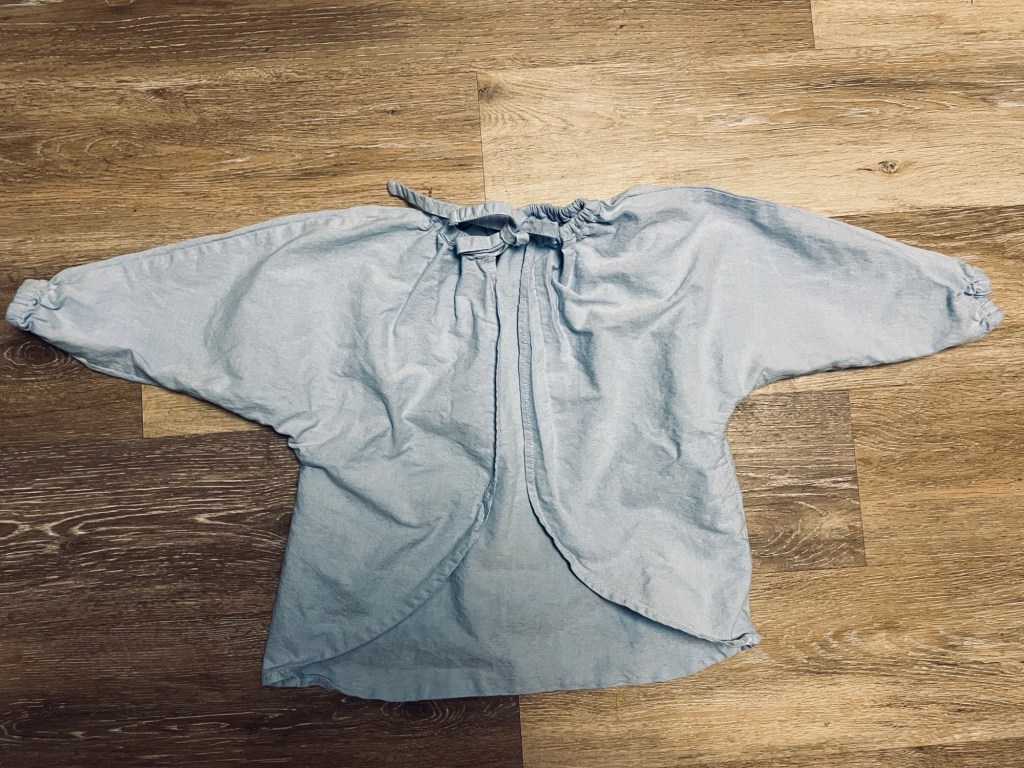
I wanted to use a tie in the back instead of the elasticized bias binding as it isn’t important to me that he get it on and off independently. (In fact I want him to need help because I want to get a chance to wipe off his hands before he touches his hair/clothes!) So I ended up cutting out some self fabric bias binding, making it long enough to tie in the back. I then threaded the elastic through the casing made by the binding and secured it where the back ends. It was tedious. For subsequent versions I used 1/4” elastic, stretching it as much as it could go to fit and stitched it down in the middle. Then I applied the binding, stretching the elastic out as I went along so it wasn’t gathered. Then once I was done I carefully steamed it so it shrunk back into shape.
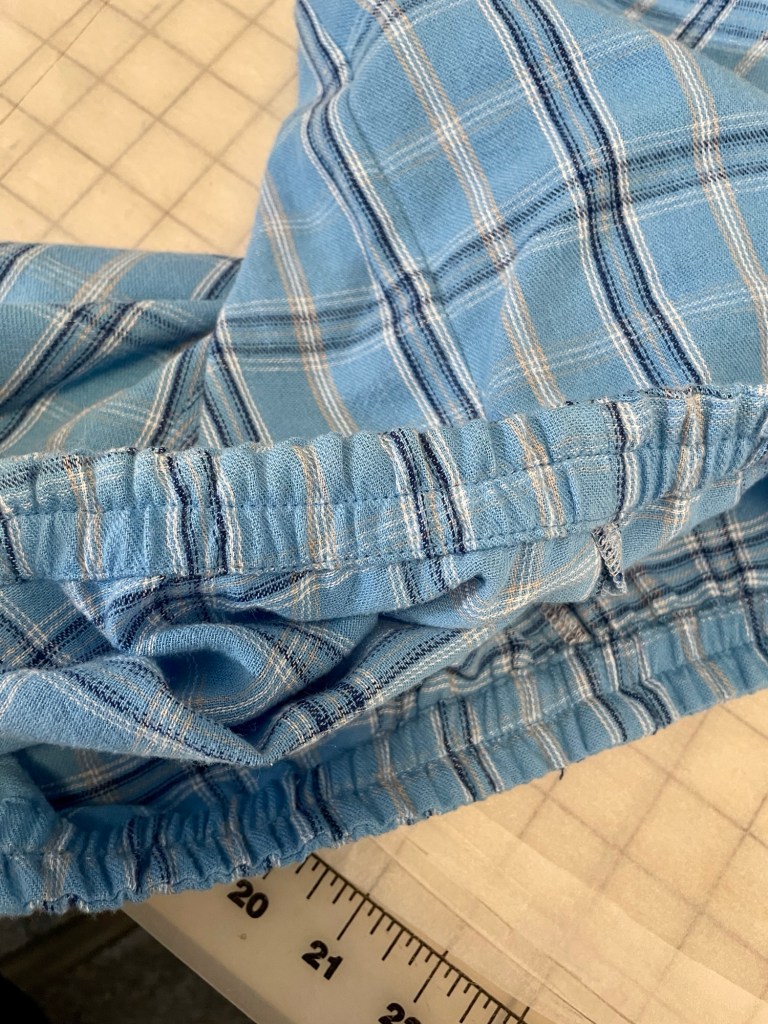
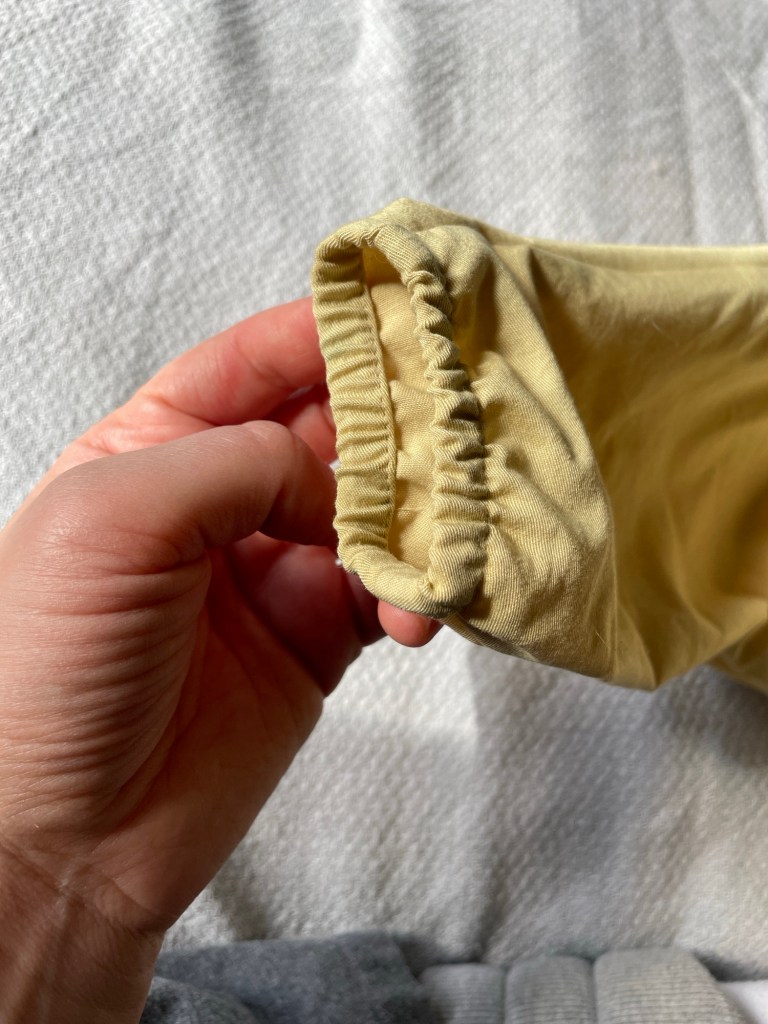
The cuffs called for 1/4” elastic with a 1” casing. Like what?? The cuff is quite small so I ended up cutting a piece of 3/8” elastic, overlapped and sewed the ends, tacked it down at the seams, then stitched it in place to the wrong side down the middle, stretching to fit. Then I flipped it over twice so that the raw edge was fully enclosed and stitched along the edge very closely. Much neater and the elastic won’t roll during washing.
Conclusion
This pattern is not really professionally done pattern like you’d get from Jalie, Style Arc, Ottobre, Burda, etc. The drafting IMO should be cleaned up a bit more (it is literally just hand drawn lines) and I noticed some errors. There’s no grainlines drawn and both pieces are labeled “front.” This didn’t give me a ton of confidence However, it fits my son well, keeps his clothes clean, and is very easy to wash.