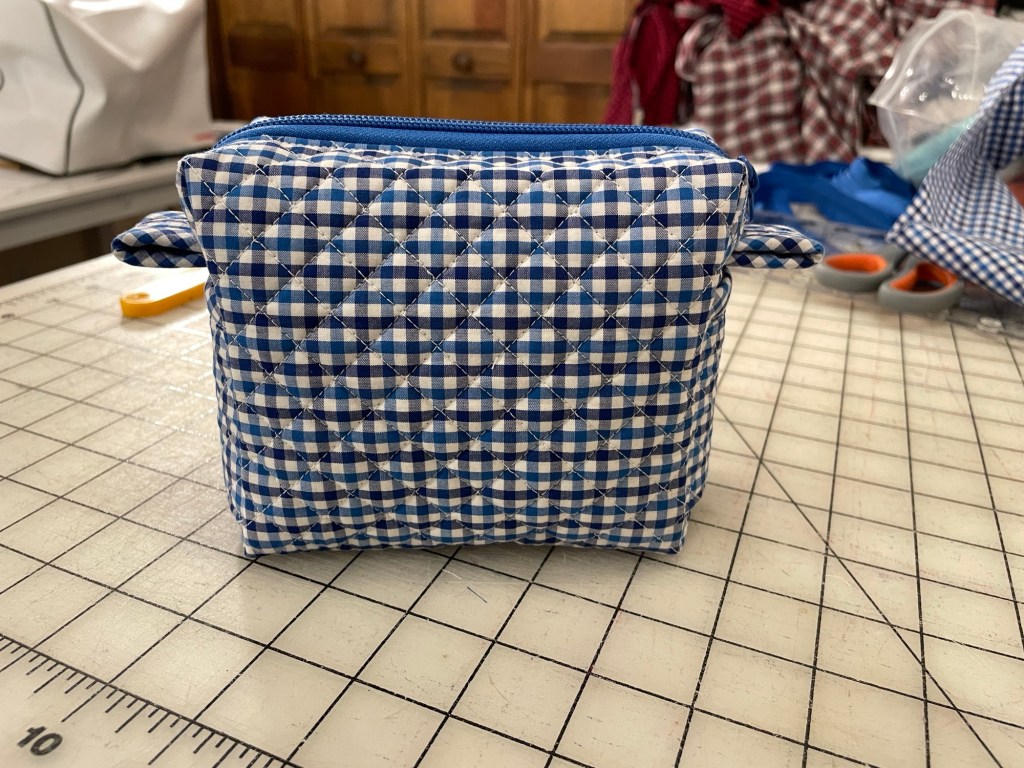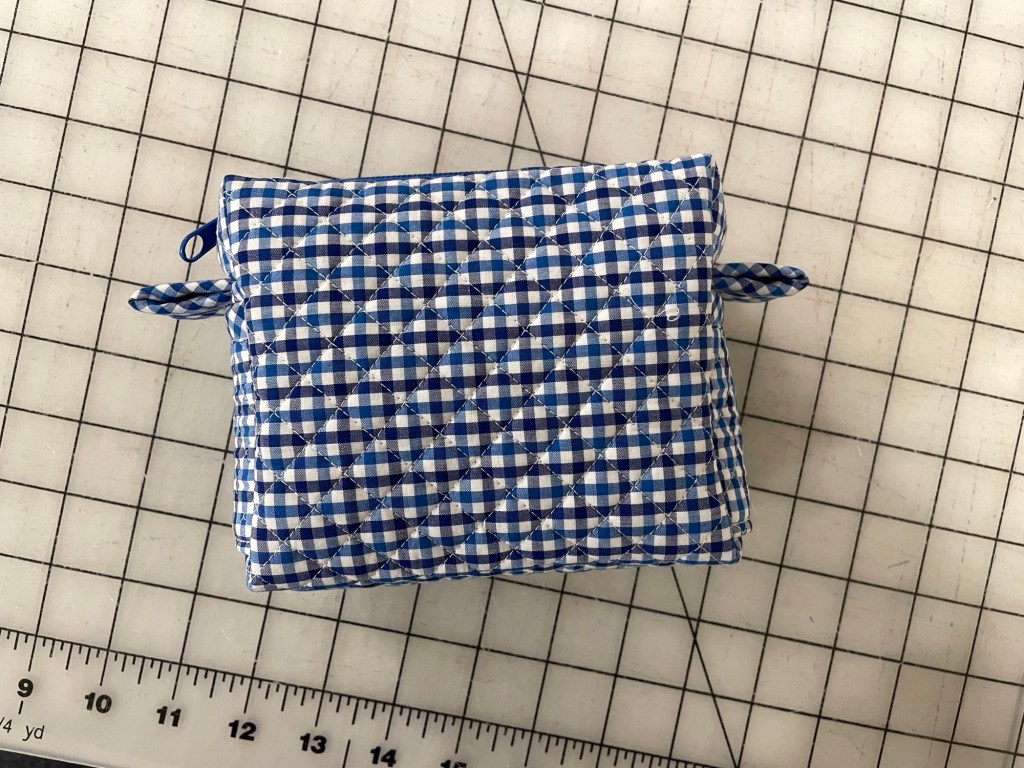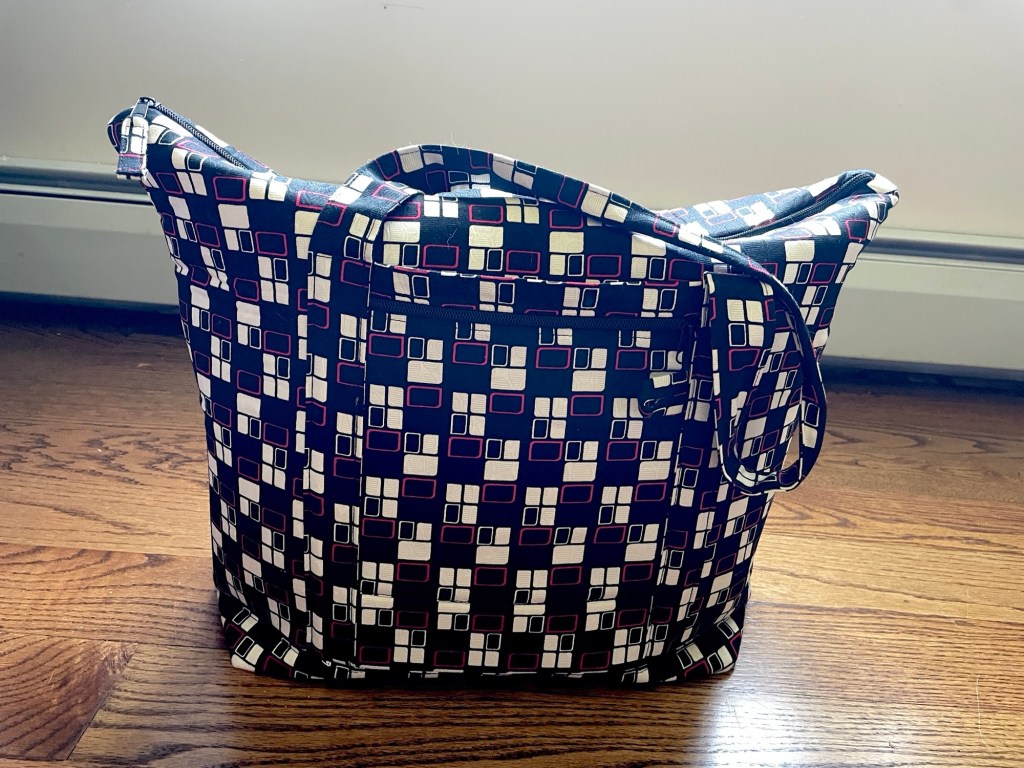

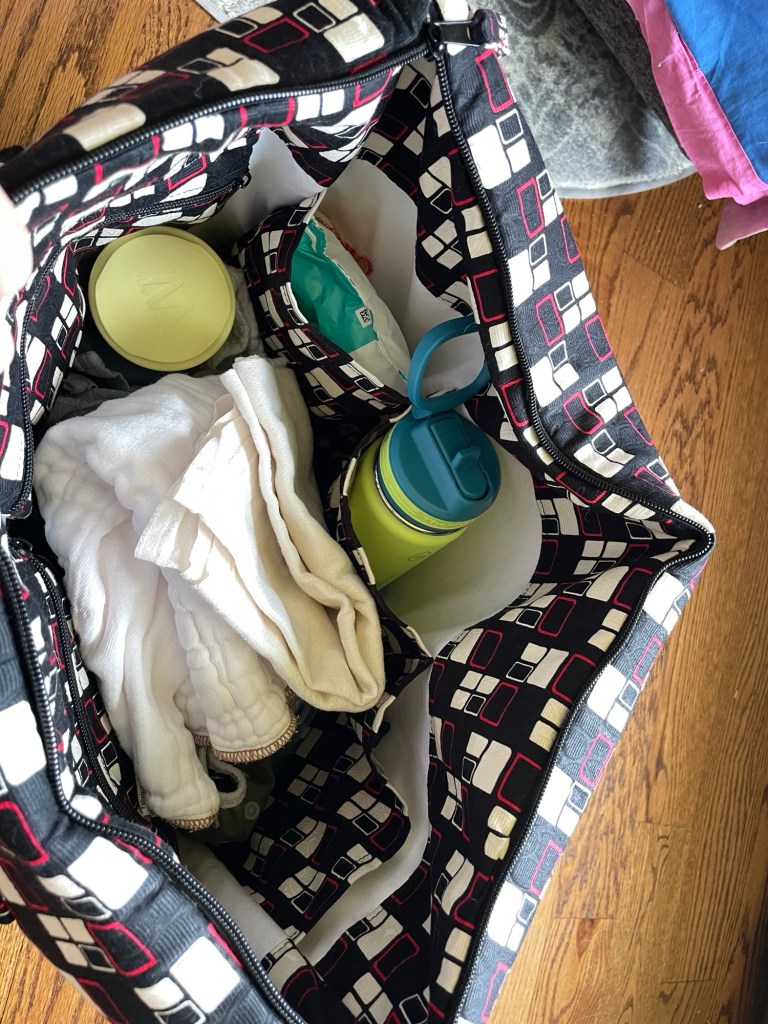
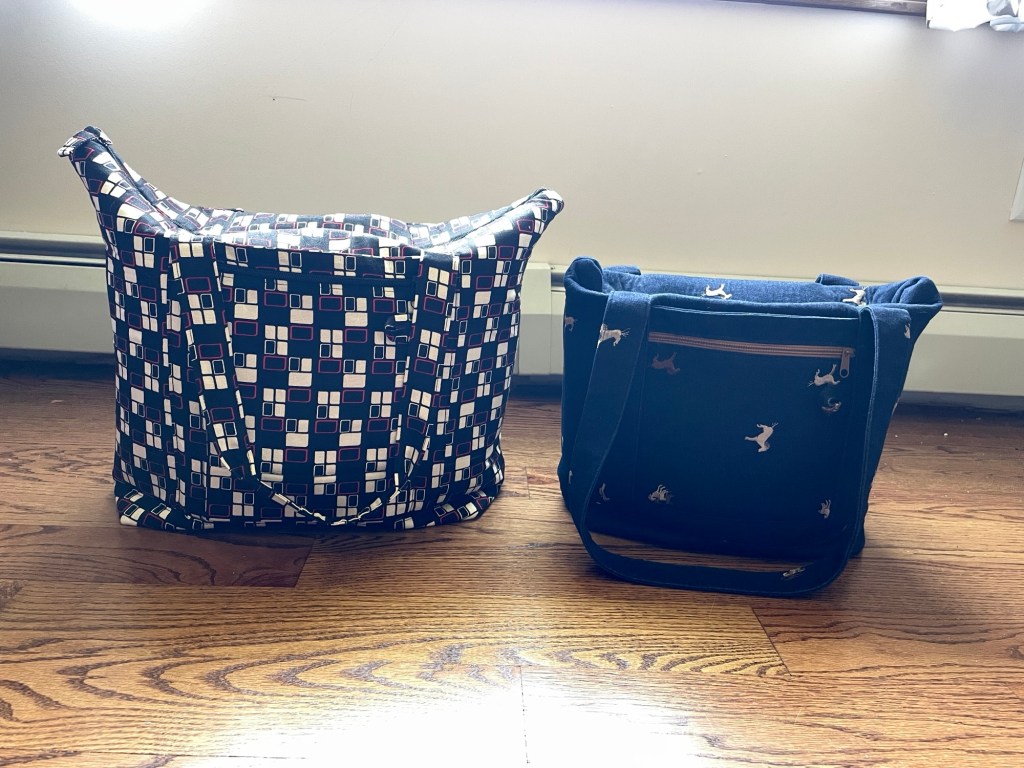

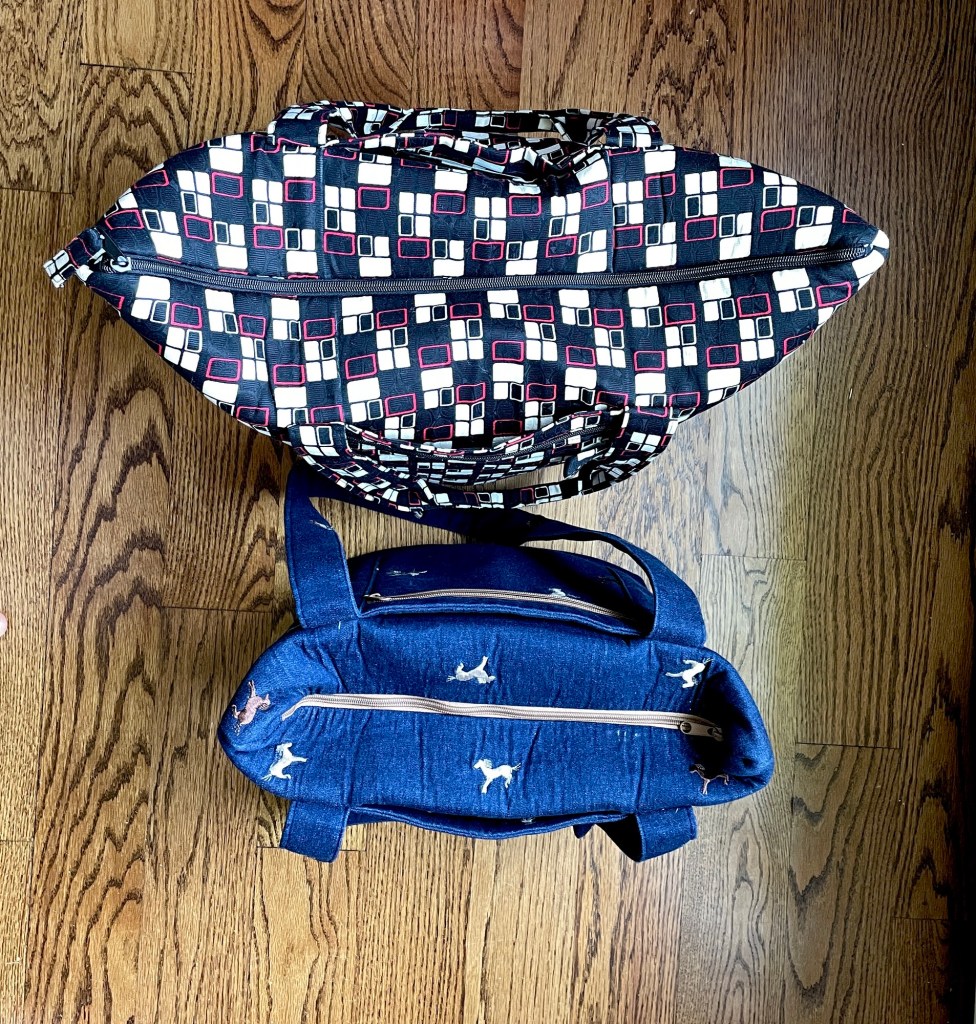
I really like my original Jalie 2019 bag, but during regular use I’ve found that it is just too small for my current lifestyle. I often had to leave the top unzipped because after adding a water bottle, snacks for my son, extra clothes and cloth diapers, etc I just didn’t have enough room. So this time I decided to make the larger size.
Materials
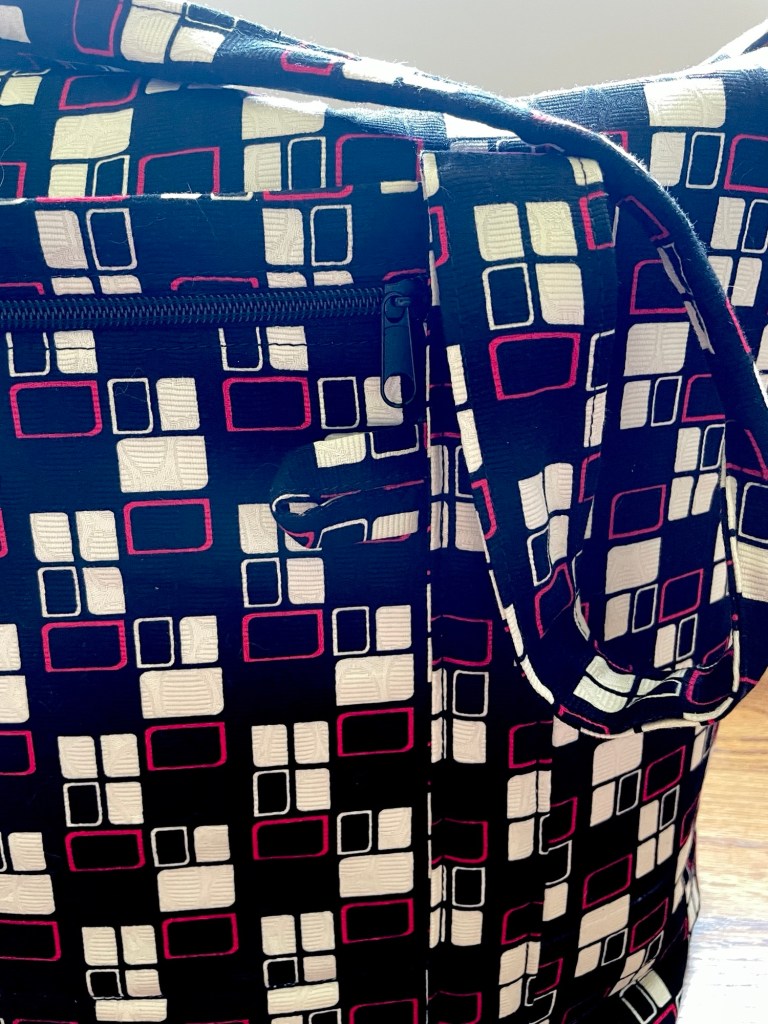
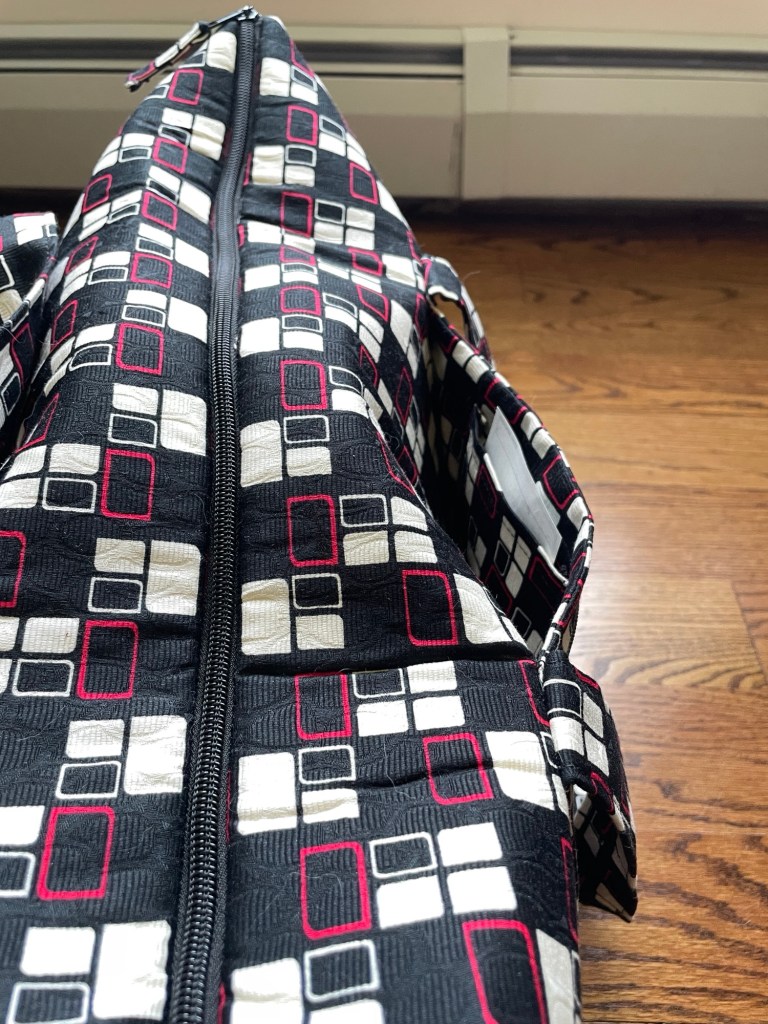
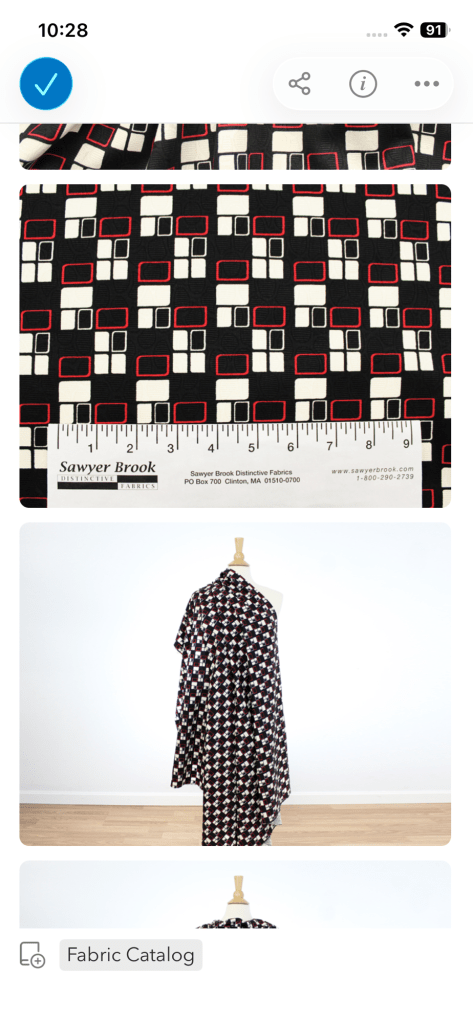
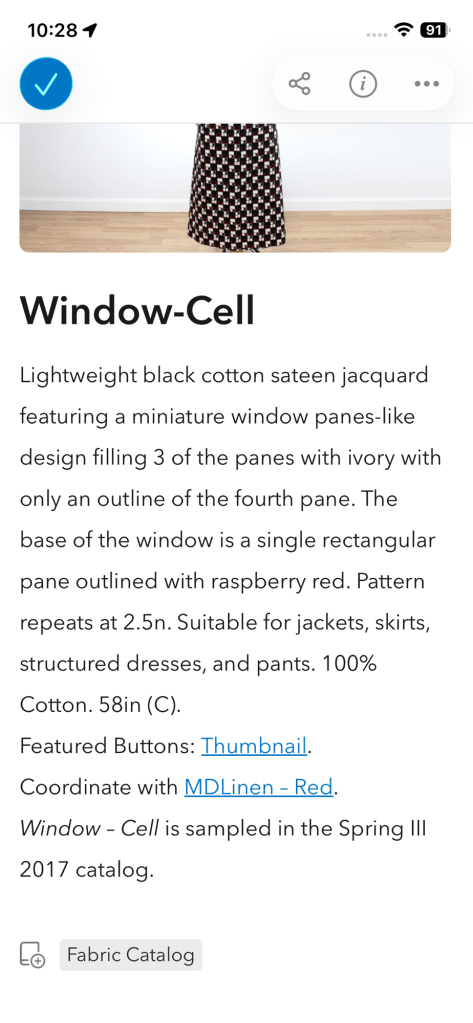
I used a 100% cotton sateen jacquard I had in my stash, purchased about eight years ago from Sawyer Brook. I had no idea at the time that this would eventually be used for a bag!
I used a white Robert Kaufman 100% cotton shirting fabric purchased a month or two ago from Fabric Mart for the lining.
Because I wanted this bag to have more structure I interfaced the bottom with Boscal single sided fusible foam and the sides with the Pellon single sided fusible foam. The only reason why I used two brands is because I didn’t have enough of the Bosal to cut the entire amount I needed for this bag. After working with both I prefer the Boscal. It is slightly firmer and in my opinion the fusing is better.
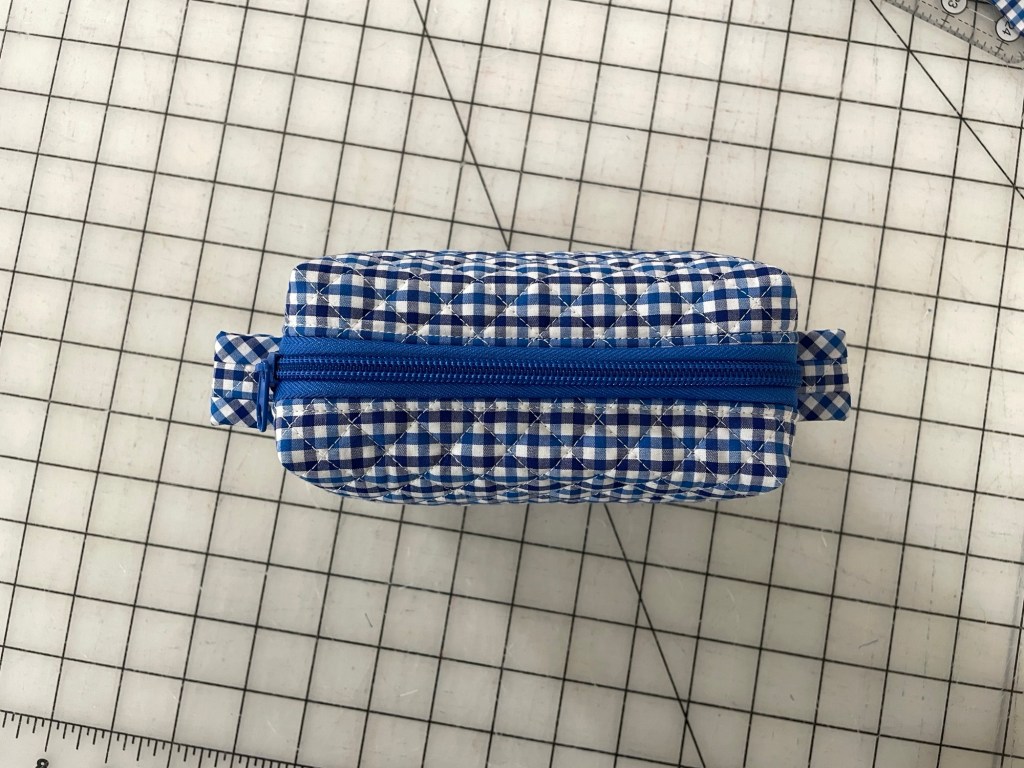
Thread was Gutermann Mara 70 from WAWAK. The zippers were from Amazon, as was the keychain leash snap.
Construction
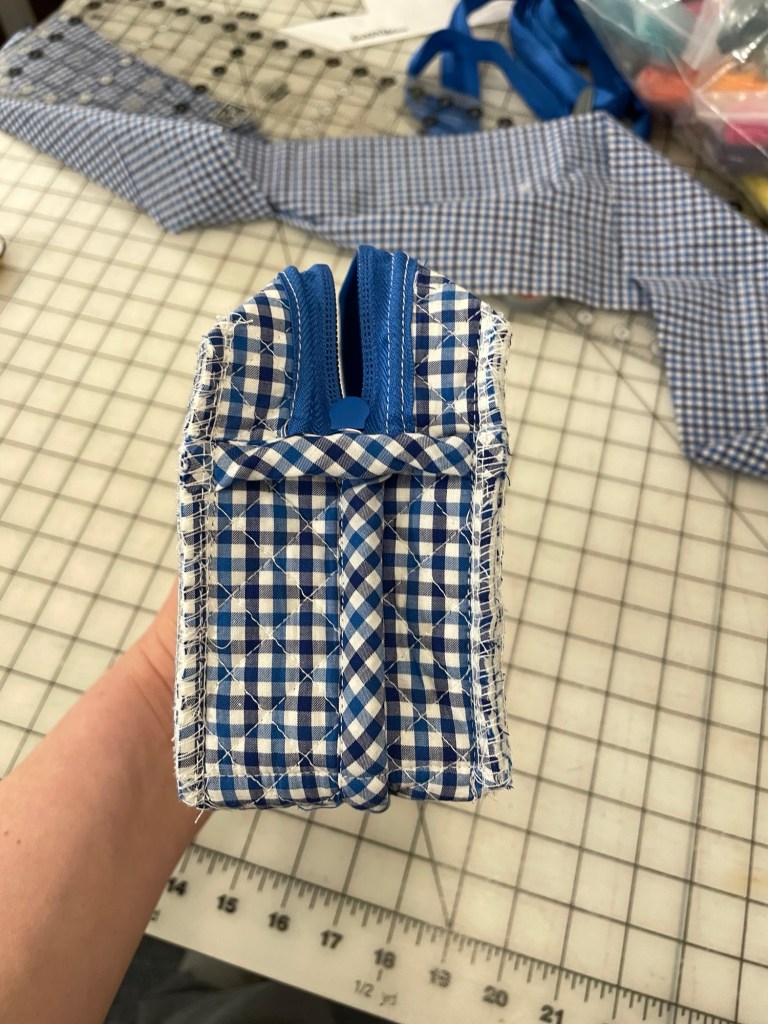
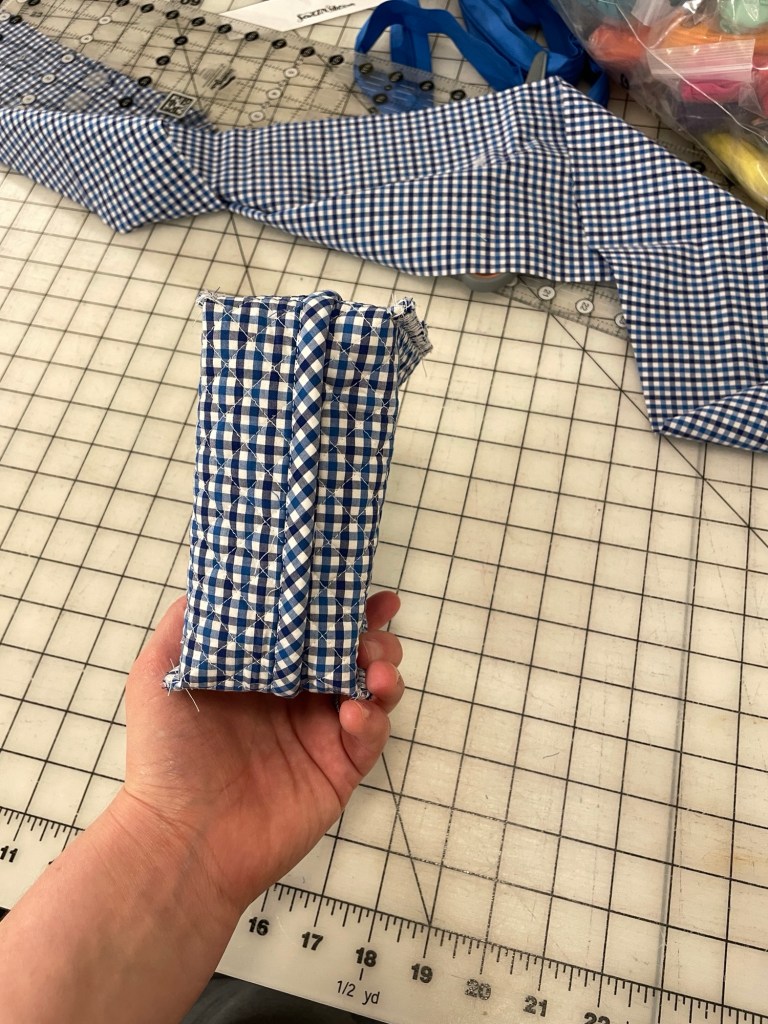
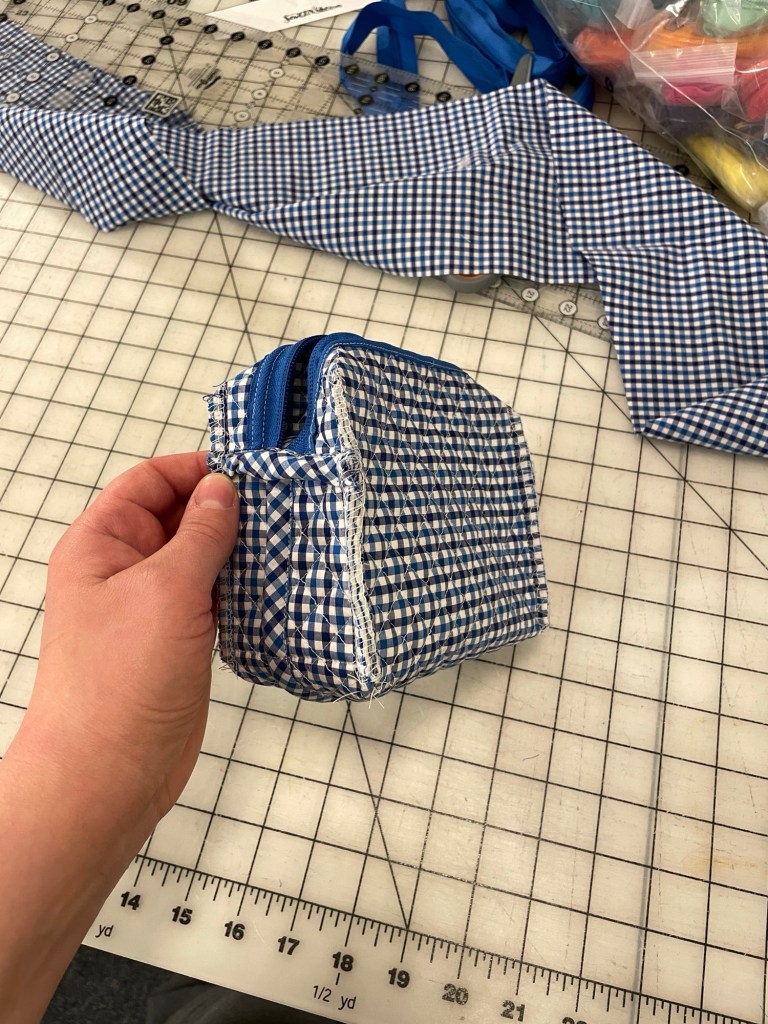
This was constructed entirely on my Juki TL-2010Q. I did use my Janome MyLock 204D serger to finish the inside edges of the pockets because this fabric likes to fray.
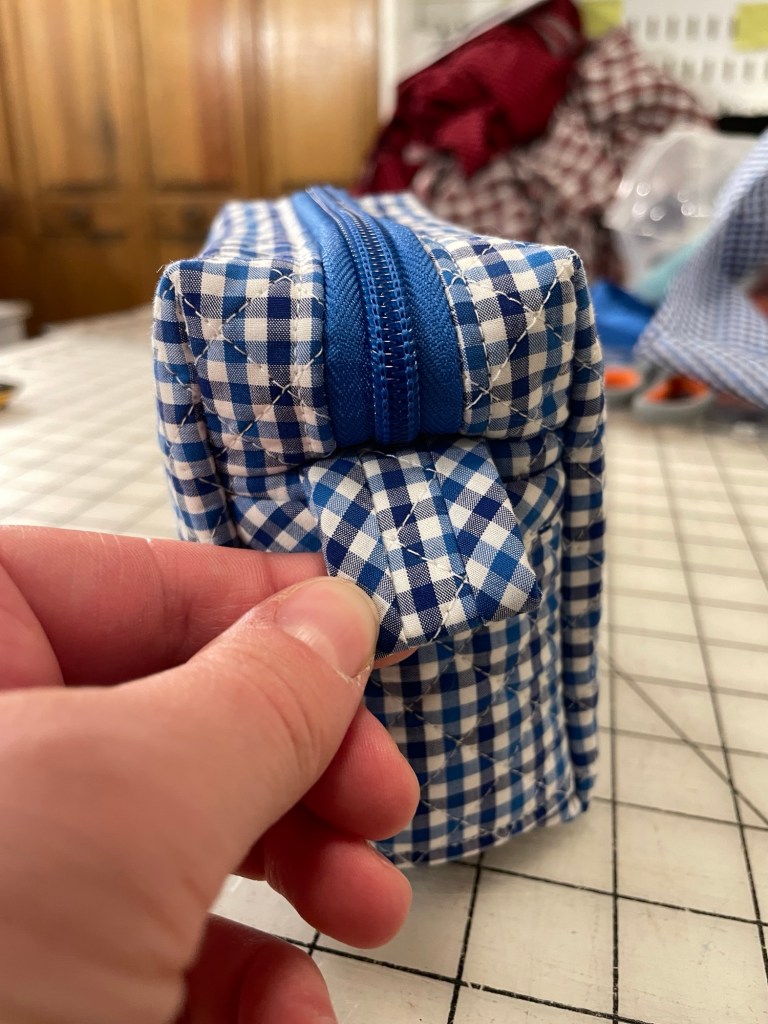
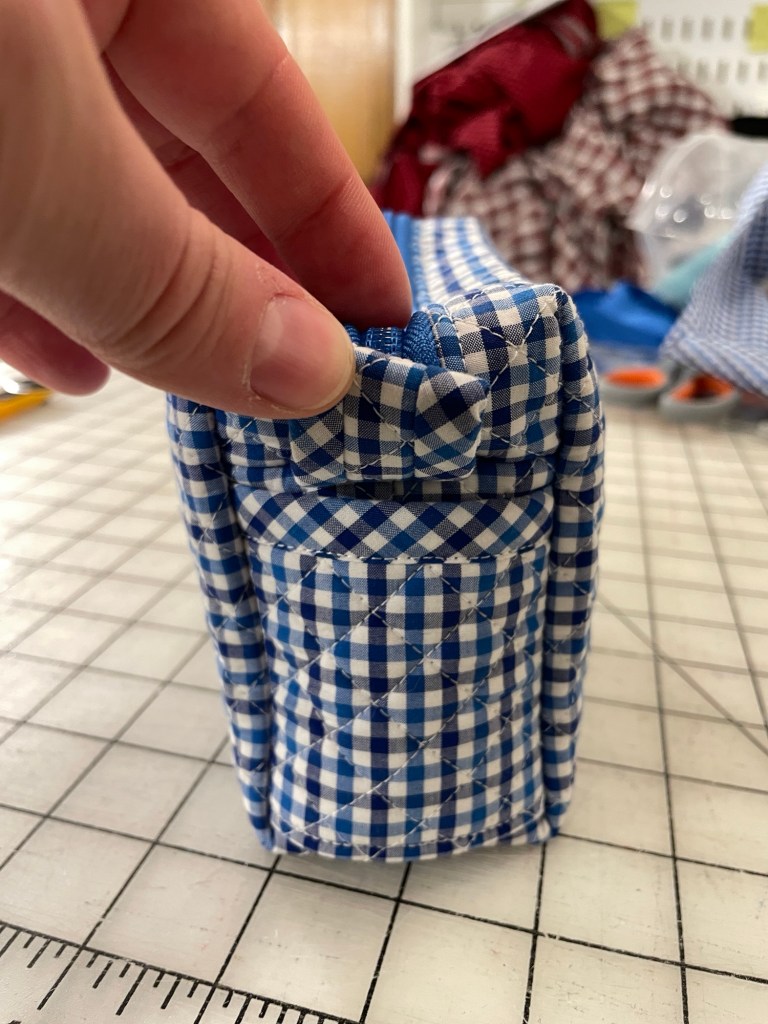
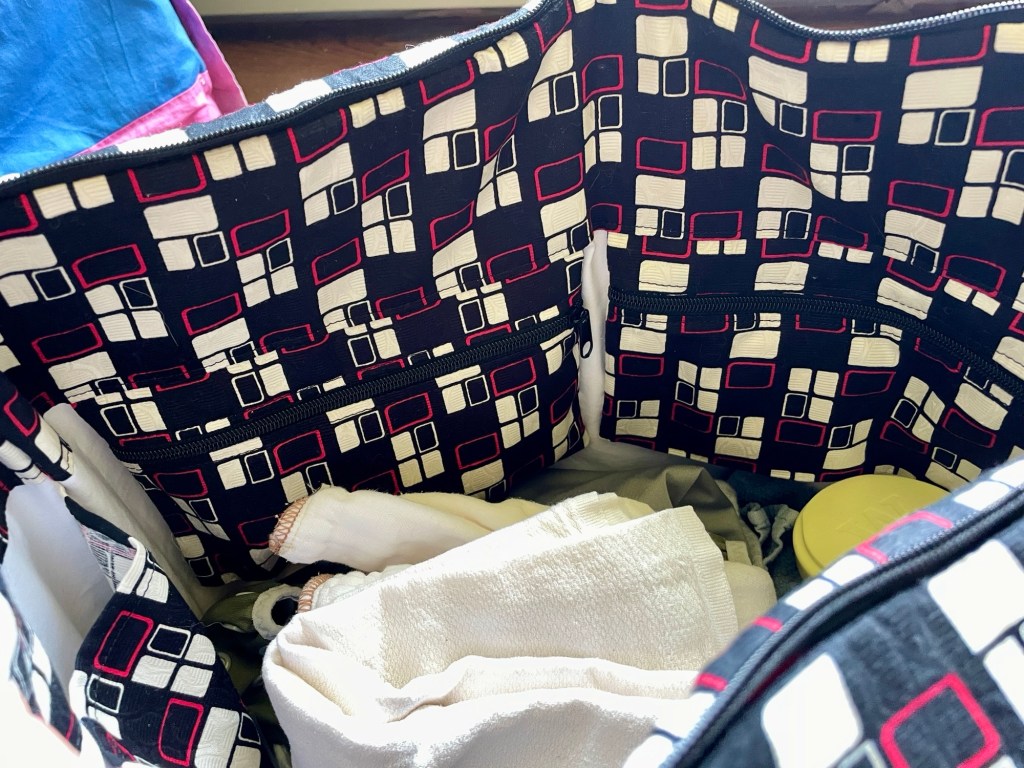
Since I already made this bag before construction was a lot easier. I added the inside hidden pockets to both inside and outside pockets. I think the instructions have you do just one outside hidden pocket but it doesn’t take much longer to do both. I also made sure to pay attention to the photos so that this time all the zippers (minus the top main zipper) all face in the same direction. Since this fabric was thinner and more flexible than my interfaced denim I also found it possible this time to do the fabric zipper pull and fold over the top part of the handles in the final step.
This time I left a huge opening at the bottom of the lining this time for turning out the bag. I think I only sewed the first inch or so for each side. As a result I had no issues at all turning out the bag, despite the foam interfacing. It was easy to turn under the seam allowances and sew it shut on my machine instead of slip-stitching by hand.
Conclusion
This size, while pretty enormous for everyday use, fits my lifestyle much better. It is easier to find stuff inside. I also LOVE the keychain leash. I feel like I’m constantly misplacing my keys (because my son loves playing with them so I feel the need to always hide them) and this one feature has made my life soooo much easier.
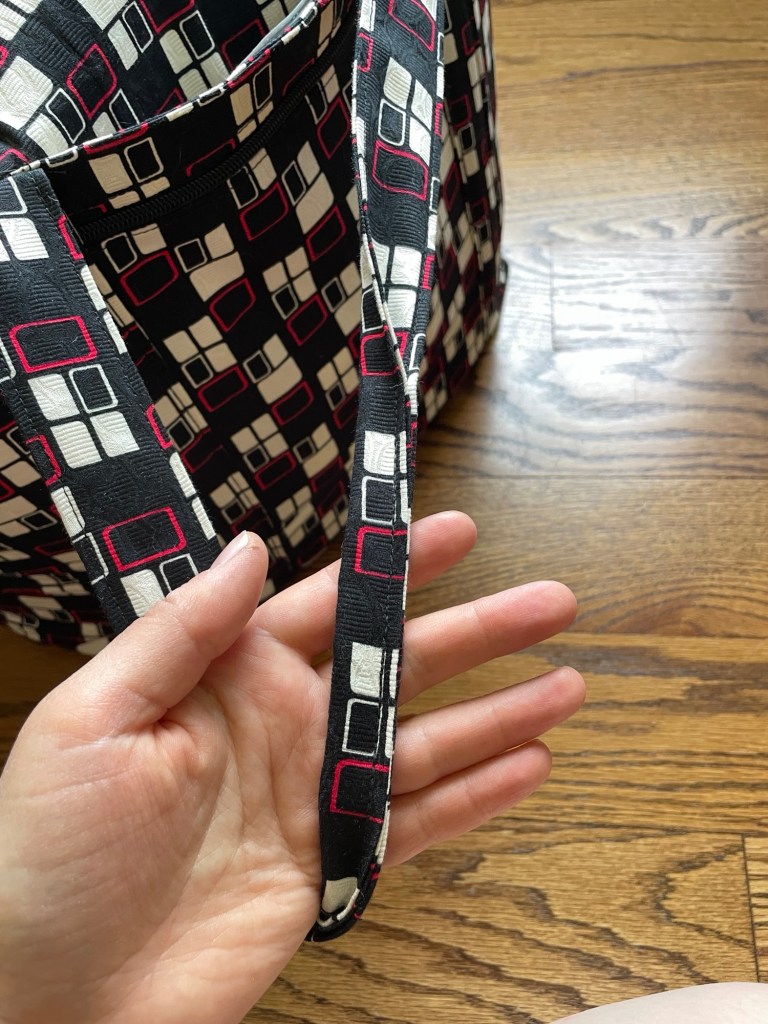
I will say my one complaint is that the handles could be longer. I think they’re the same length for both sizes and because this bag comes up higher due to its bigger size, it is harder to sling it over my shoulder when I’m out and about.