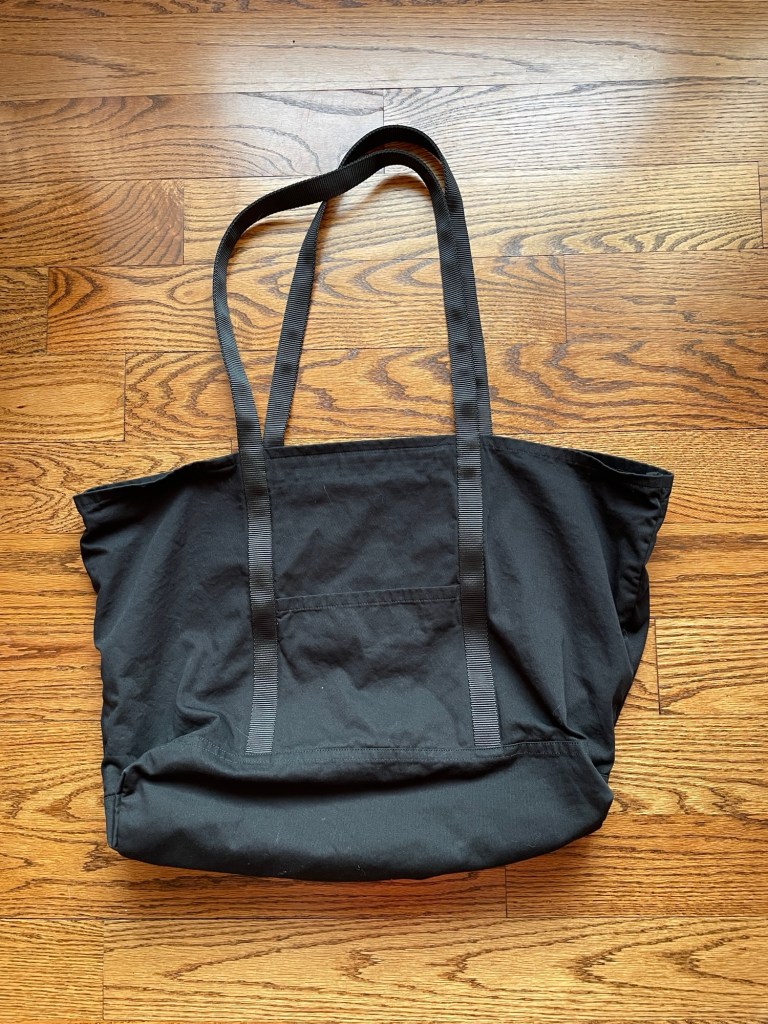
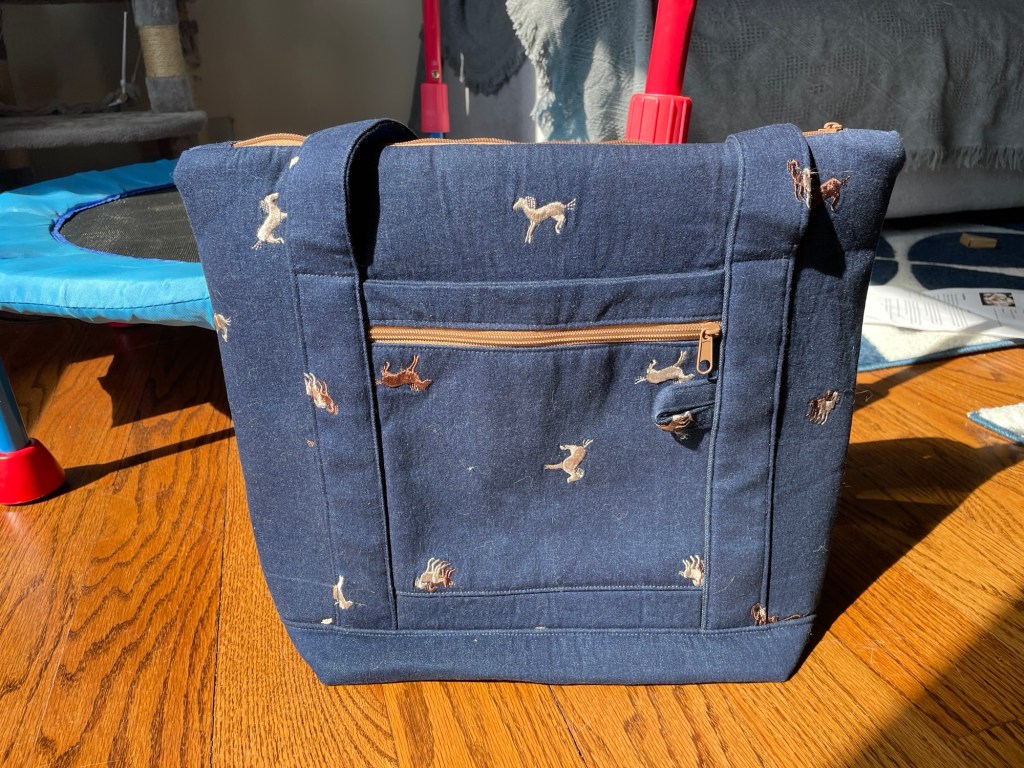
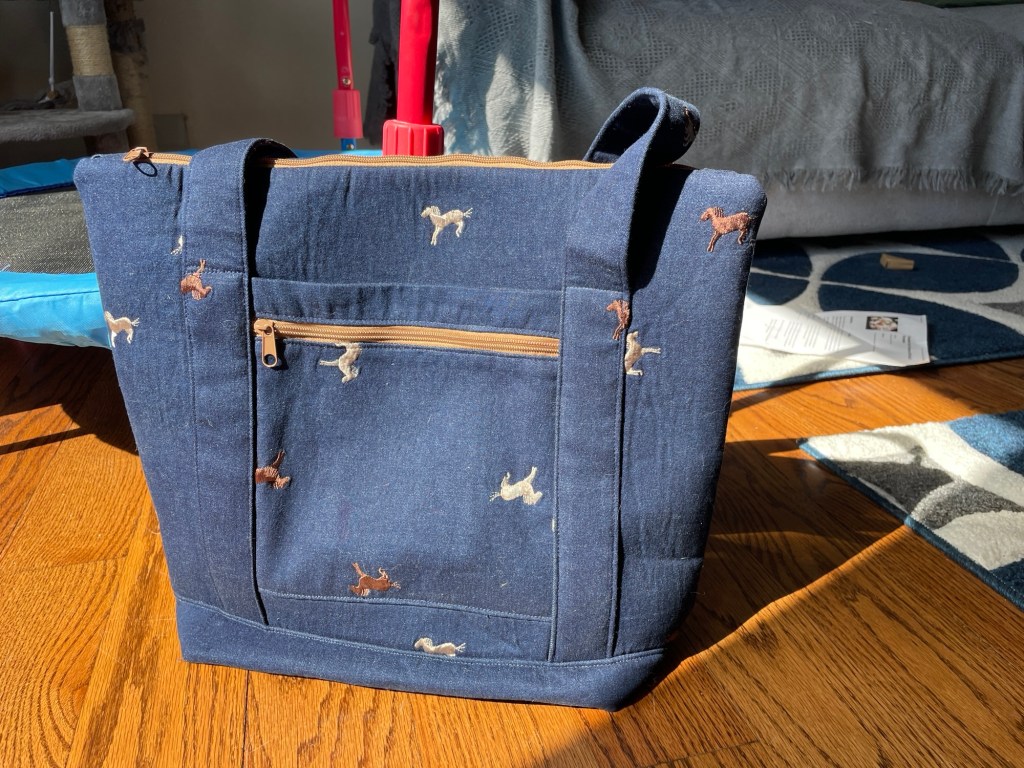
I made the small version.

Pattern Background
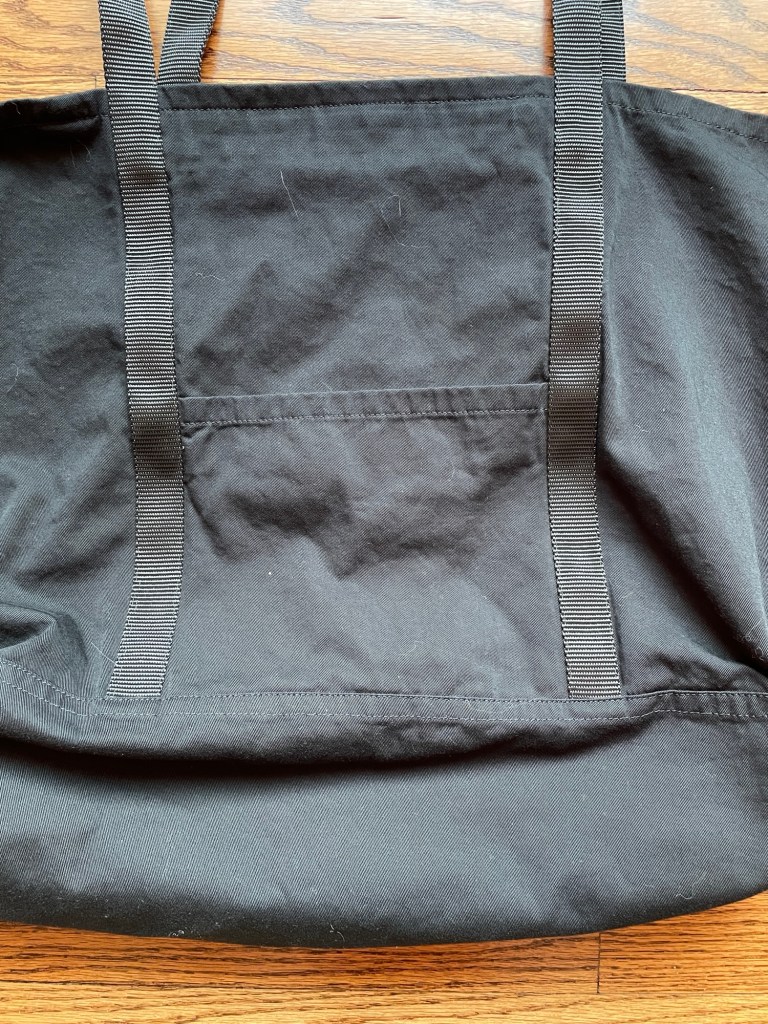
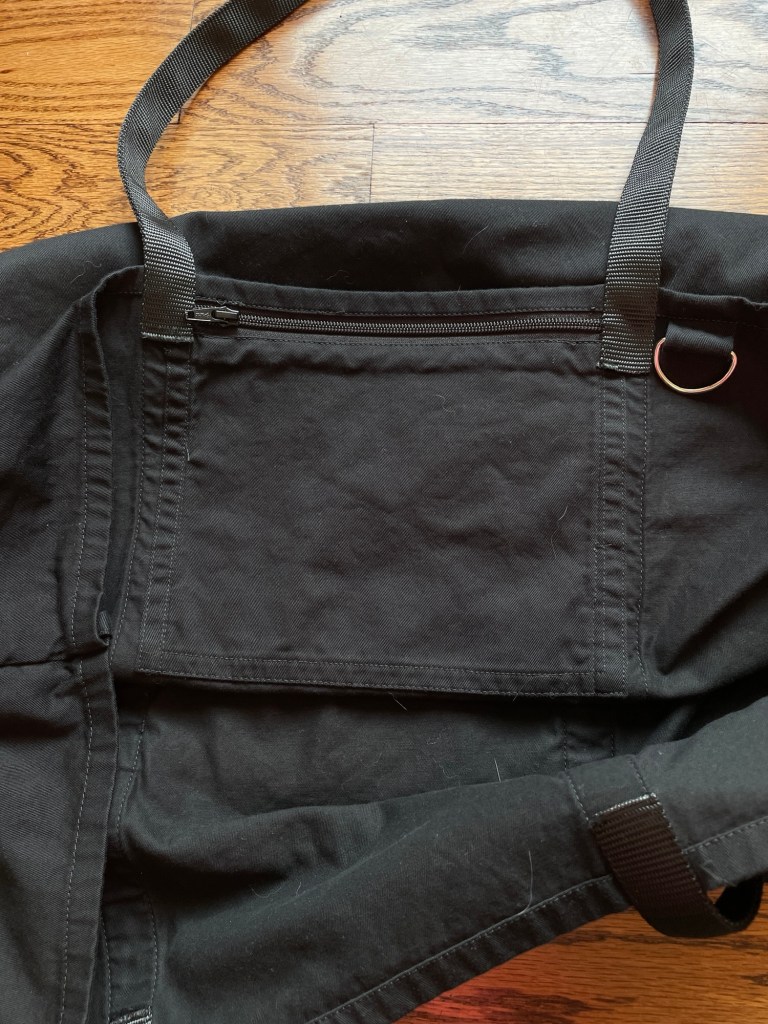
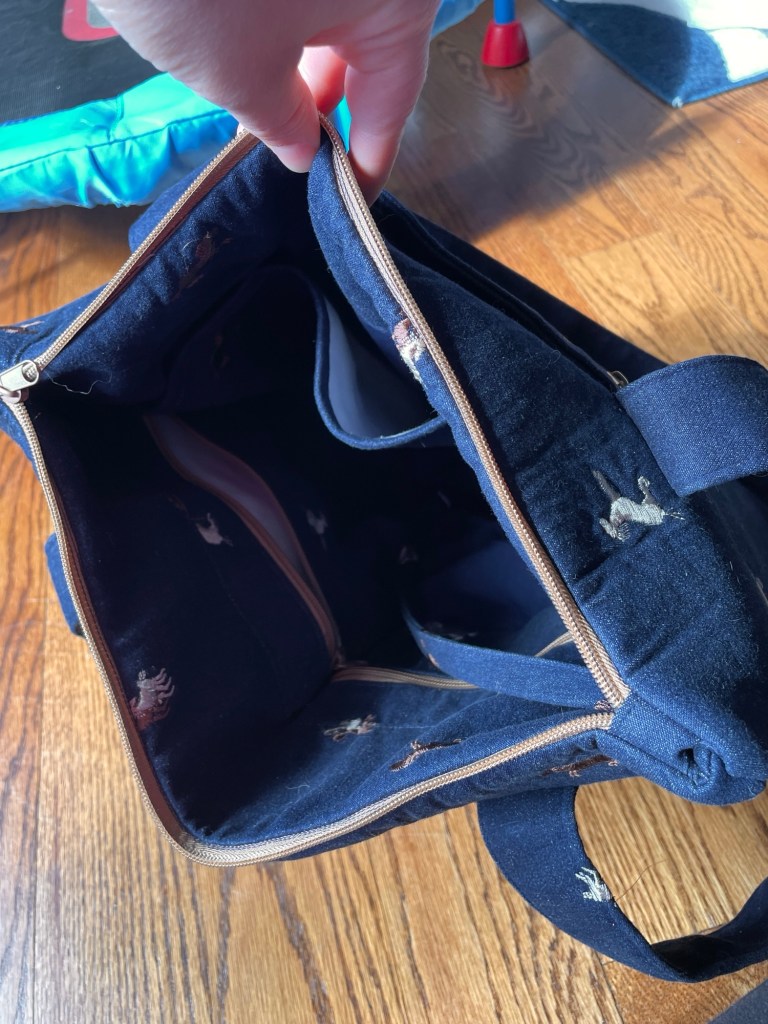
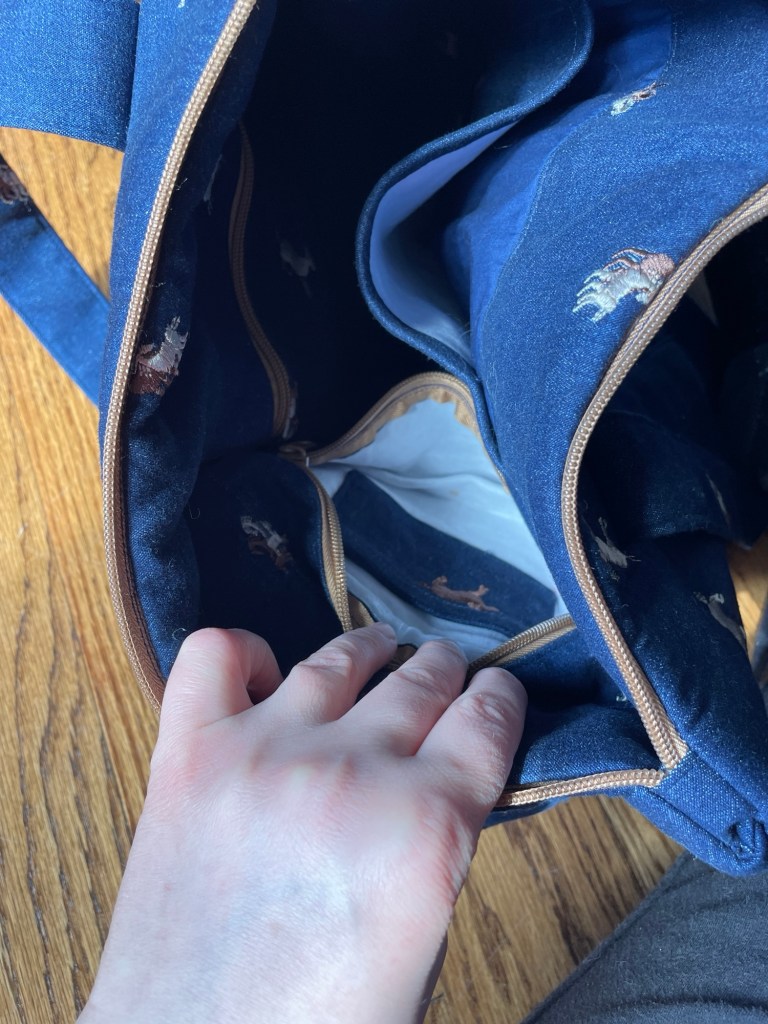
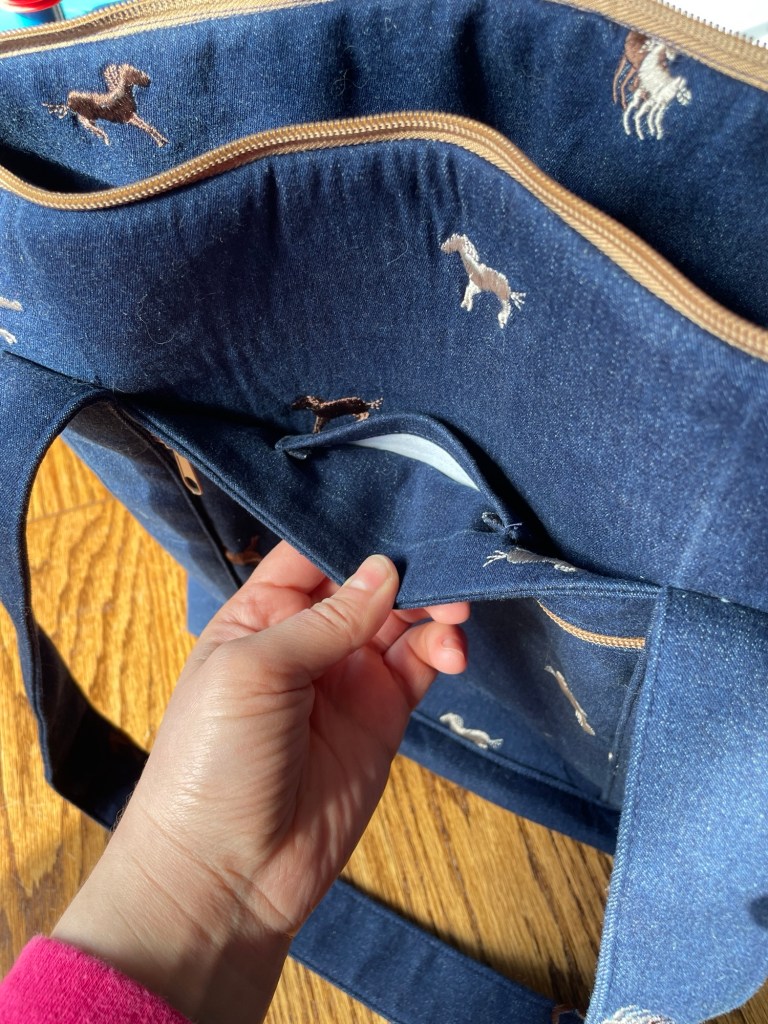
Jalie 2919 is a travel collection pattern. There’s two sizes of totes, bag organizers, and a passport/travel pouch. This is part of Jalie’s Galaxie collection, which are PDF only patterns for bags, kitchen accessories, etc. The fully lined totes have a zippered top and are well designed with lots of zippered pouches/pockets, some hidden pockets, a small outside loop, and a keychain leash.
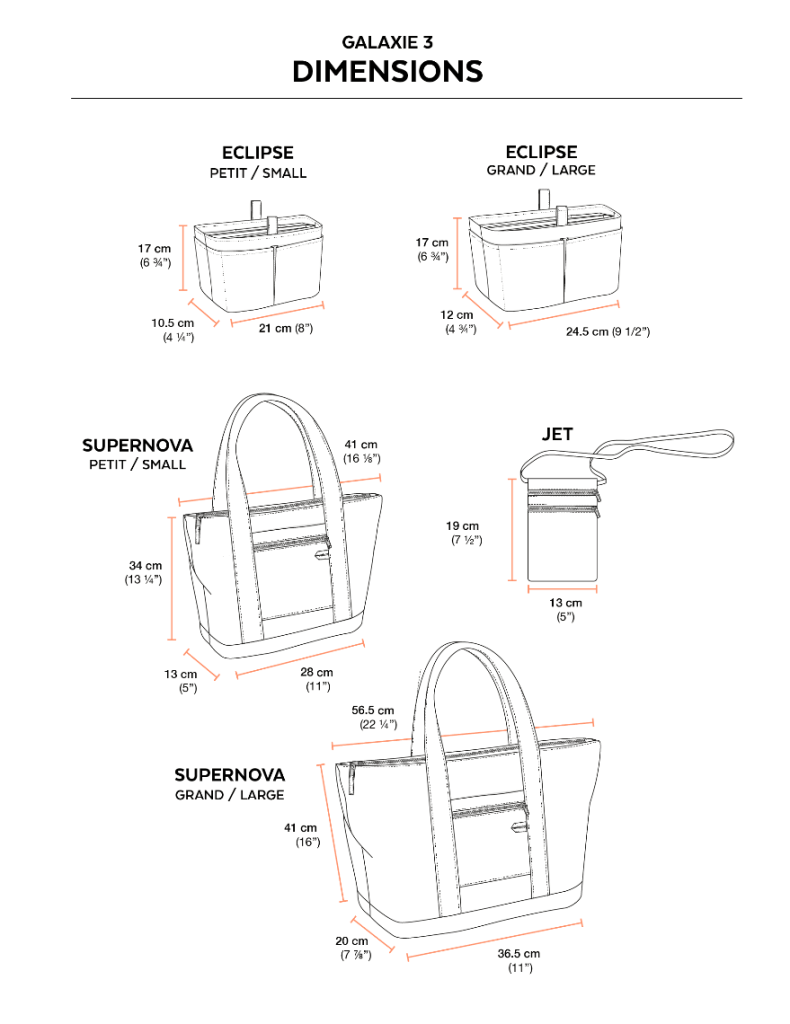
I didn’t see the dimensions listed on the Jalie website so I sent them an email and they replied back with this handy graphic. (Note that there’s an error for the large tote and the length should be 14.25”, not 11”.)
Materials
I wanted a bag with structure so I went way heavier on the interfacing than what is recommended by the pattern.
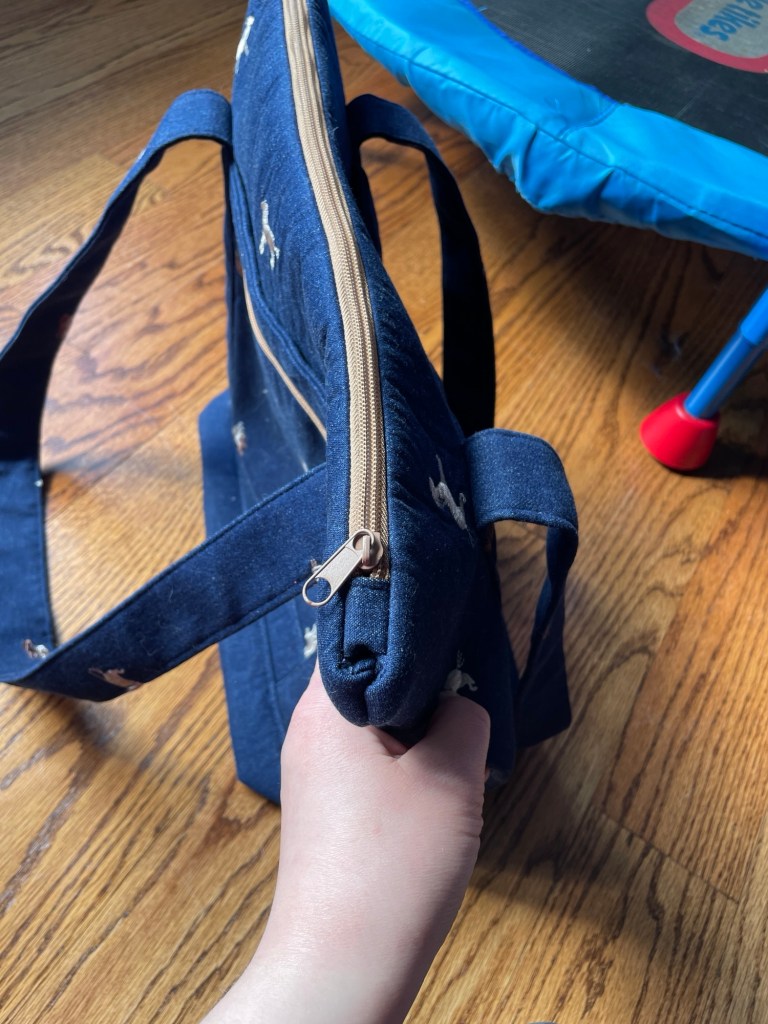
I used a midweight embroidered stretch denim I purchased almost 20 years ago from Joann’s. It was less than two yards and only 50” wide so I had barely enough fabric to cut out the small size tote. The fabric selvedge for the straps is hidden within the fold.
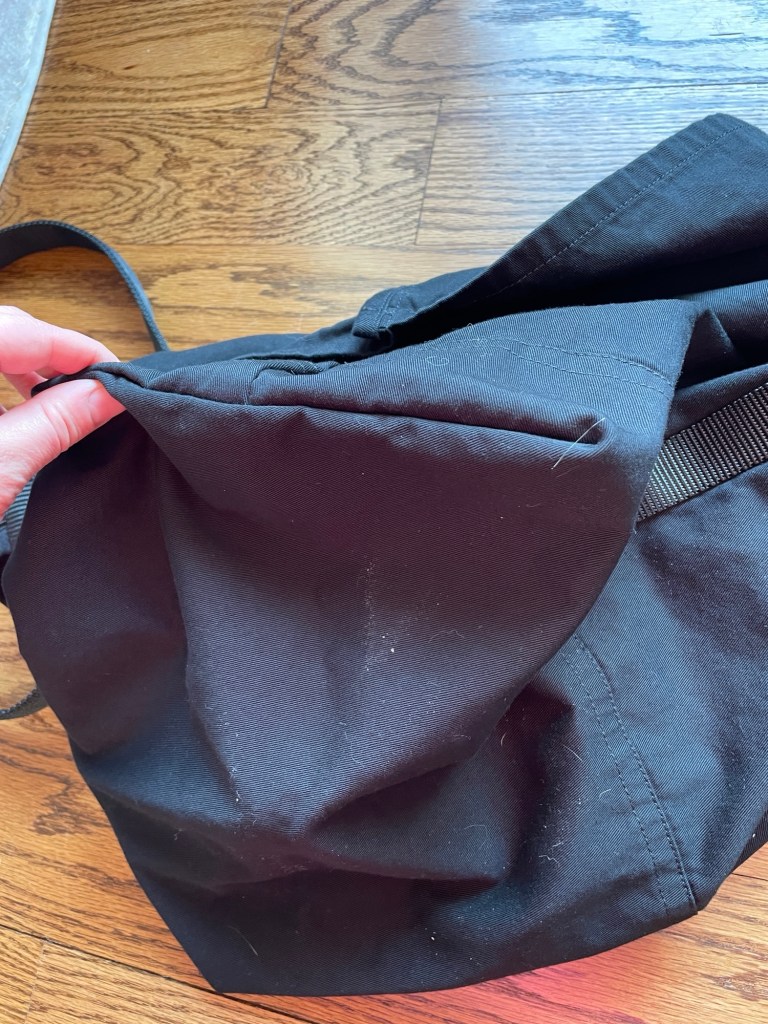
Since this fabric stretches and I wanted a lot of structure I interfaced everything but the bag sides and bottom with a lighter weight woven interfacing from WAWAK. For the sides and bottom I used single sided fusible Bosal In-R-Foam from WAWAK. This is my first time ever using a foam like this for bagmaking. If I could do it all over again I would have used a sew in and not fusible because it caused some puckering on this fabric.
I used a #5 nylon coil zipper from Amazon. This was my first time using one of those zipper by the roll kits. I struggled to get the zipper pull on the tape, but this video helped a lot. The keychain clip is also from Amazon.
The lining is a lightweight Pima Tex cotton shirting from Fabric Mart.
The bag was mostly sewn with Gutermann Mara 70 thread, with Gutermann Mara 100 used for finishing the lining.
Construction
I found the instructions pretty closely. I’m not experienced with bags and need the extra hand holding. I found them adequate. Better than earlier versions of Jalie patterns but not quite as good as recent releases. Jalie has made great improvements with their instructions in recent years!
I constructed everything but the seams of the lining on my compound walking foot industrial machine. It handled the heavily interfaced denim and foam with complete ease. I don’t use this machine a lot and haven’t swapped out the original clutch motor for the Kinedyne HM 750SL servo motor yet so I didn’t always have the best control. (Clutch motors are notoriously difficult to control, especially at lower speeds, and generally suck so much that I don’t think they even sell machines with them anymore.) I also keep this machine in my basement right now so my work lighting sucks. As a result some of my stitching isn’t as accurate as it would have been on the Juki TL-2010Q. But this machine is built like a tank and had zero hesitation sewing over tough areas, like where the strap is sewn over the zippered outside pocket with the loop (which works out to 10 layers of interfaced embroidered denim plus one layer of denim fused with foam). With my Juki TL-2010Q it might go, but you would notice some complaining from the motor. (This is why I don’t agree that the Juki TL series “sews through anything” because IMO they don’t, at least not in a way that doesn’t make me slightly concerned when listening to the strain on the motor.) I will say that while my Seiko STH8-BLD-3 had no problem, it was getting fatiguing on my arms and hands at the very end when I was trying to manage all the fabric while sewing the lining to the bag and doing the seaming at the bottom of the bag.
I did the lining seams on my Janome 6500 simply because I had a few leftover bobbins in thread that matched closely enough. (Something light and thin like this will pucker if sewn on my industrial.)
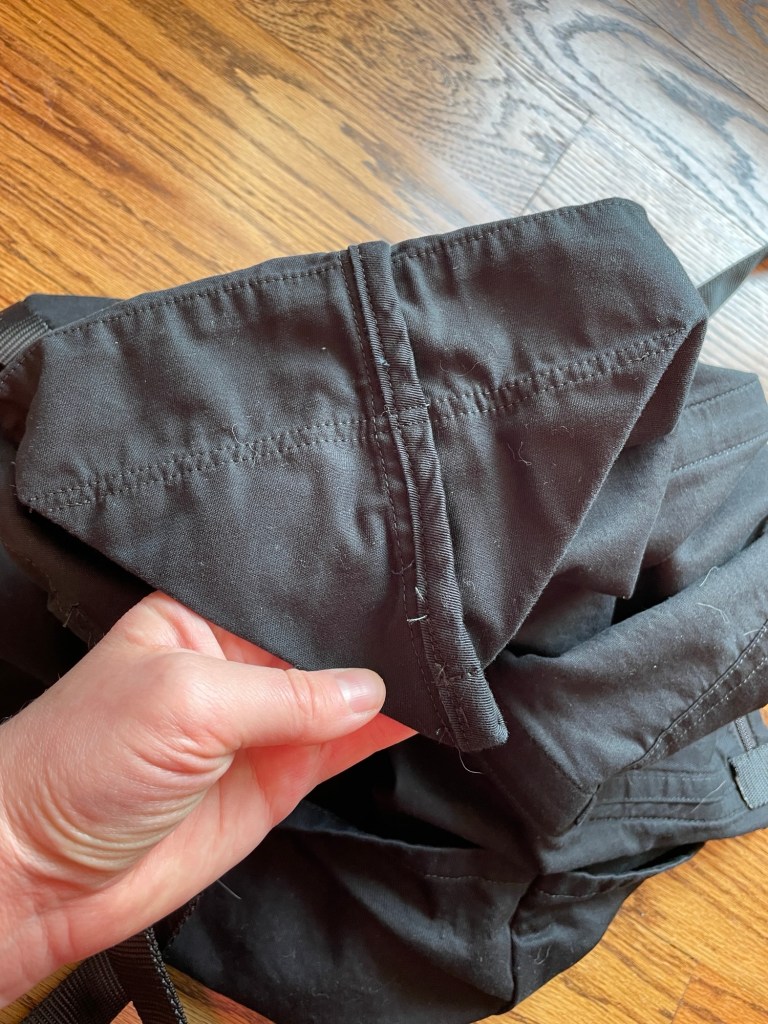
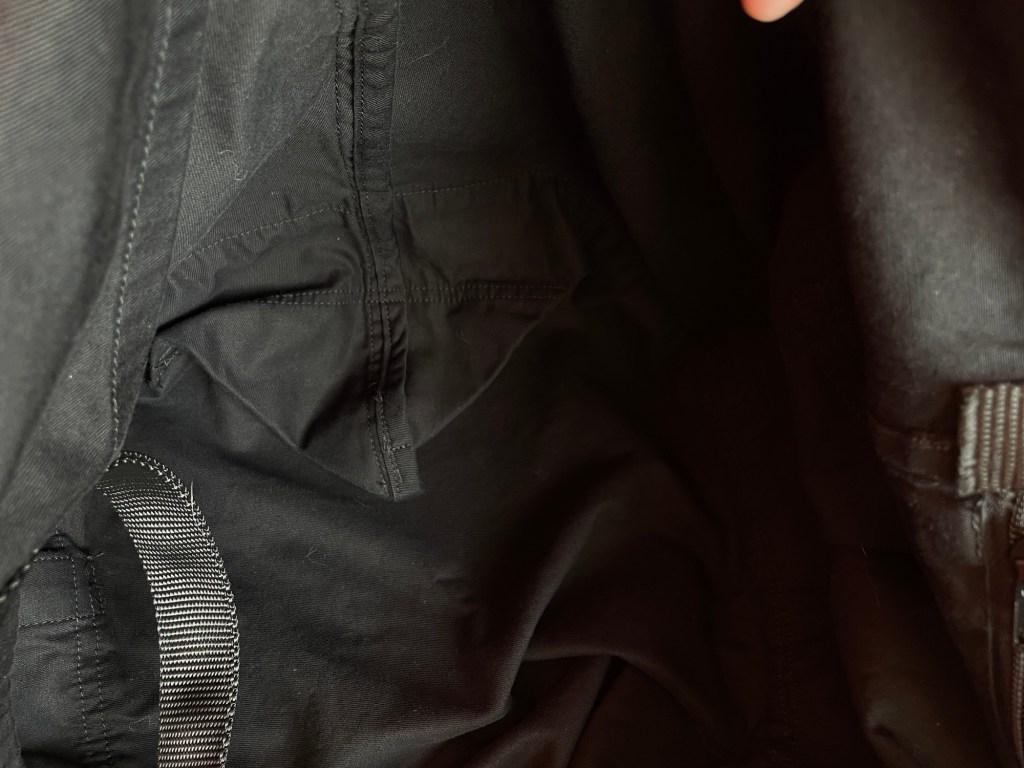
After turning out the bag (which resulted in having to do a repair to the lining because the hole to turn it out wasn’t large enough for the foam interfaced pieces) I noticed the upper corners by the zipper looked rather bulky and “homemade.” I’m sure this is entirely my fault for having such a thick layer of foam there but I’d like to figure out how to do a better job in the future with this section.
I sewed the bottom of both exterior pockets down rather than leaving one open because I wasn’t interested in having a luggage sleeve. I don’t really travel at this point in my life and knew there was a high likelihood I would forgot it was a sleeve and not a pocket and accidentally put something into it.
Conclusion
This is a fantastic bag pattern, and I ended up liking it more than I anticipated. You can get so many different looks depending on fabric choice and what sort of structure you choose. I didn’t realize how well designed the storage was until I was actually sewing it. I was surprised at how much room was in the smaller version. I think either version would make a great diaper bag for a baby shower gift (especially if you made a separate insulated baby bottle holder). As designed the smaller bag will easily hold three 1/2 liter water bottle in the organizer pockets. The only downside is that this takes a decent amount of fabric but you can economize by using a contrast fabric for the straps, bag bottom, and hidden/interior pockets, or by using webbing for the straps.
My version is not perfect but it was good practice and a nice way to expand my sewing skillset. My son loves putting matchbox cars, stuffed animals, etc into it and then carrying it around the house.