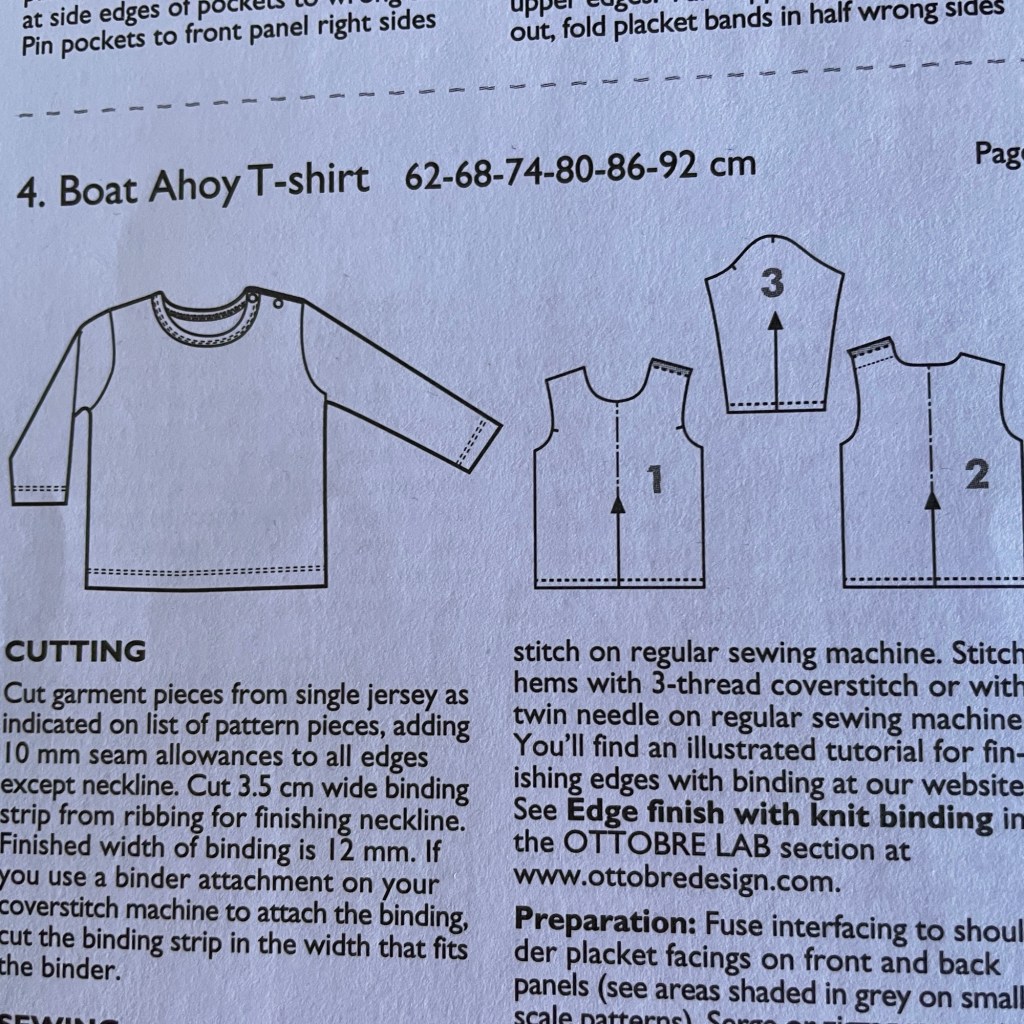
As noted in the title, both of these pieces are from the Ottobre pattern magazine (single issues are available from the Ottobre website). Both are available in sizes 62-92 (approximately newborn through toddler).
The shirt is drafted for knits with about 20% stretch (your average single knit jersey). There’s a couple of snaps at the shoulder.
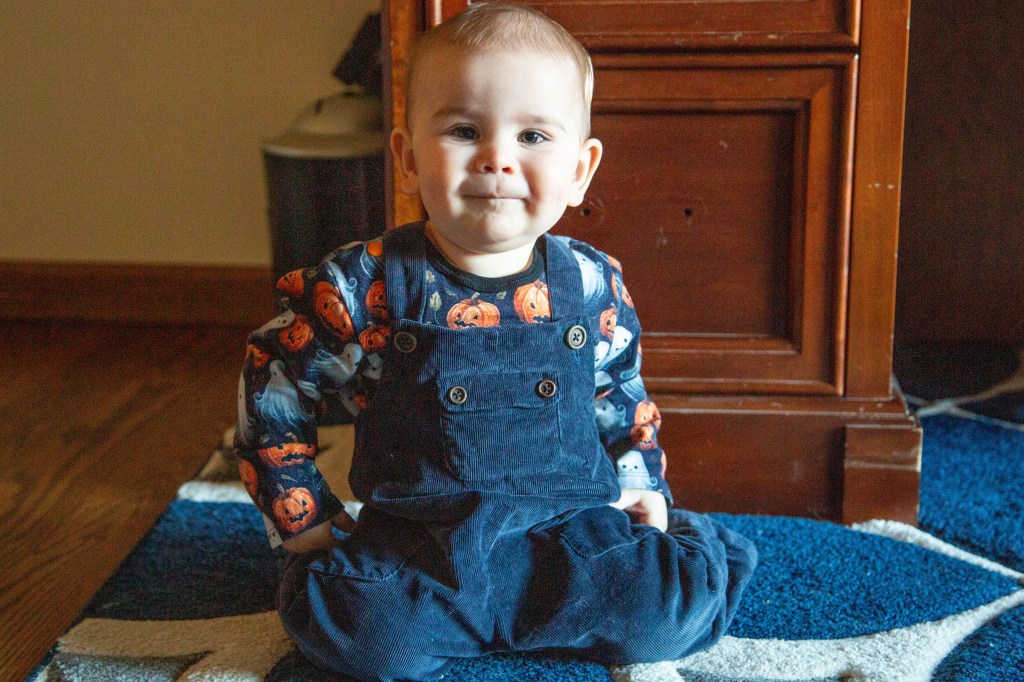
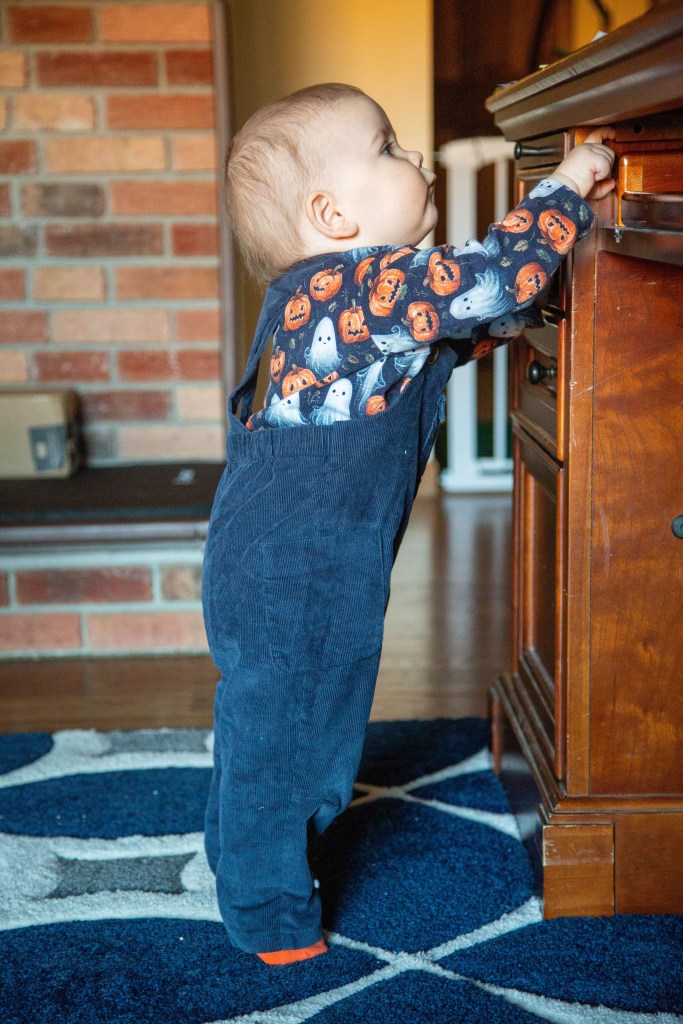
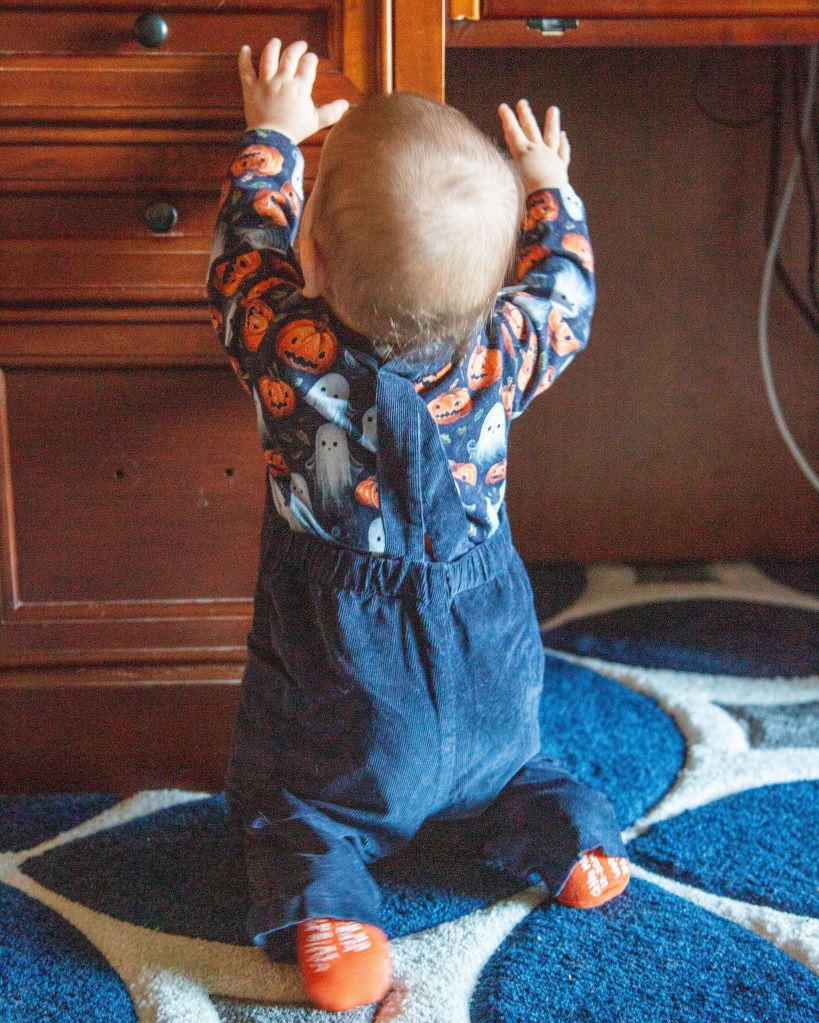
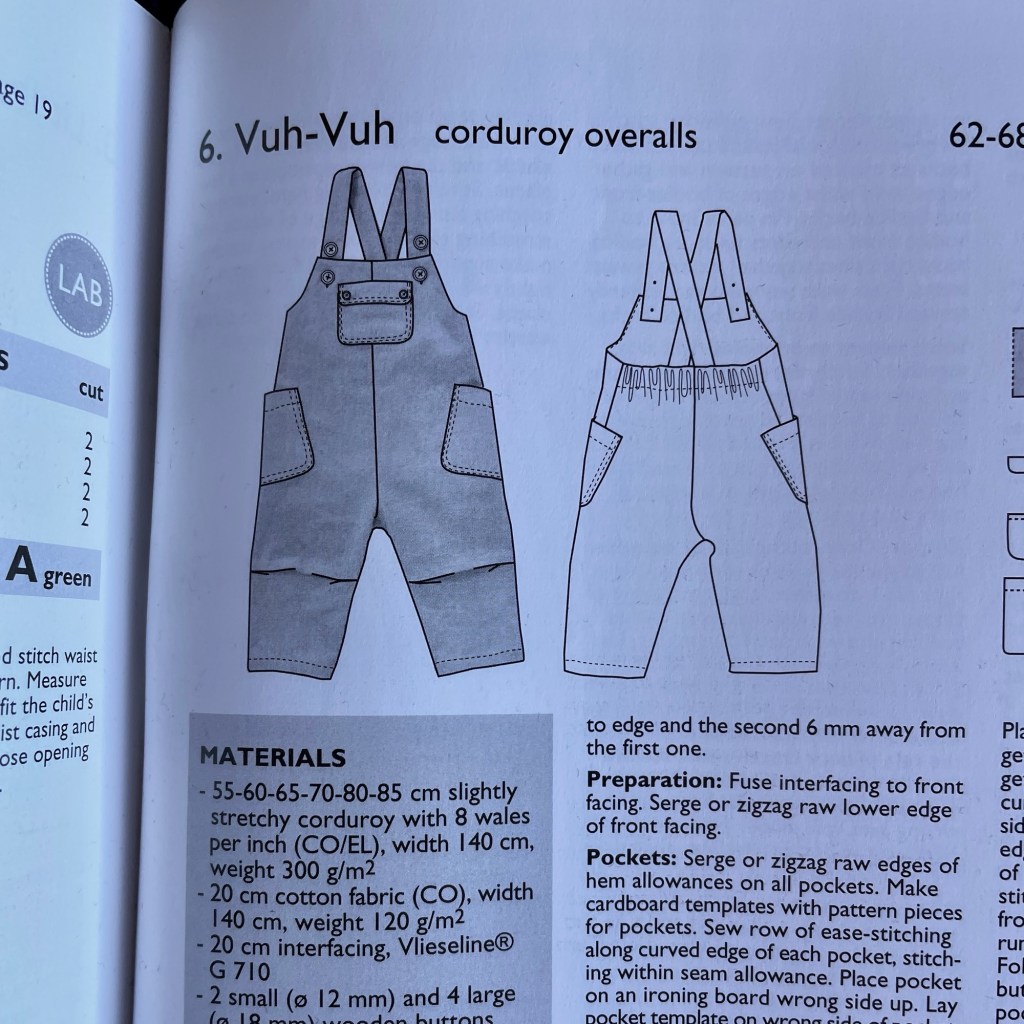
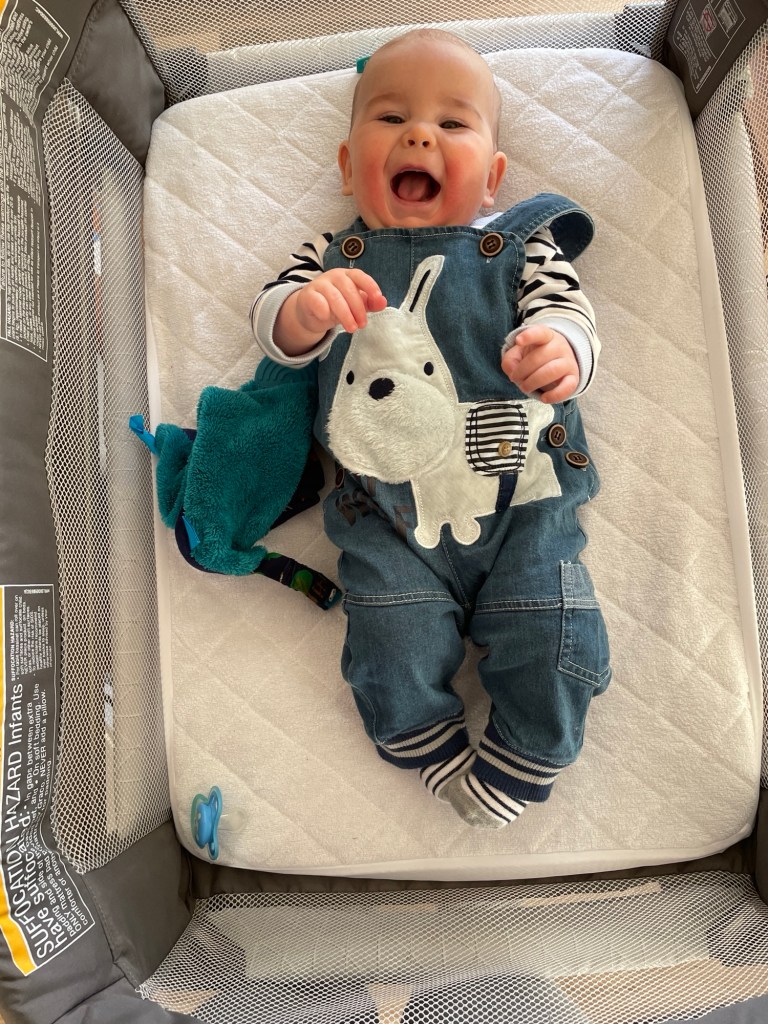
The overalls are drafted for woven fabrics. There’s two offset pockets (one at each hip) and one pocket at the chest with a non-working buttoned flap. The straps cross at the back and have two buttons on each strap for better sizing as your child grows. There’s also tucks at the knees to help facilitate room for crawling (which I really appreciate for him right now!) and elastic at the back waist to help keep things snug.
Materials
For the shirt I used a cotton/lycra jersey from Nature’s Fabrics for the main fabric, and a cotton ribbed knit for the neckline binding. The snaps are KAM plastic snaps. I interfaced the section where the snaps are secured with Pro-Sheer Elegance from Fashion Sewing Supply.
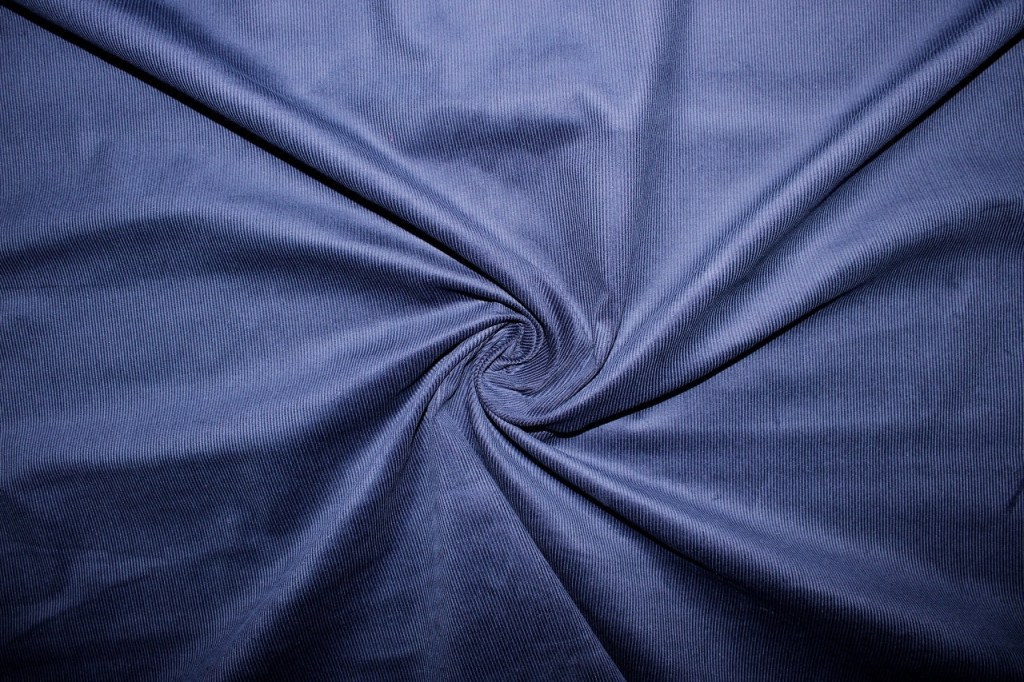
For the overalls I used a navy stretch corduroy from Gorgeous Fabrics.
The buttons are wood buttons from Amazon. I also interfaced with Pro-Sheer Elegance from Fashion Sewing Supply.
Construction and Fit
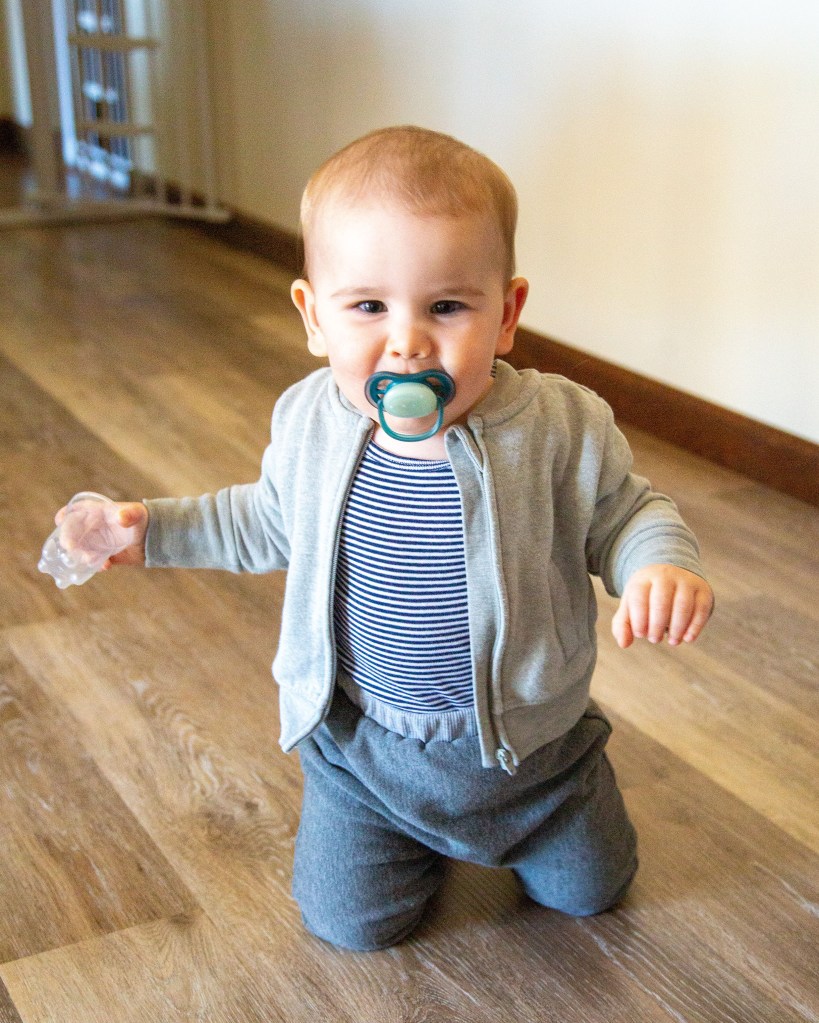
I made these about six weeks ago and chose a size 80, as I was paranoid it wouldn’t still fit for Halloween. Well, as with the Green Bean baby set I should have instead gone with an altered 74. It ended up too big. I usually cuff both the sleeves and pants legs. In the photos they look particularly loose because he’s got a disposable diaper on today instead of a cloth one, so there’s far less bulk in the seat area.
The shirt went together easily enough. My issue was when setting in the snaps I had to try several times before I got them to secure properly. Ottobre has you set one of the snaps along the binding but it was just too bulky and I kept having to redo that one particular snap. I had also never used plastic snaps so there was also a slight learning curve.
The overalls weren’t difficult, just time consuming with all the pocket curves and various details. I ripped out my topstitching a few times because I was unhappy with it, so that took some time. Once they were completed I had issues with the straps not staying in place, so I crossed and topstitched them in the back. I need to move the stitching as I just guessed about where to place it, and it ended up being too high. But I do recommend stitching the back straps in place for more security.
Conclusion
This set gets him a LOT of attention when we are out and about in public! Some people have remarked on how it is slightly unusual for American baby clothes.
I am not thrilled with the snaps at the shoulder and would probably use an envelope style top for shirts in the future. It was just too fussy setting the snaps with all the bulk of the ribbing.
I love the overalls! They are cozy and so sturdy when he crawls in the ground outside, and give a more formal appearance than knit pants. The tucks at the knees give him plenty of room to bend his knees when he’s crawling. A well designed pattern! I am thinking of making another pair for him in the near future.
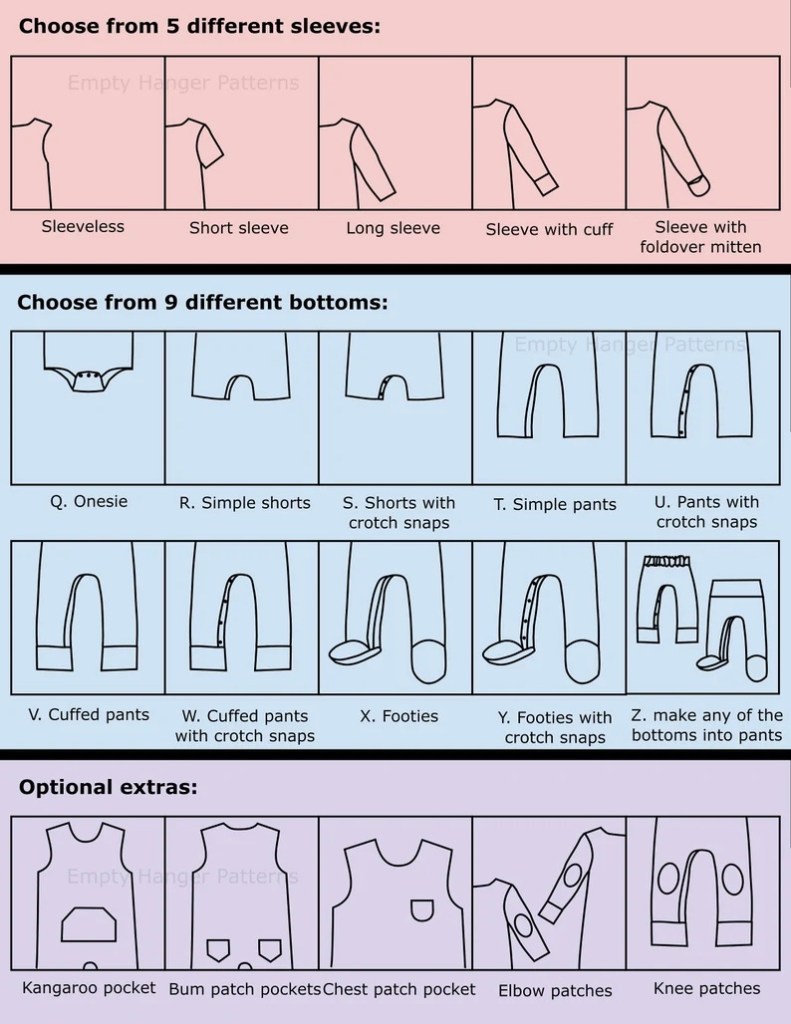
The pajamas, which are the A envelope style top with long sleeves and the snap footie Y bottom.
A top, Y bottom
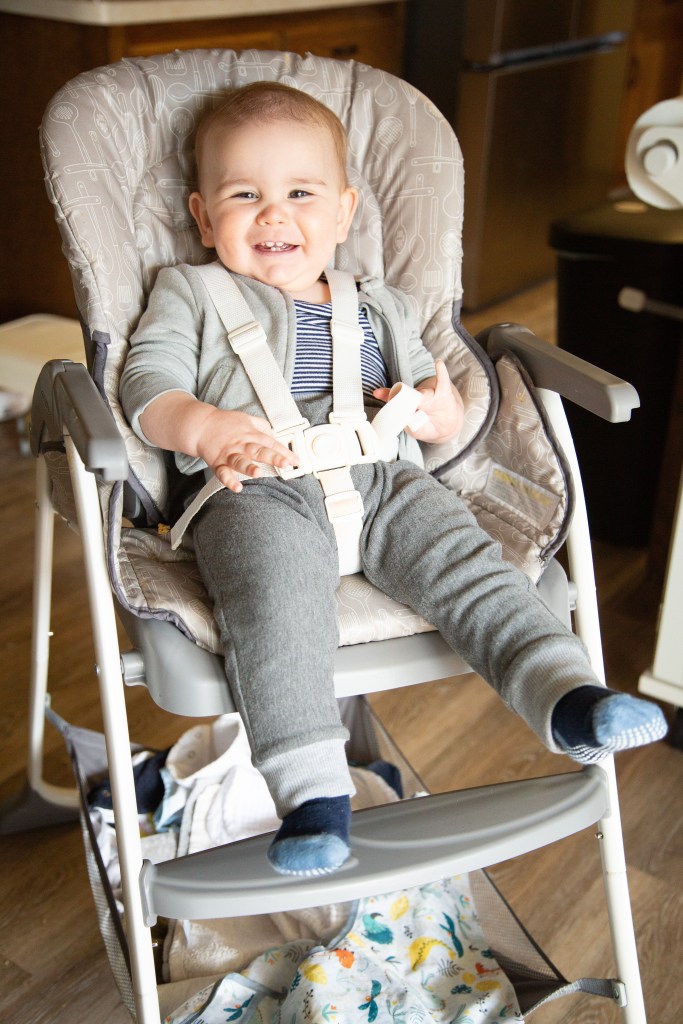
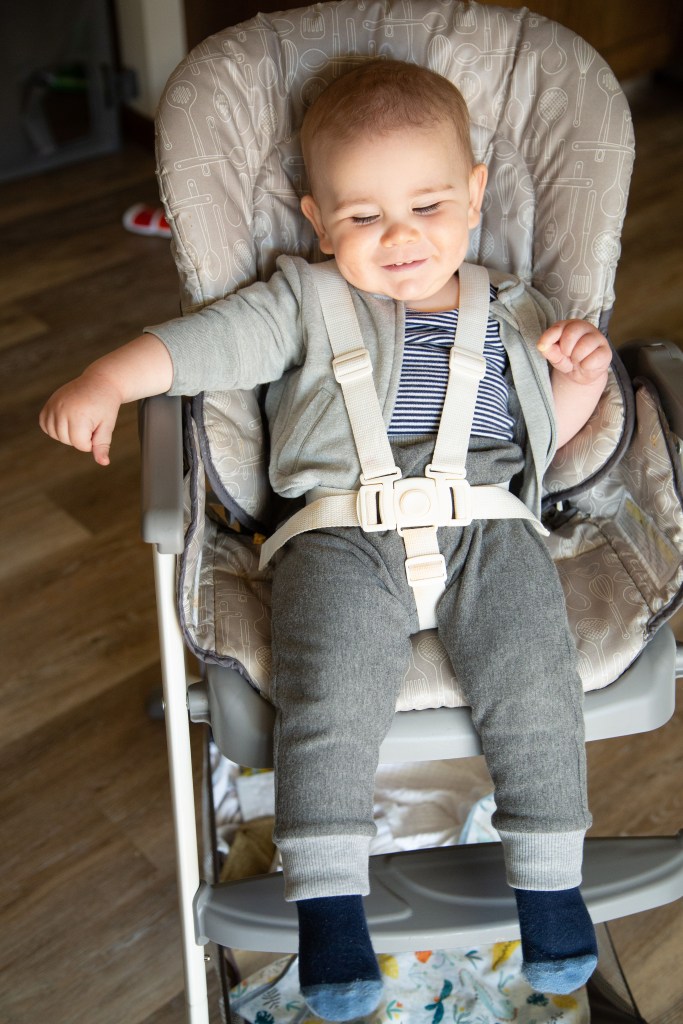
I’ve done my best to get photos of the pants, which are view V…it is not easy with someone who is trying to grab my camera and always moving…hence resorting to a post-lunch photo in the highchair.
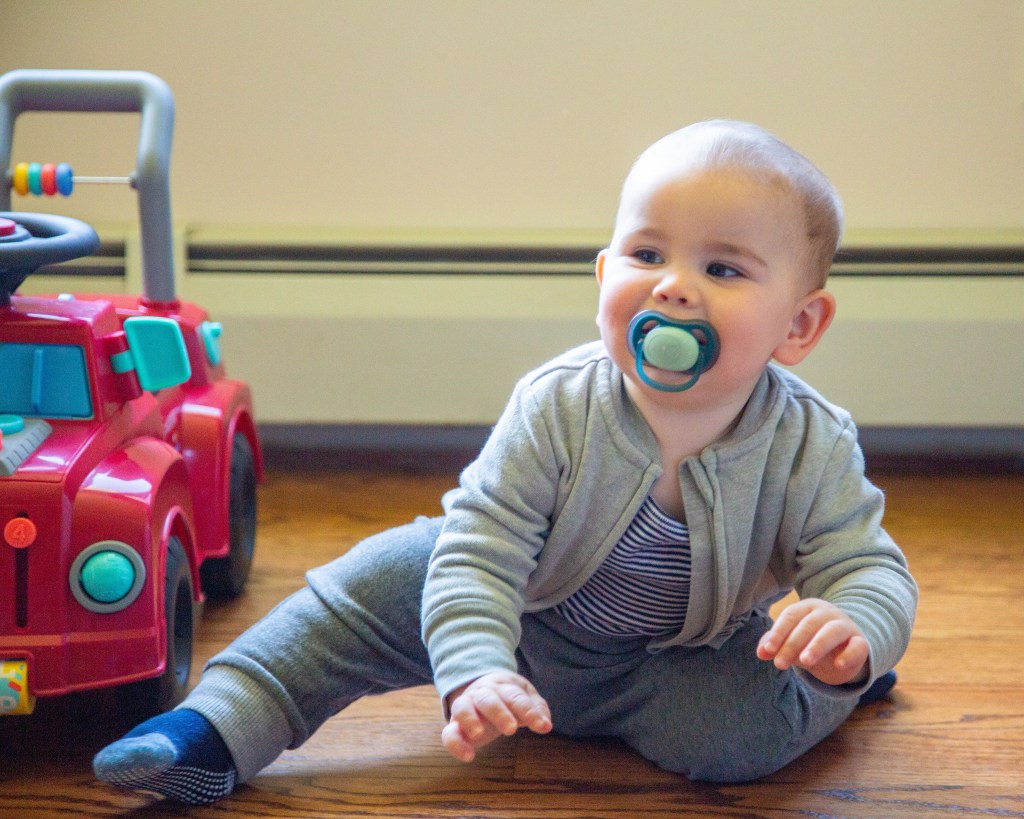
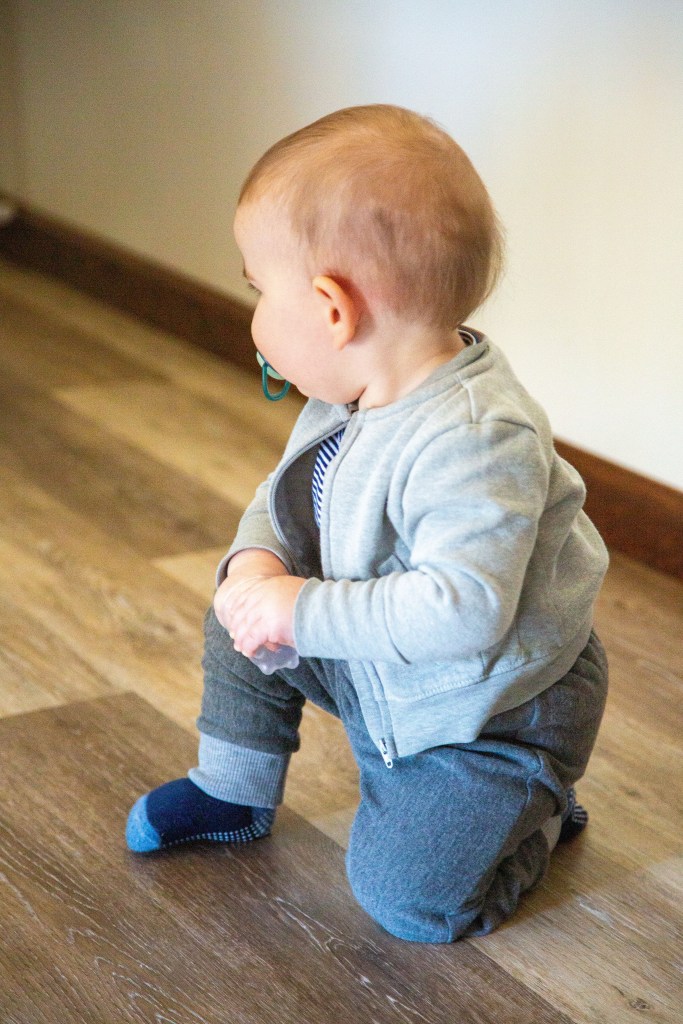
Some action shots:
Pattern Background
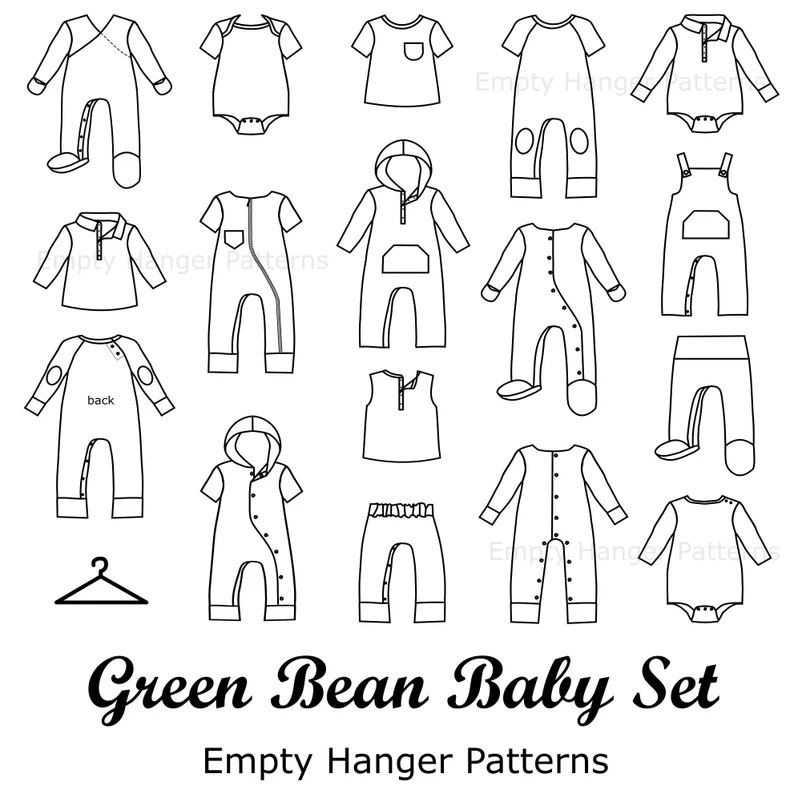
The Green Bean Baby Set by Empty Hanger Patterns is sold on Etsy. It is a PDF sewing pattern that includes a basic onesie with cutting lines and instructions for all sorts of variations. Rather than nesting the sizes like most pattern companies, they have you print by size and nest the basic variations. Extra pattern pieces for things like cuffs, a hood, etc are printed off as necessary. Make sure you read the instructions as all the information you need on which pages to print is found there.
The pattern is marketed as the only baby clothes pattern you will ever need, and I feel that’s pretty accurate! It includes European sizes 50-98 (20”-38.5”) which roughly covers newborn through toddlerhood. I would say that at less than $10 this is by far the most cost effective pattern out there. It does cover your needs for basic knit fabric baby items, but if you want to do anything with wovens you will have to look elsewhere.
Size
This was tricky!
My son is 14 months now and on the smaller side. He has a sturdy but wiry build and wears mostly wears Carters RTW baby clothing (which I believe tends to be slimmer cut). Right now he wears 12 months, but while it fits in the width it is getting too short in the length. I mostly use knit pants on him because he wears cloth diapers and woven baby pants ten to be cut for much slimmer disposable diapers.
Per the pattern he was right between size 74 and 80. Since it’s always better to go bigger rather than smaller I chose size 80 for the first round. I made him footie pajamas with snaps at the legs. It was HUGE on him. Have to set it aside for later!
For the next round I decided to print off size 74. I compared the pattern to some current clothing he has and it seemed to be a much better fit for now.
Materials
For the pajamas I used a cotton interlock, with a cotton baby rib knit for the contrast (cuffs, neck, and one of the snap closure facings since I was short on the main fabric). Both were from Nature’s Fabrics.
I interfaced the leg band with Pro-Sheer Elegance from Fashion Sewing Supply. (Unfortunately she’s hit a difficult time in her personal life and my order placed over a month ago never shipped. It seems up in the air as to whether she’s going to continue the business or not.) I used these snaps from Amazon. They seemed to work ok, though I would have preferred to use the ones from Snap Source (another great sewing notion provider that’s no longer in business).
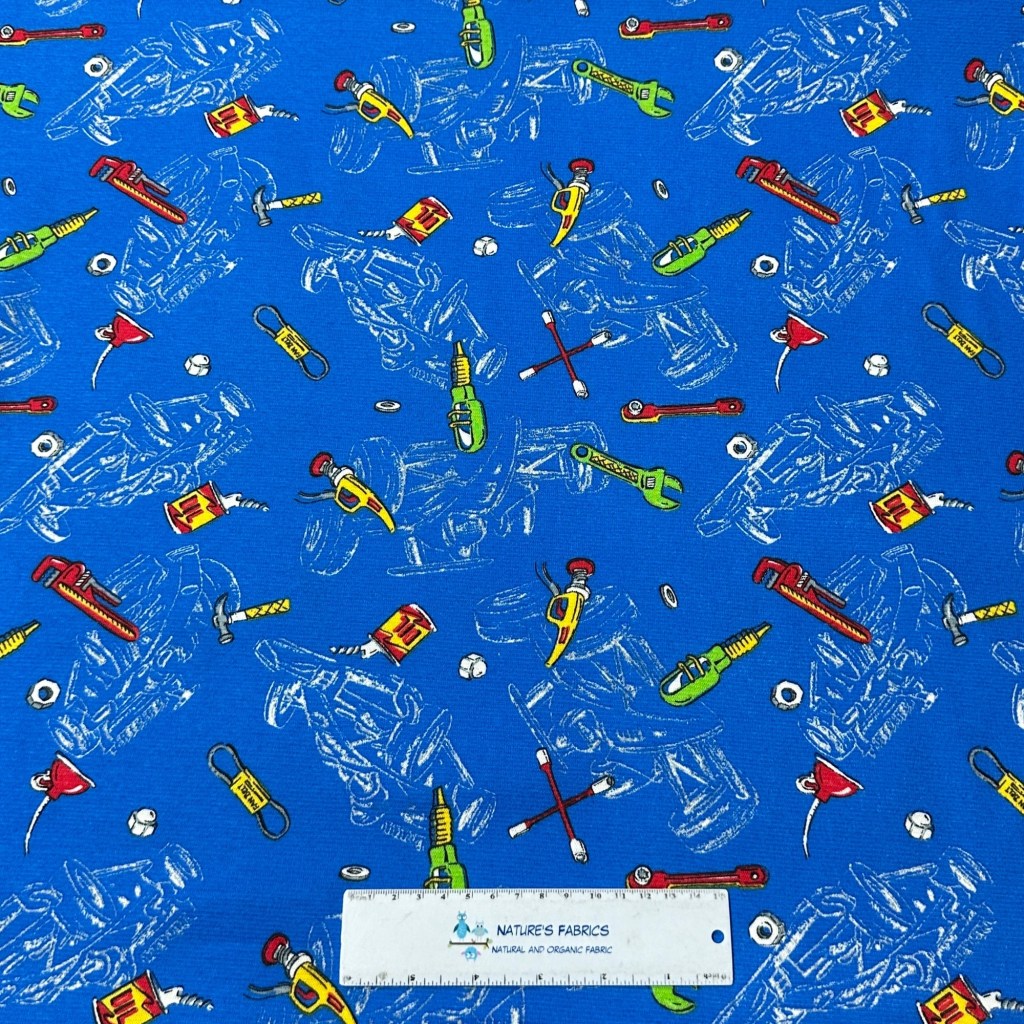
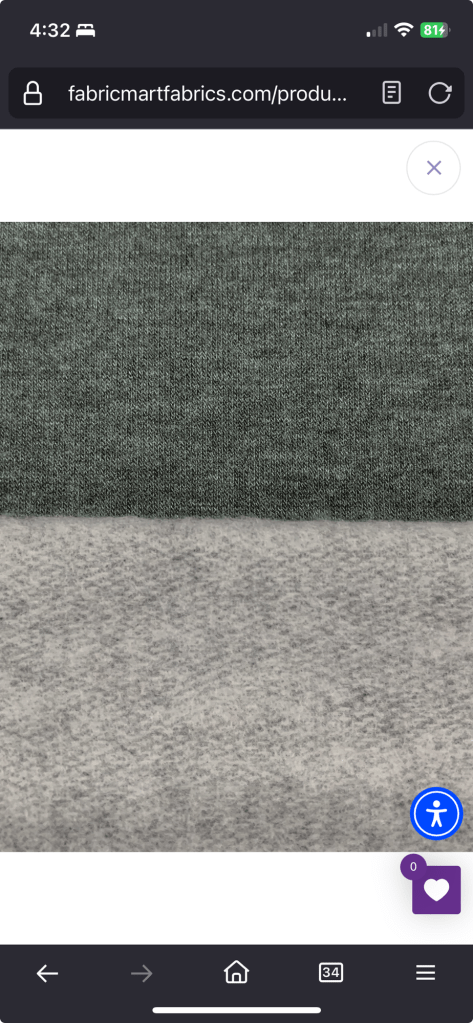
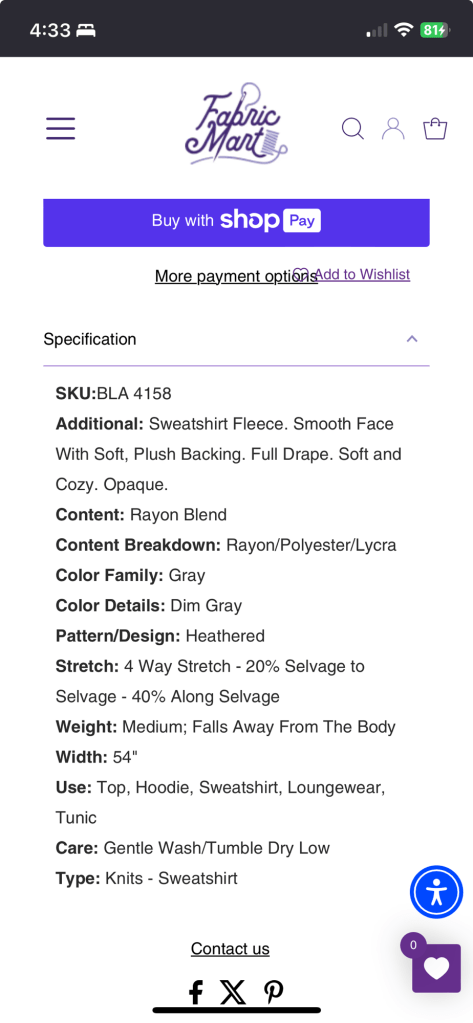
For the pants I used a recently purchased rayon/polyester sweatshirt fleece from Fabric Mart for the main fabric, and a cotton rib knit for the waistband and cuffs. I believe the rib knit is from Fabric Mart as well, but I purchased it so long ago I don’t really know! The rayon/poly sweatshirt fleece is SO soft and cozy and washed really well, so I ended up buying a bunch more for various future projects. It is hard to find inexpensive winter pants for babies, especially if they aren’t 100% polyester fleece.
The stretch was similar to stretch bengaline in that the stretch was greater lengthwise vs width, so I cut it with the grain perpendicular rather than parallel to the selvage.
Alterations
I didn’t make any alterations to the size 80 pajamas as I wanted to get a better sense of the fit before doing anything. As I mentioned before they ended up way too big.
For my size 74 pants, the sizing was much better. I will say that they were comparable to the 18 month Carters pants in length even though technically size 74 is closer to 12 months rather than 18 months. I did find the rise was too low, and lengthened it 1”. I also found the waistband was IMO way too wide for baby clothing – they assume the elastic width will be about 2”. I don’t have a lot of experience with baby clothing, but this seems so wide on such a tiny body. 1” wide elastic seems way more common. So I ended up removing 1” from the waistband and adding another 1” back to the rise. By the time I was done the rise for the pants pattern pieces was 2” higher than what the pattern was originally drafted for. I also added another 3/8” of height at the center back as I found that with the cloth diapers the back waistband of pants tends to dip downward on my son.
I had a really hard time measuring my son with any sort of accuracy (he wiggles SO MUCH now and tends to wake up if I try to measure him while he sleeps) but this pattern seems a bit longer in the legs than the RTW I’ve used. I will say that in my son’s case the cloth diaper throws off fit as the bulk tends to take up a lot of the rise in pants/pajamas. However when I was comparing pattern pieces it seemed like the leg length for size 74 was comparable to the length of the 18 months Carter pants, not the 12 months.
One issue I’ve consistently had with RTW baby clothes is in addition to the rise being too short, the waist is too big. While the pants mostly fit everywhere else. So the pants tend to sag and get pulled down while crawling. By making my own I could snug in the elastic, and patch in another piece if it is too small in the future.
Construction
This sewing pattern includes 3/8” seam allowances. IMO it doesn’t make sense for knits as a lot of us are going to be sewing this on a serger. With the pajamas I had already cut them out before I noticed the 3/8” seam allowances, so spent a lot of time trimming (and probably losing some accuracy along the way). For the pants I trimmed the allowances down to 1/4” before cutting, and it was overall a much quicker and pleasant sewing experience.
The instructions are great! There’s illustrations for every step, and even my severely sleep deprived brain could follow along effortlessly. (He has yet to sleep through the night. The entire first year was spent waking up every 2-3 hours. Best we ever got was a single six hour stretch.) I did find it a bit confusing at first when it came to pattern assembly as I’m used to sizes rather than the style variations being nested, but after thinking about it it finally clicked for me. One thing I really enjoyed was there was no trimming or overlapping, you just butt the paper edges together and tape.
Since the pants are cut from the sleeper/pj pattern block they don’t have a front or back crotch curve seam. Instead there’s a gusset at the back crotch seam to give more room and shape.
Conclusion
I would 100% recommend this pattern for basic baby clothes. I prefer Ottobre for wovens and more unique styles, but for your basic baby and toddler wardrobe this pattern works great. Once you figure out the alterations your baby needs you have a solid pattern block to work with as they grow. The instructions are easy to follow and the fact that it offers so many styles and sizes for less than $10 makes it an affordable choice as well.
My son recently turned one, and I am finally at the point in my parenting journey where I’m thinking of sewing again. (After a year of waking up every 1.5-2.5 hours he’s finally starting to have some 3-5 hour stretches at night at least a few times a week!) I was on the hunt looking for fabrics to make him some fall and winter clothing and came across Nature’s Fabrics. I placed my first order this week and was very pleased. She has a ton of fabrics suitable for little kids (especially prints). Shipping was fast and very reasonable ($5) and that along with the current 15% coupon made it quite affordable. I wanted some help coordinating cotton rib knit for some of my fabrics and she contacted me via text with a bunch of photos to show how the fabrics worked together. My biggest issue with trying to buy fabrics for my little guy was poor selection (so few little boy prints!) and high shipping costs, and neither applied to this shopping experience. She also included a bunch of sample fabrics with my order. Highly recommend, especially if you are sewing for a little one!
The past 6+ months have been some of the most hardest of my entire life! Despite being a stay at home mom I’m busier than ever…I don’t know how anyone could possibly be bored on maternity leave. They require so much care, and there’s always something to do! I guess it doesn’t help I have a Velcro baby that wants to be held all the time and can’t bear to have me out of his sight, so getting stuff done around the house is very challenging.
Last summer my husband and I had our offer accepted on a house we really liked (after searching for 2+ years). Then about two weeks later (right after the last inspection was completed) I was in the hospital getting induced at 38 weeks due to gestational hypertension. I had actually left my job a month before my due date, thinking it would give me time to rest and deal with home buying…joke was on me! I wasn’t too happy about the sudden need for an induction, but I also realized that my swelling and blood pressure weren’t getting any better, my medical team was getting increasingly worried, and it was the best way to avoid an emergency situation. We ended up closing on the house when my son was about six weeks old.
While we were working on some house repairs/renovations prior to moving in, we were also dealing with breastfeeding issues. My son had a lip and tongue tie that made nursing very painful for me and inefficient for him. But I was determined to not give up breastfeeding without a fight. So I was pumping around the clock while we were working with a lactation consultant on getting that resolved. The good news is that the lactation consultant was amazing, and after her oversight and a lot of care on our end (pediatric dentist, round the clock post-op tongue tie release stretches and training exercises, weekly pediatric occupational therapy sessions plus home exercises, etc) he was nursing much, much better. It helped a LOT that my husband had a full twelve weeks paid paternity leave. But immediately after resolving the tongue tie issue we discovered he had all sorts of food intolerances. It started off with dairy, but along the way I also discovered his intolerances extended to beef, wheat, soy, coconut, sweet potato, bananas, legumes (peanuts, beans, guar gum, etc), pumpkin, corn, and grapes. I can’t eat any of those foods now. And since food labels are often not 100% transparent, I have to make all my food from scratch now. I live on pork, chicken, potatoes, rice, some vegetables, garden salads, almonds, oats, berries, apples, and pears. I also have a limited selection of homemade cassava flour baked goods recipes that seem to work. It was very, very difficult (especially around the holidays) but now I’m kind of used to it. It is worth it when I see how he’s sleeping so much better, not crying as much, not in pain, smiles a lot, and is generally thriving. Everyone always remarks on how alert he is and how bright his eyes are.
In the meantime we were also dealing with moving. I had hoped to use the time after leaving my job before my due date to work on packing, but with suddenly getting induced two weeks early I had no time for that. So with the help of my dad and some family friends and lots of trips with my vehicle back and forth between the old and new residence, we moved everything into our new home bit by bit. It was a huge pain in the butt (I seriously considered just giving up sewing and throwing all of my fabric and supplies into a dumpster rather than move it all) but we eventually got it all moved to our new home. 0/10 do not recommend moving with a young infant though!
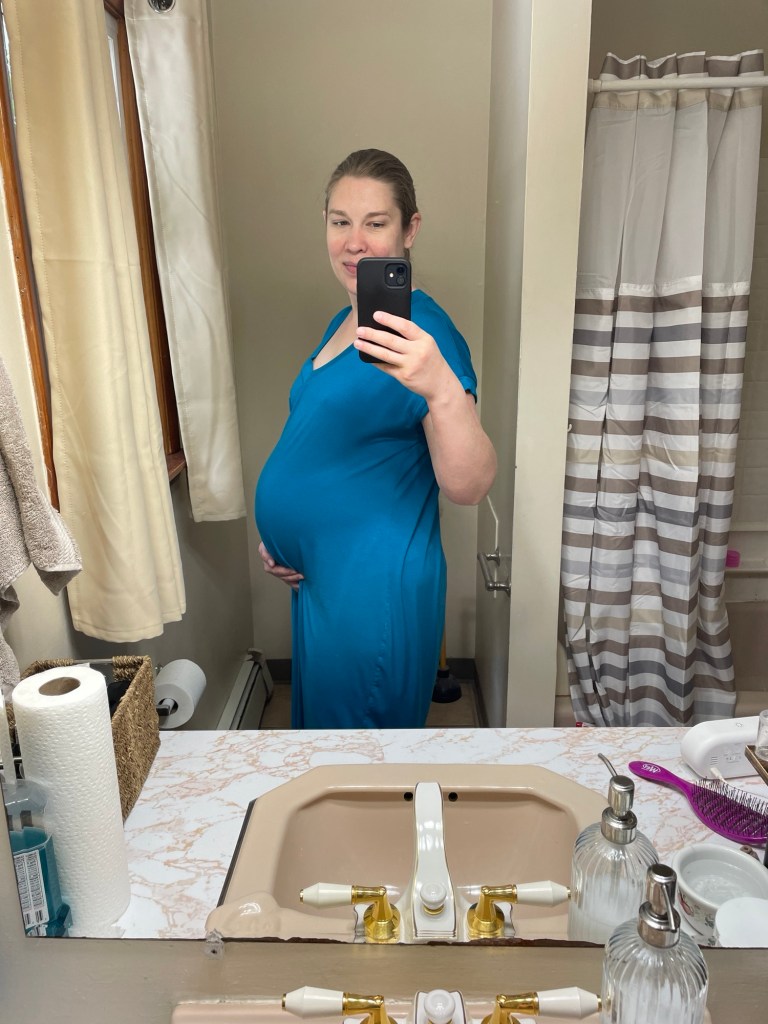
After closing on the house of course we found all sorts of expensive issues with the house the rather sketchy seller had covered up. I have no regrets about buying though, we are finally settled and the house is in an excellent location and neighborhood with a decent lot. It is roomy enough for our growing family, and for the first time ever I have a dedicated sewing room. We did the best we could considering the extremely low inventory in my state. But between caring for the baby, trying to unpack, and trying to fix all the things wrong with the house I’ve been way too busy to even think about using said sewing room! The last time I sewed was June, when I made my final Style Arc Richie tunic dress. The photo below is the only one I have of it – I ran out of time for photos before giving birth. It did make a great summer maternity dress though. I used a modal rayon/Lycra jersey.
Style Arc Richie tunic dress, 32 weeks
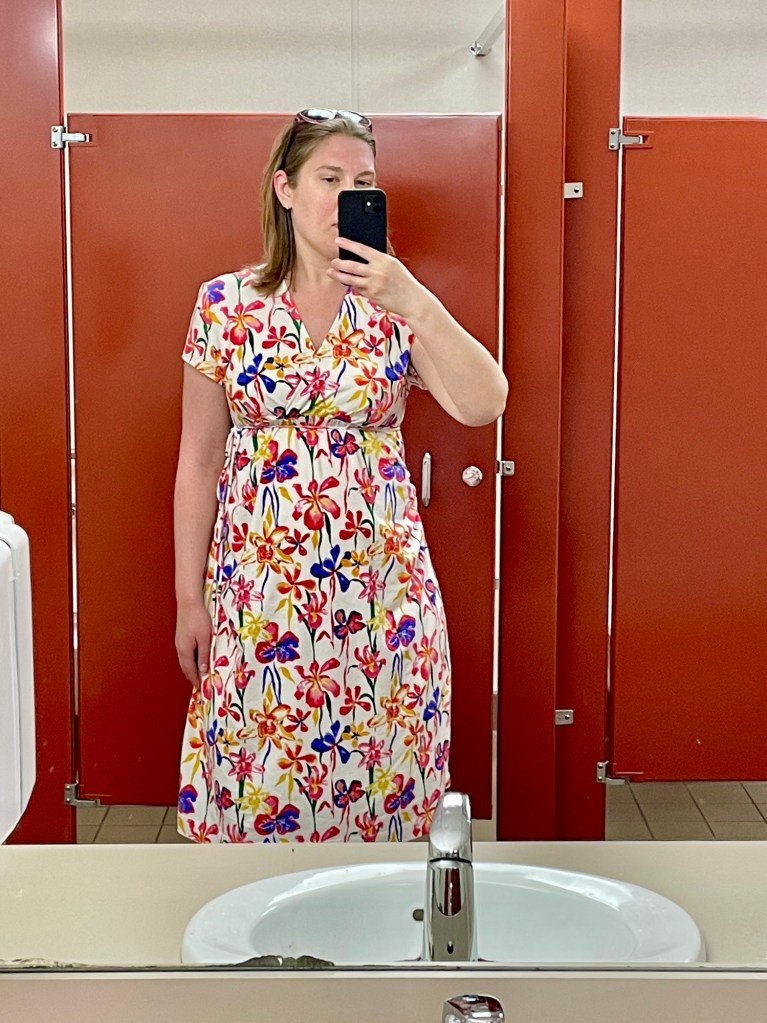
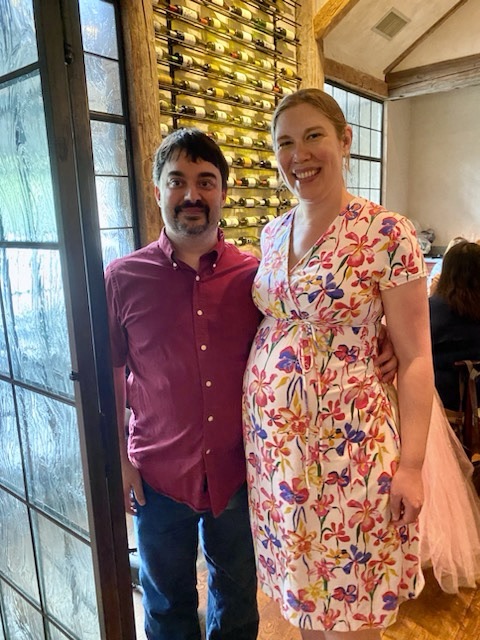
I also made a couple of Burda 6/2010 #132 maternity dresses. I made this one out of a cotton/lycra jersey from Gorgeous Fabrics. Unfortunately these are the only two photos I have of it.
22 weeksAt my baby shower! 32 weeks
Now that our family has settled into a routine, I’m more recovered from the pregnancy and birth (and getting used to the sleep deprivation), and we have addressed the most urgent issues with the house, I’ve finally started thinking about sewing again. My son is getting baptized in the spring and will need a christening outfit, so I’m hoping to start working on that soon.
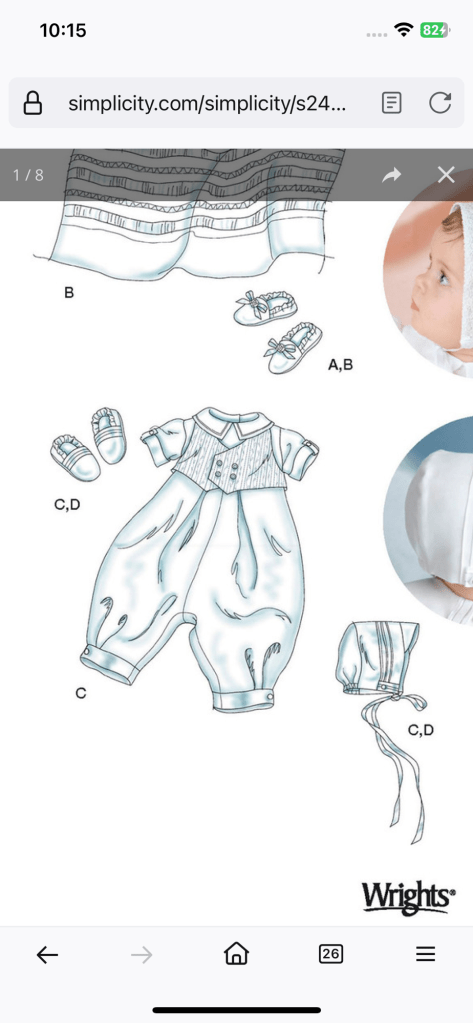
Simplicity 2457
By some miracle I managed to find a white Irish linen I bought back in 2020 from Fabric Mart. Still not sure how fancy I want to get with it, but I’ve started cracking open some books I have about heirloom sewing machine techniques.
Worn with my navy Style Arc maternity pantsPleat detailBack neck detail
I actually made this back in February. In early March I was finally starting to feel well enough to work on taking photos, and then I got covid (along with my husband, parents, and one of my brothers). Somehow all of us avoided it for three years, only to get it this spring!
Background
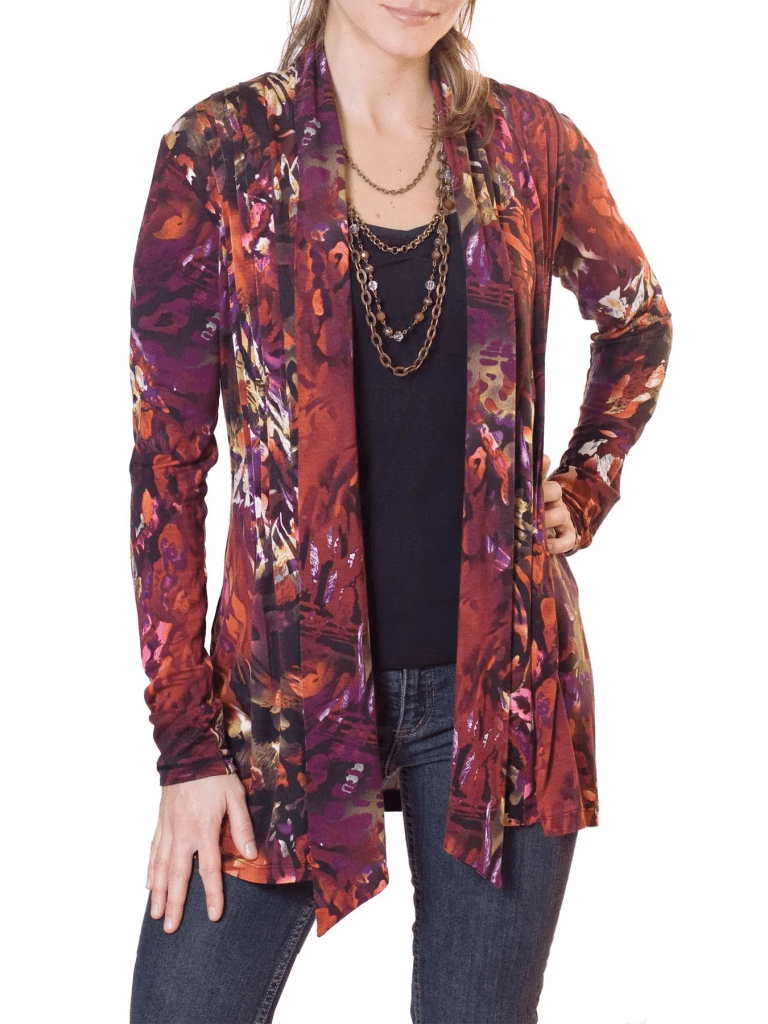
Jalie 2919 is a basically one of those tunic length “waterfall” style cardigans. The pleats help keep the volume at the top in control, with the fabric starting to let out at the waist. The sleeves are cut very long to allow for scrunching. Plan on shortening them if you want them to just be normal full length sleeves.
Jalie had this listed in their maternity/baby category. I think this is a great top for pregnancy because it helps hide everything in the first trimester, still fits once you start getting a bump, and then will continue to fit postpartum.
Materials
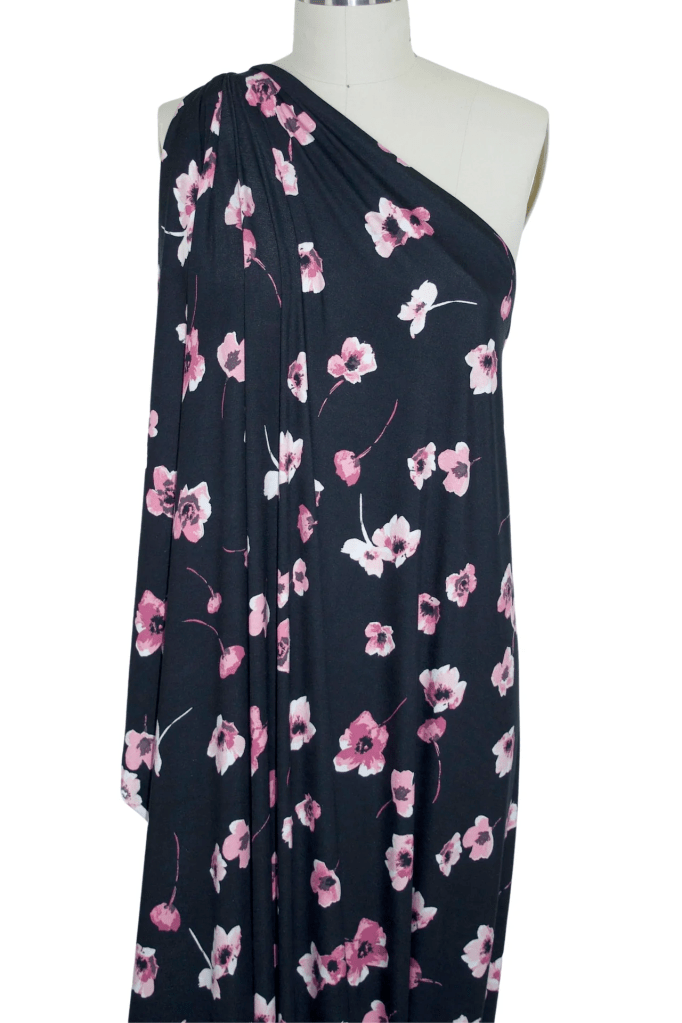
For this cardigan you’re going to want to use a lighter weight knit with lots of drape and 4-way stretch. Rayon/lycra or modal/lycra jersey is perfect. A thinner cotton/lycra jersey would also work.
My first cardigan was made from a rayon/lycra jersey from Gorgeous Fabrics, purchased recently during Ann’s big anniversary sale. It is super soft and stretchy, and I love cuddling up in it! I meant to take photos of it today, but completely forgot about it until after I had already taken down my reflector, camera, etc. Oops!
My second cardigan, which is in the photos, was also a Gorgeous Fabrics rayon/lycra jersey. Another super soft knit with wonderful drape. The colors are so beautifully muted and perfect for springtime.
Fit
I made a size V, which corresponds to a 37″ bust (my measurement at the time).
Tapered out to a size Z for the hip
Lengthened between bust and waist 3/4″
3/8″ forward shoulder alteration
3/8″ sloped shoulder alteration
I lengthened the sleeves 3/4″ before realizing that they were already drafted to be really long (and with my brain fog I failed to notice this on the pattern model). I ended up shortening them at the hem 2″ – and that is after removing the 3/4″ length I added.
Notes
Jalie has you stitch the pleats from the inside then just baste them in place at the neckline. Instead of stitching I basted the pleats from the inside, then topstitched them in place from shoulder to waist (about where they end). I think it looks a bit more finished and does a better job keeping them in place during washing.