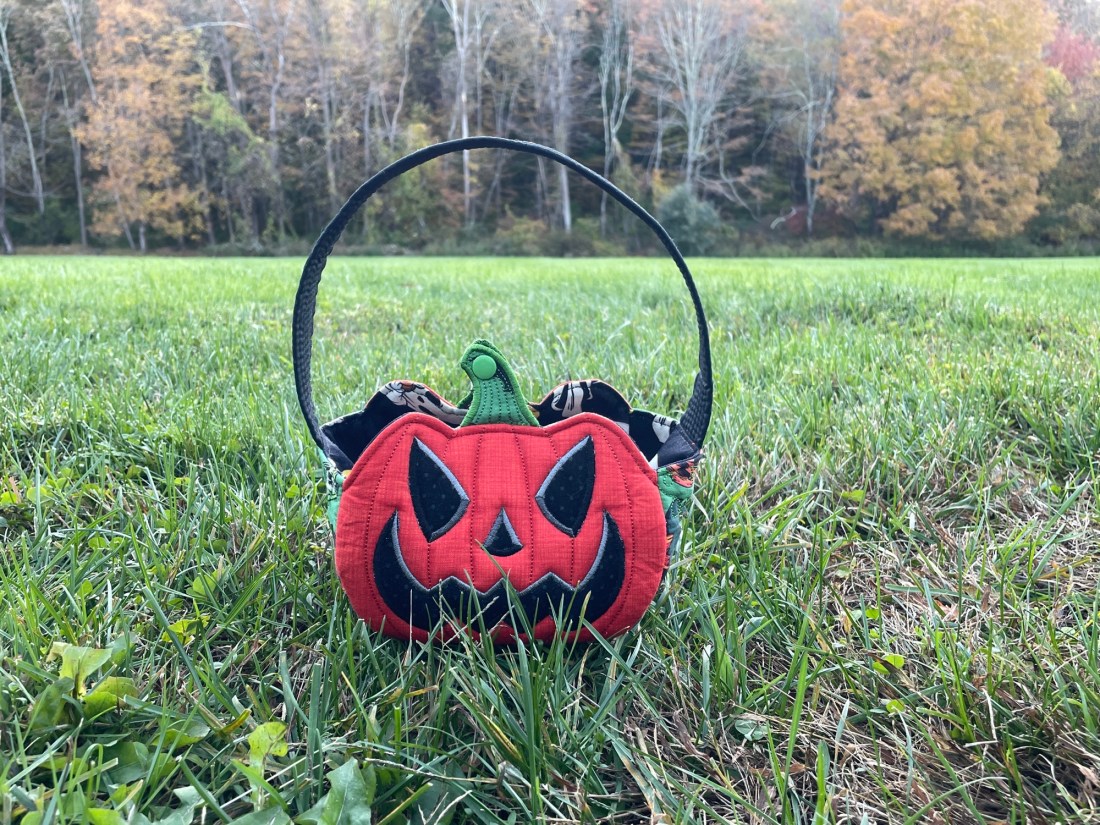
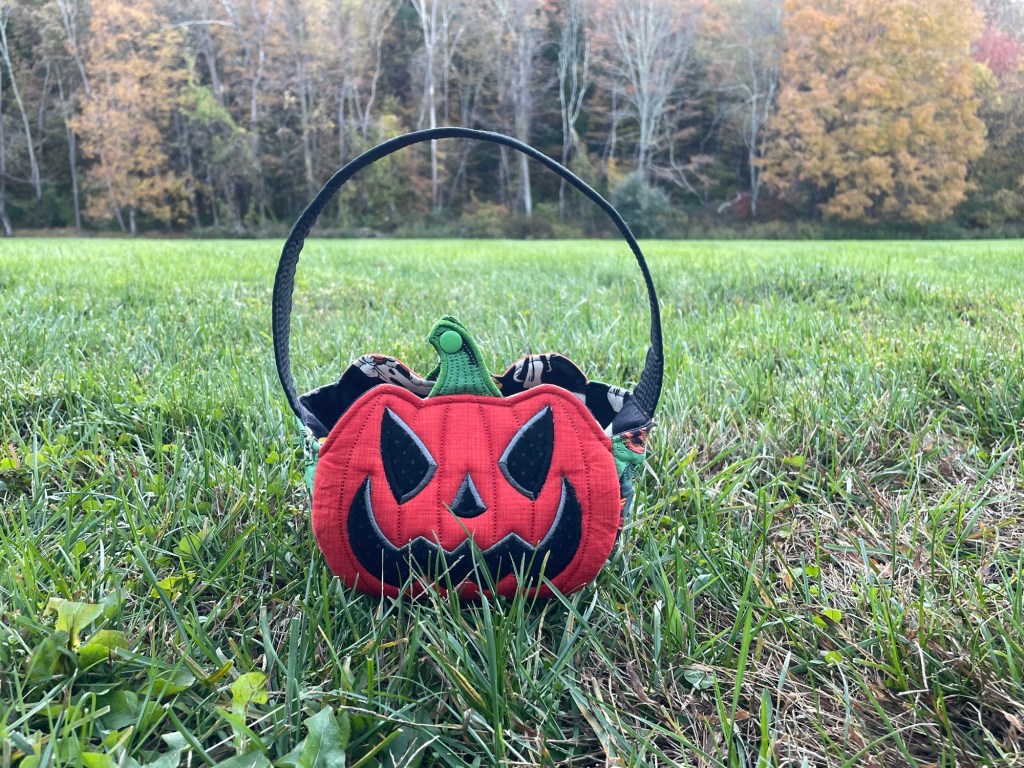
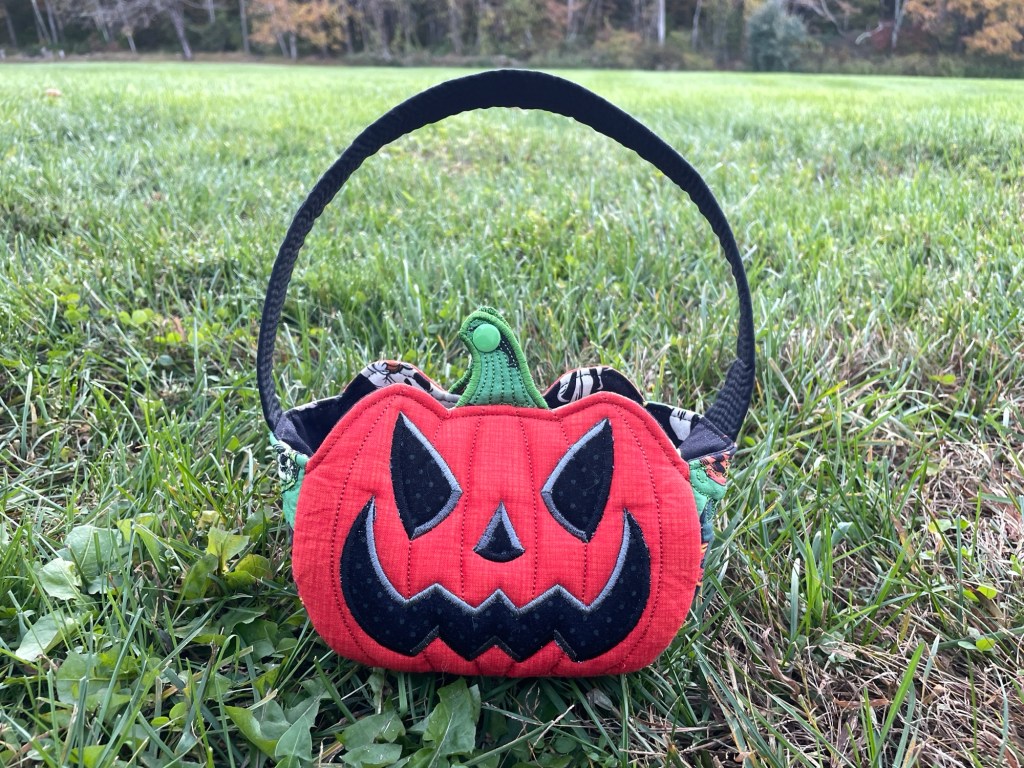
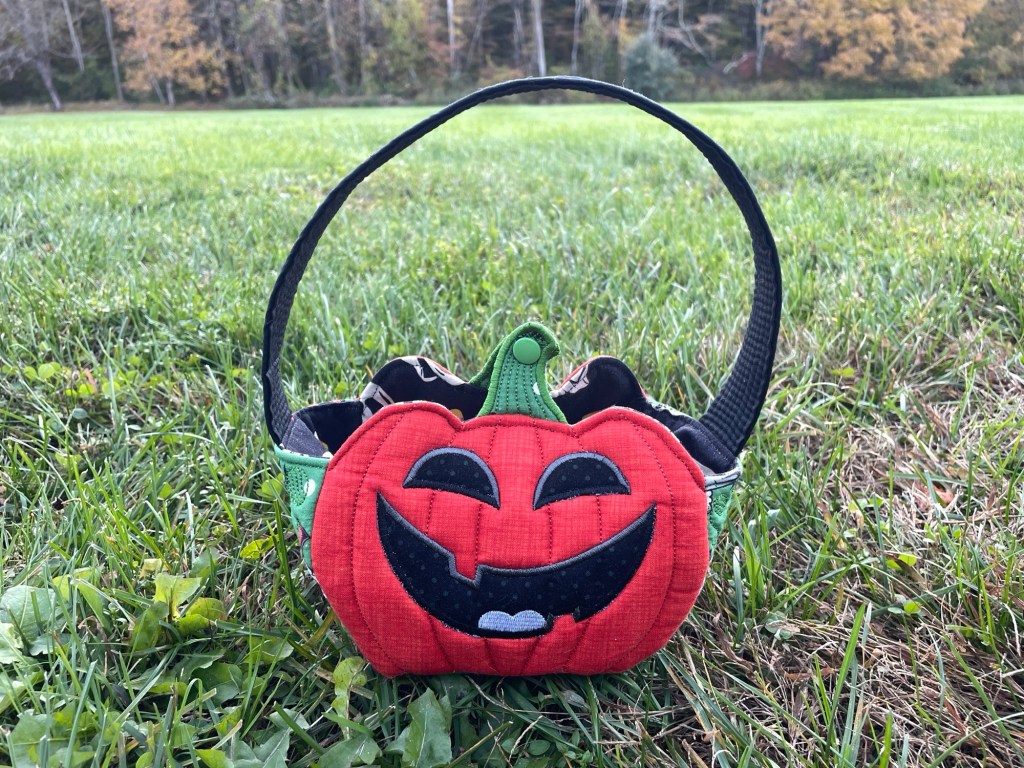
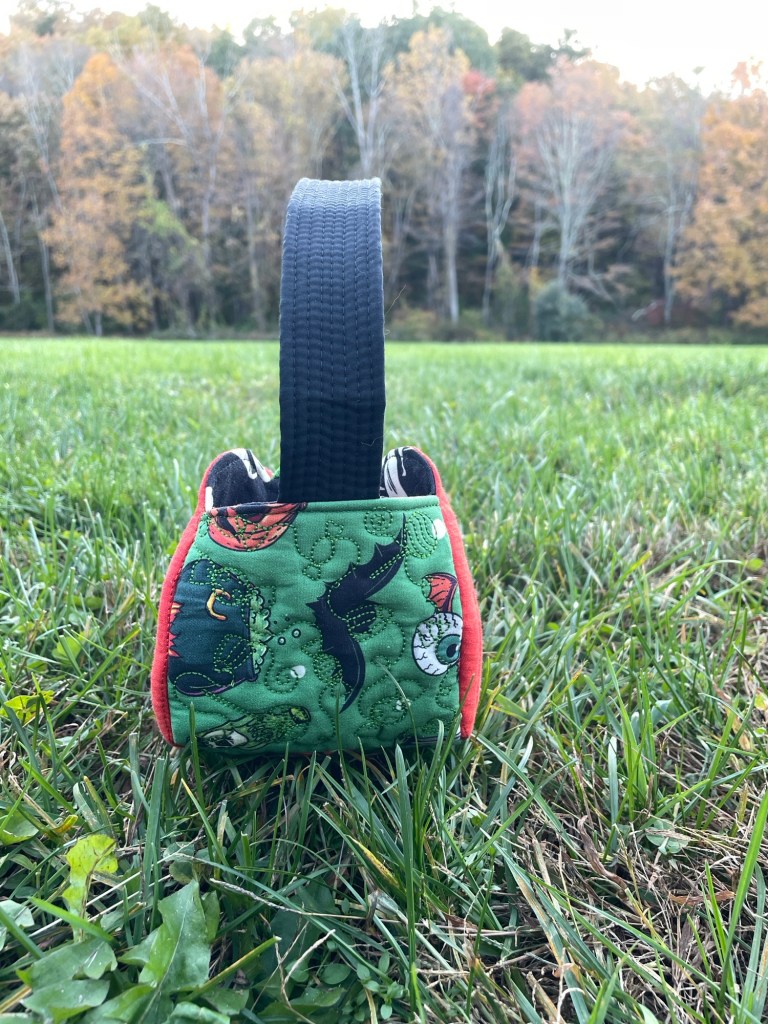
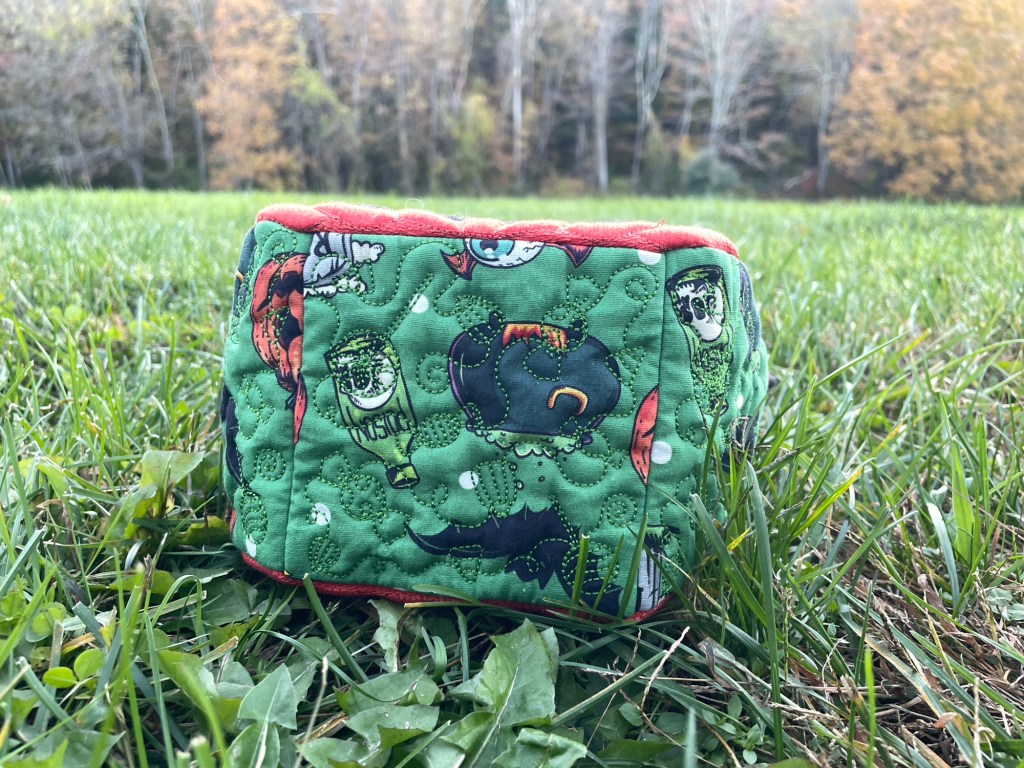
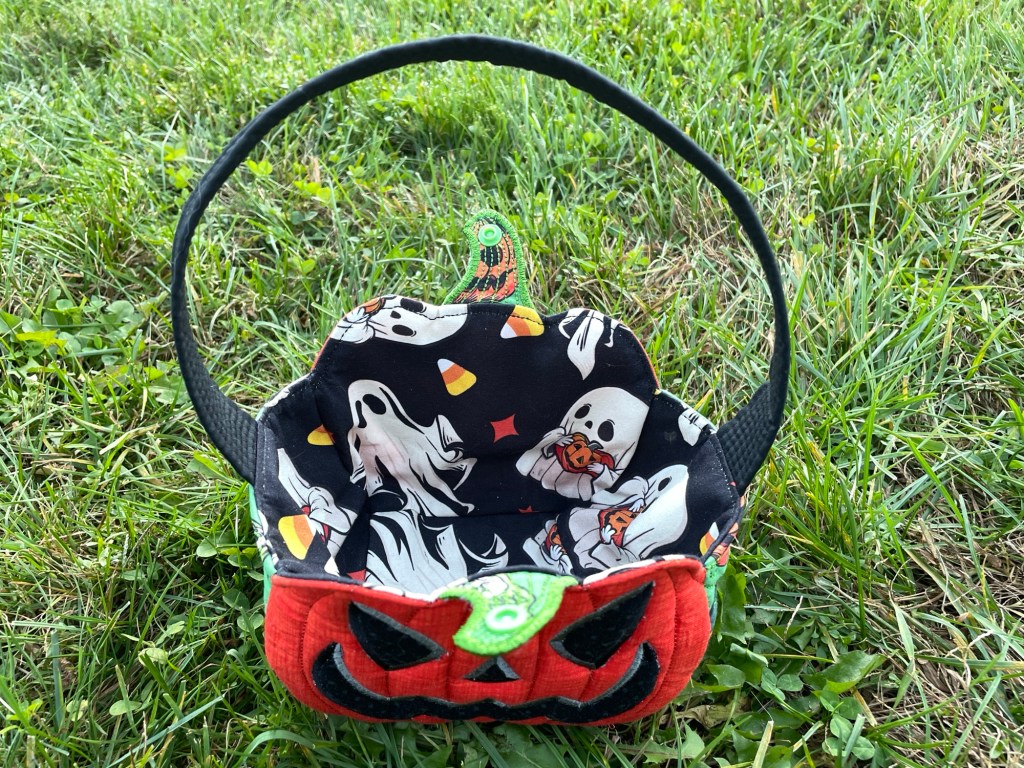
The Jack-o-lantern trick or treat basket from Sweet Pea Embroidery features a “trick” as well as “treat” face, embroidered stem, and embroidered free motion quilting style back and sides. There’s three different sizes: 5×7” hoop, 6×10” hoop, and 7×12” hoop. Since I’m working with an ancient Janome 300e embroidery machine I went with the 5×7” hoop size.
This is the first design I’ve purchased from Sweet Pea Embroidery Designs, and I found it well digitized. Normally I hunt for what I need on Etsy, which is kind of like playing Russian roulette for the home machine embroiderer.
Materials
Most of my materials for this were from Amazon:
- Simthread embroidery thread from Amazon for all of the embroidery stitching
- HBI Wash Away Water Soluble Embroidery Stabilizer for stitching the stem
- Superpunch Cutaway Embroidery Stabilizer, 3.0 oz for stitching the pumpkin faces, sides, and base
- JarThenaAMCS 12Pcs Halloween Cotton Fabric Bundle for the side, base, stem, and lining fabrics
- High density craft foam for the batting for the pumpkin face, sides, and base
The orange fabric for the pumpkin was quilting cotton from my mom’s stash, as was the black cotton for the straps.
The gray dot on black quilting cotton I used for the pumpkin face was a Fabric Mart purchase from 10-15 years ago.
The interfacing for the upper edge of the lining was Profuse Flexible from Wawak.
The batting for the stem was needlepunch from The Green Pepper.
I used an extra-long KAM snap in Spring Green for the stem snap.
For the strap, instead of interfacing I used a scrap of bagmaking foam I had leftover from a previous project.
Construction
The embroidery alone took at least four hours, between getting everything hooped and cutting the applique and doing all of the stitching. I also use my machine on the slowest speed because it is old and I know the thread I’m using isn’t premium quality.
I had an issue with the stem at first, turns out I accidentally did something to the file when I opened it in Ink/Stitch and then some of the satin stitch for the outside of the stem got misaligned. Once I downloaded a fresh copy and put it on my flash card it worked perfectly. Once it was done I found it easiest to throw the stem pieces into a fine mesh lingerie bag into the regular laundry to get rid of the water soluble stabilizer. (I did prewash all of my fabric before starting this project.)
This is the first time I’ve ever done an applique embroidery design. Even while using applique scissors I found it really challenging to do the trimming on the pumpkin face because of the loft from the foam and rigidity of having to work within the hoop, and as a result some of the pumpkin face is messier than I would like. I did try to use HeatnBond Lite for the “trick” (aka scary) pumpkin face and found it did help control the fraying, though I still had an issue getting the trimming close enough in some spots. That being said, this is also my first in the hoop embroidery design and I LOVE how you can get such precise results with far less effort than it would take on an ordinary sewing machine. I just wish I could upgrade to a newer machine with a bigger hoop!
I wanted the strap to have quilting texture like the rest of the bag, so I topstitched 1/8″ rows down the entire strap with Gutermann Mara 100.
The instructions were okay. I wasn’t fond of how they have you do 5/8″ seam allowances. (You trim the pieces 1/2″ away from the stitching line, and then are told to stitch just inside of that, which ends up making it a 5/8″ seam allowance). They should have been only 1/4″ to 3/8″ to make handling things easier. I really didn’t enjoy the part where you had to sew the outer bag pieces together – so stiff and bulky, and fat seam allowances make it even harder to get accuracy.
Not sure what happened but my bag lining ended up being a little bit too big. For a project like this for a kid it doesn’t matter but I would have preferred it to fit a little more snugly.
When it came to edgestitching the upper edge I realized I didn’t have a single spool of orange thread in stock. (I just never sew with orange.) So I ended up switching from my Juki TL-2010Q to my Janome 6500P so I could use the triple straight stitch and regular embroidery thread.
Conclusion
This was certainly a labor of love, but my three year old son LOVES it. He’s obsessed with bags and baskets in general, so to have something like this is really exciting for him. I was afraid it would be too small for him but it is actually a good size for him. We are practicing his “trick or treat” so he’s ready for Halloween!

