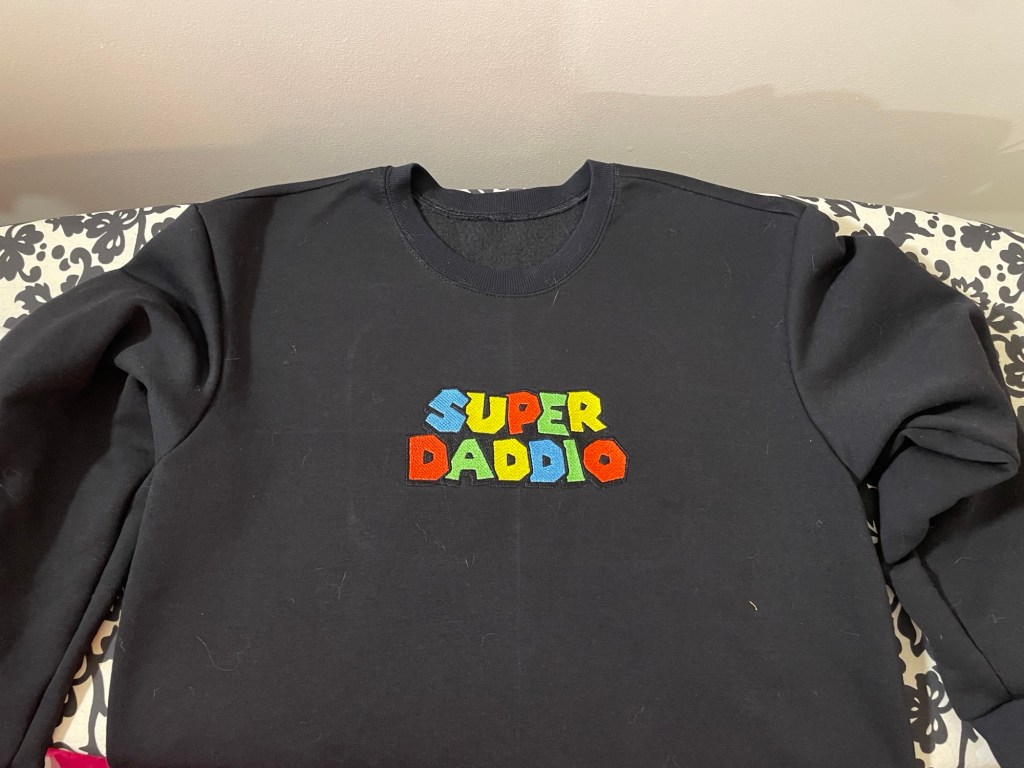
Pattern Background
Jalie 3351
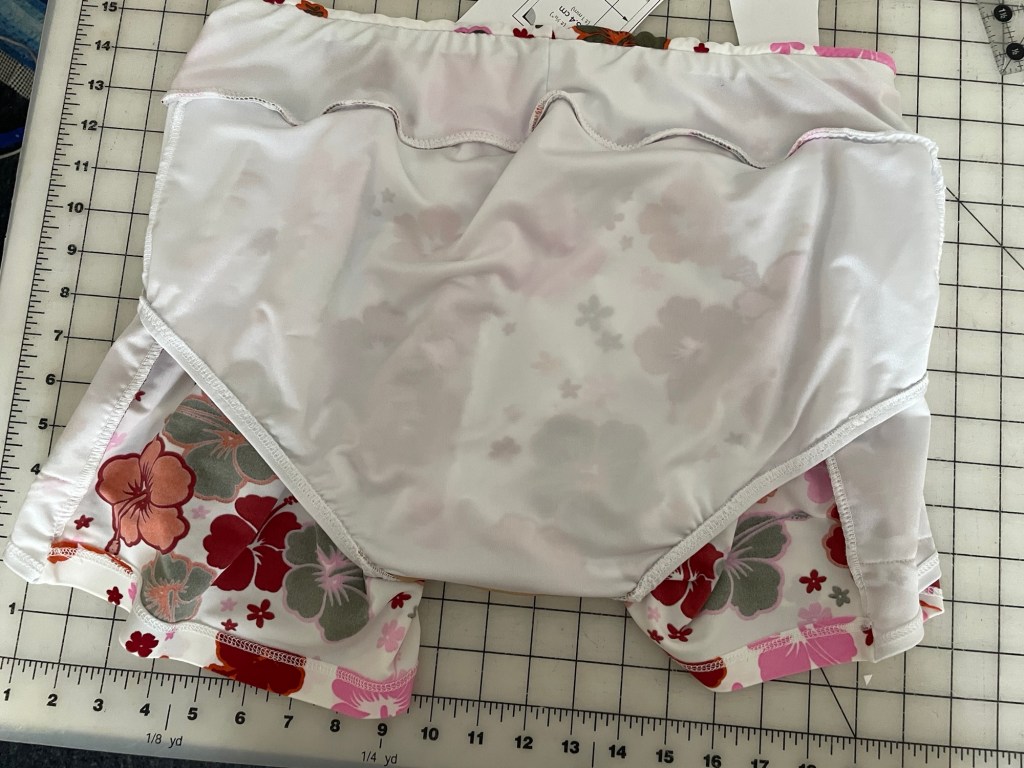
This pattern can be used for either running or swim shorts. It has a wide waistband, side panel pockets, and built in briefs.
Per Jalie, the waistband hits around the navel for kids, a few inches below the navel for teen and smaller adult sizes, and got up around the navel again for the larger adult sizes.
The size range goes from F (2T) all the way to FF (women’s size 22/ euro 52).
This pattern is out of print now so it is only available as a PDF.
Jalie 4136
This fully lined bikini pattern has both a scoop neck and crossover versions for the top. The bikini bottoms include both a lower rise version and higher waisted versions, one of which has a self fabric tie detail.
Size range goes from 2T to 2X. Like with a lot of the newer Jalie pattern releases there’s also a PDF only version that goes from 2T to 5X, and a plus size version for 1X-5X.
Fit and Alterations
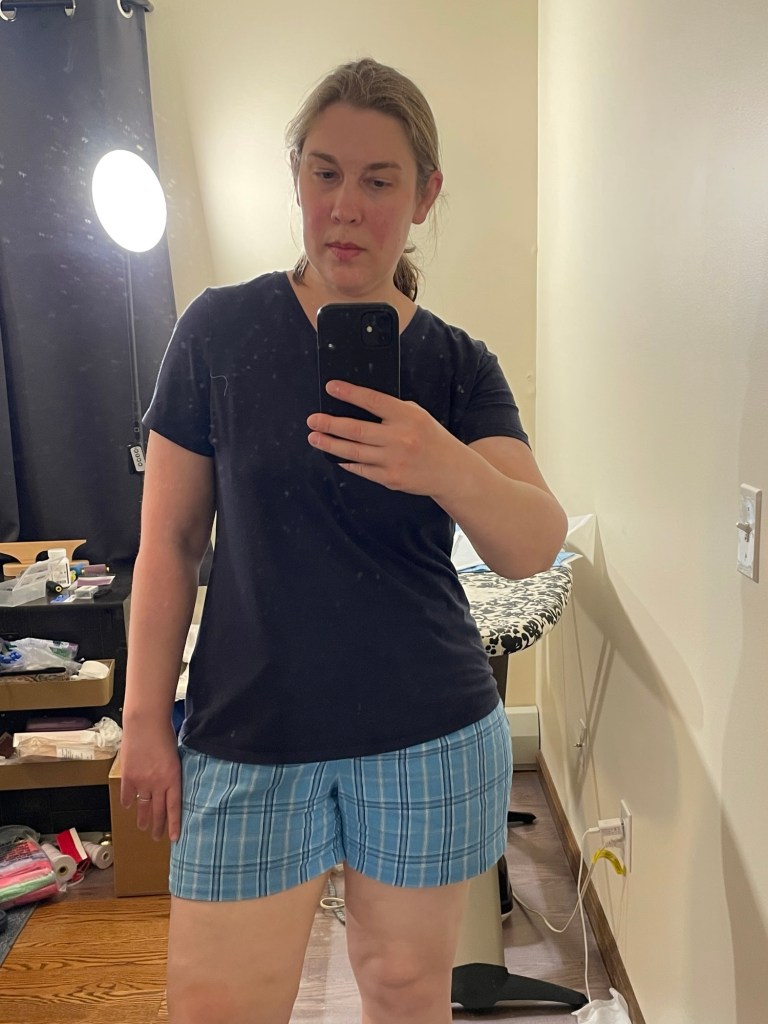
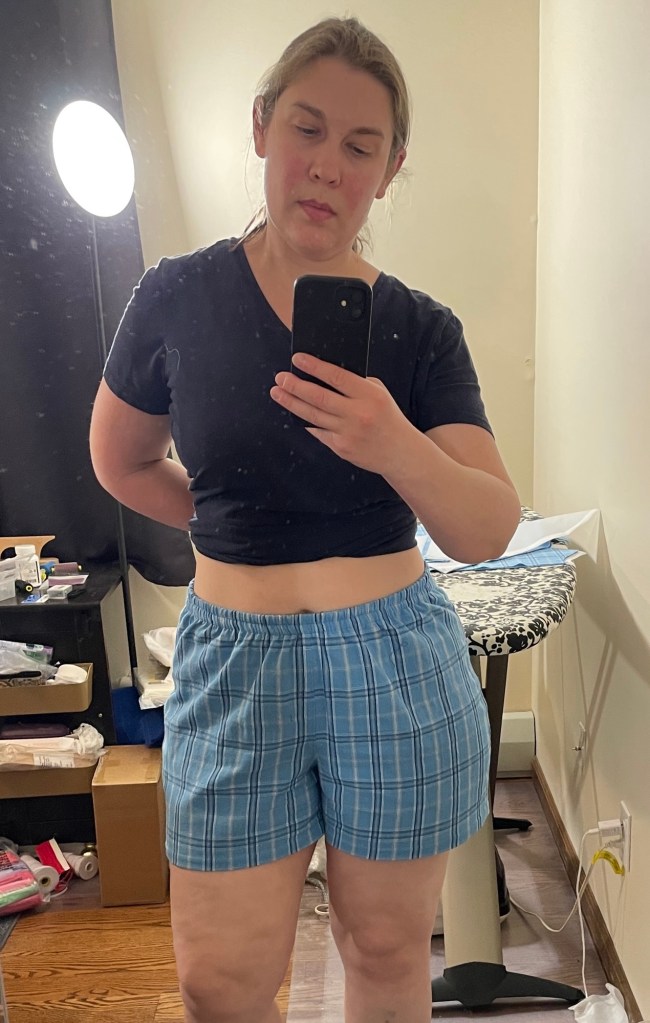
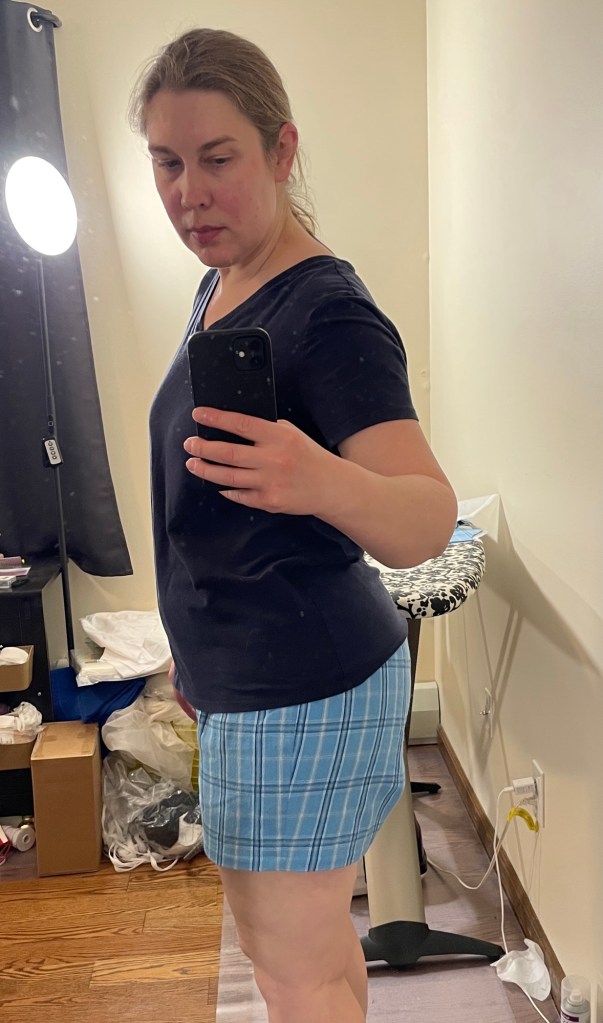
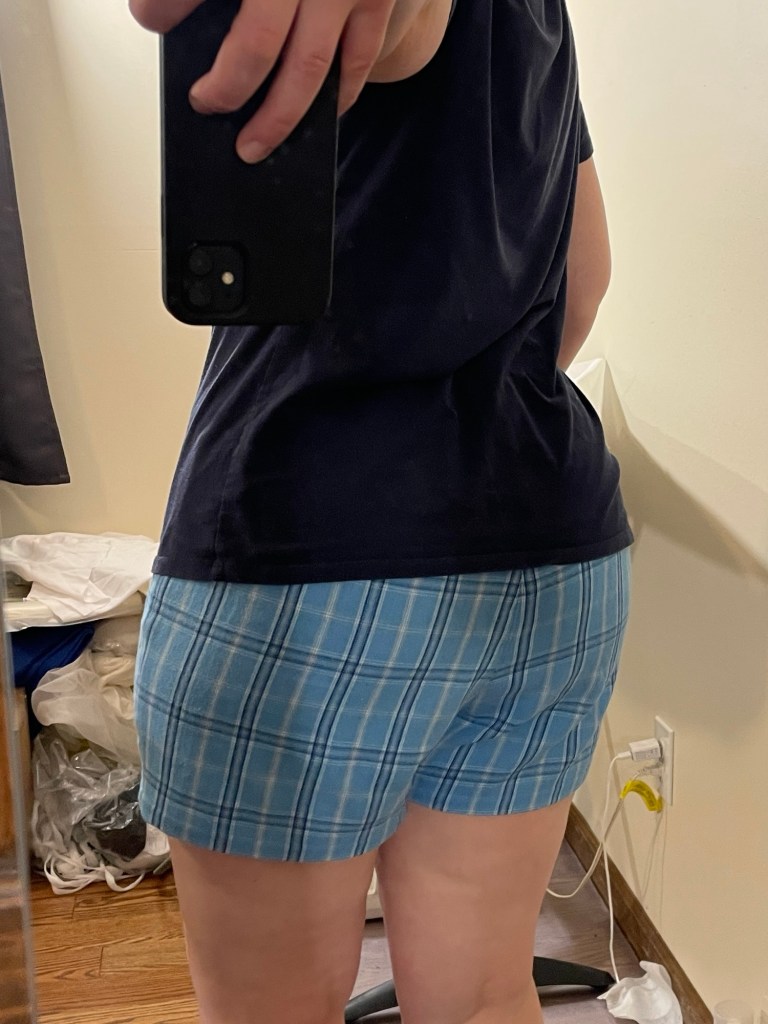
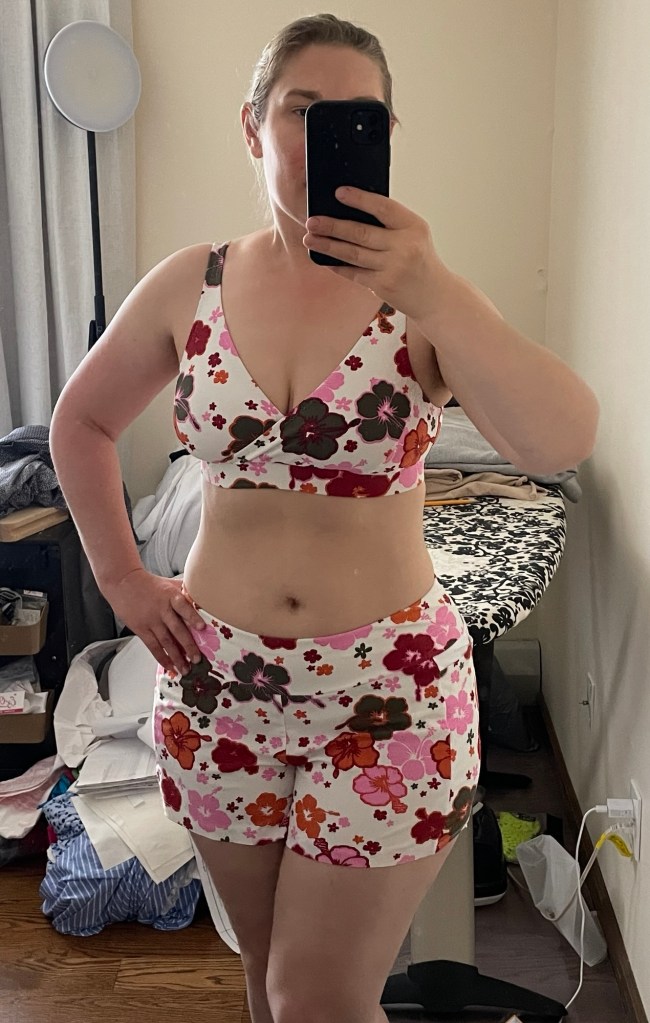
Jalie 3351 Shorts
Per my hip measurement I made a size CC. The ease was perfect.
I added 2.5” of height to the center back seam, tapering to nothing at the center front. I also added 3/8” width to the front inseam for my fuller thighs. When I was adding the elastic I sized down a couple of sizes per the elastic cutting length chart. They feel snug and secure without digging in.
After making a test version I lowered the rise 1”. They sat at the navel and just seemed too big and matronly when worn with a bikini top. They would have been fine if worn with a rashguard top or tshirt.
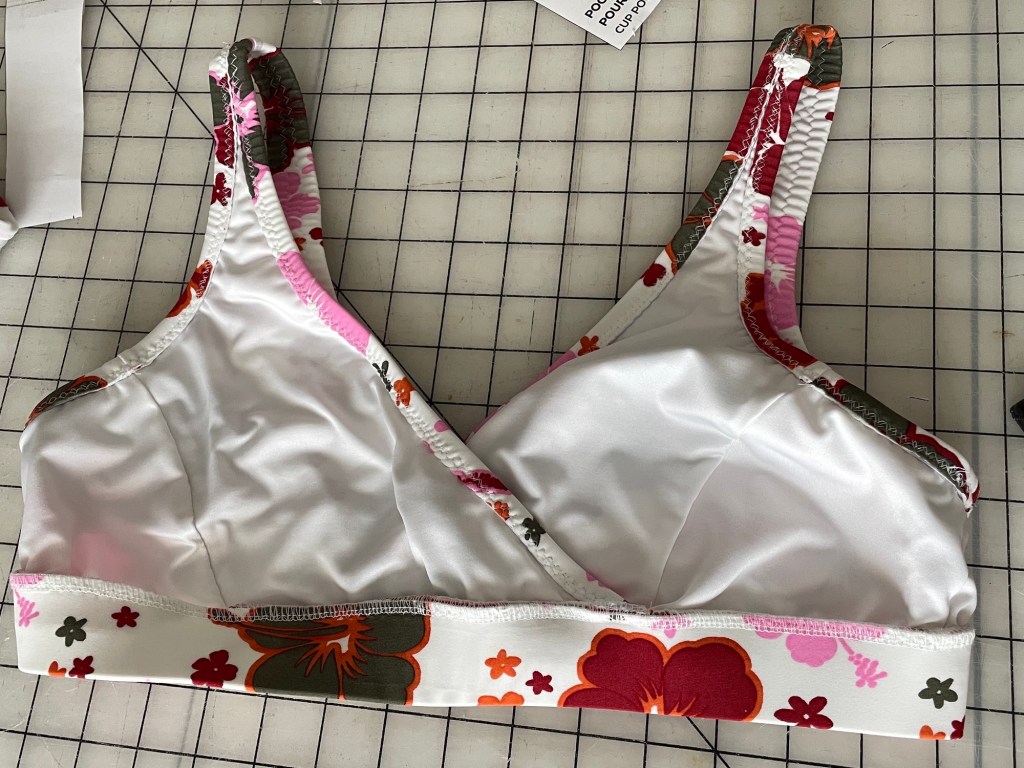
Jalie 4136 Bikini Top
I made a size Y. I sized down to a W for the band. I compared my underbust measurement to the size chart and W was the closest matching measurement, so that’s what I cut.
Fabric and Materials
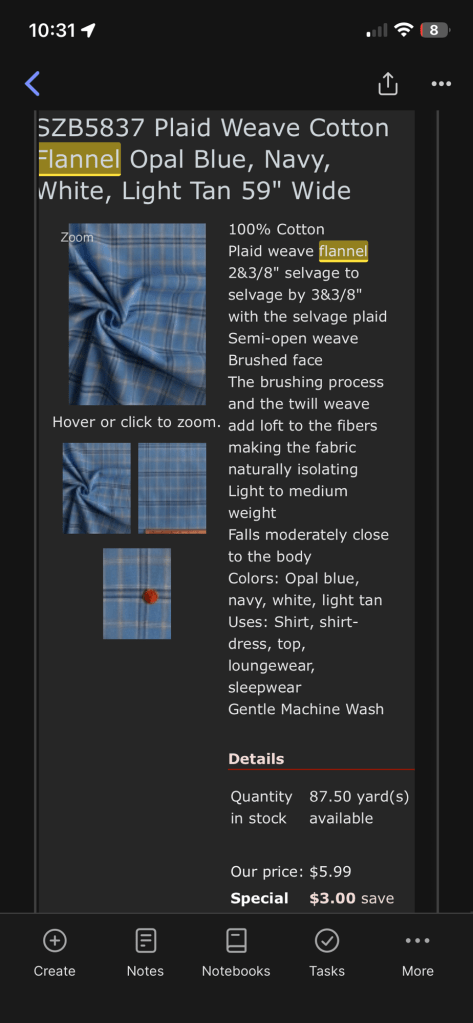
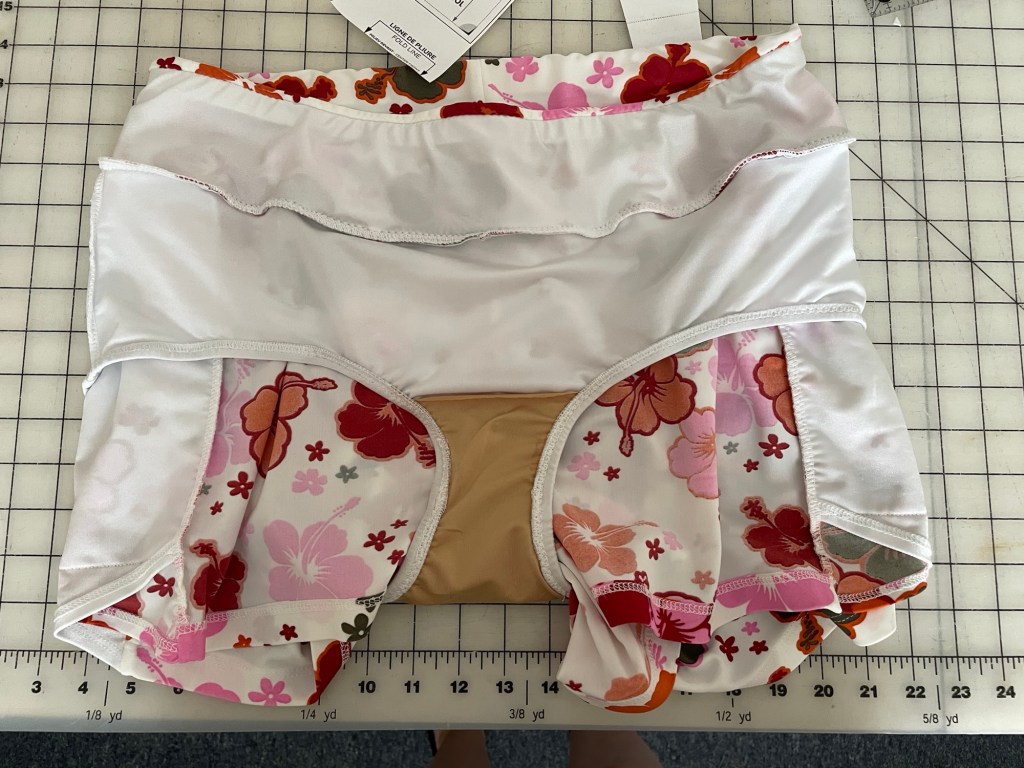
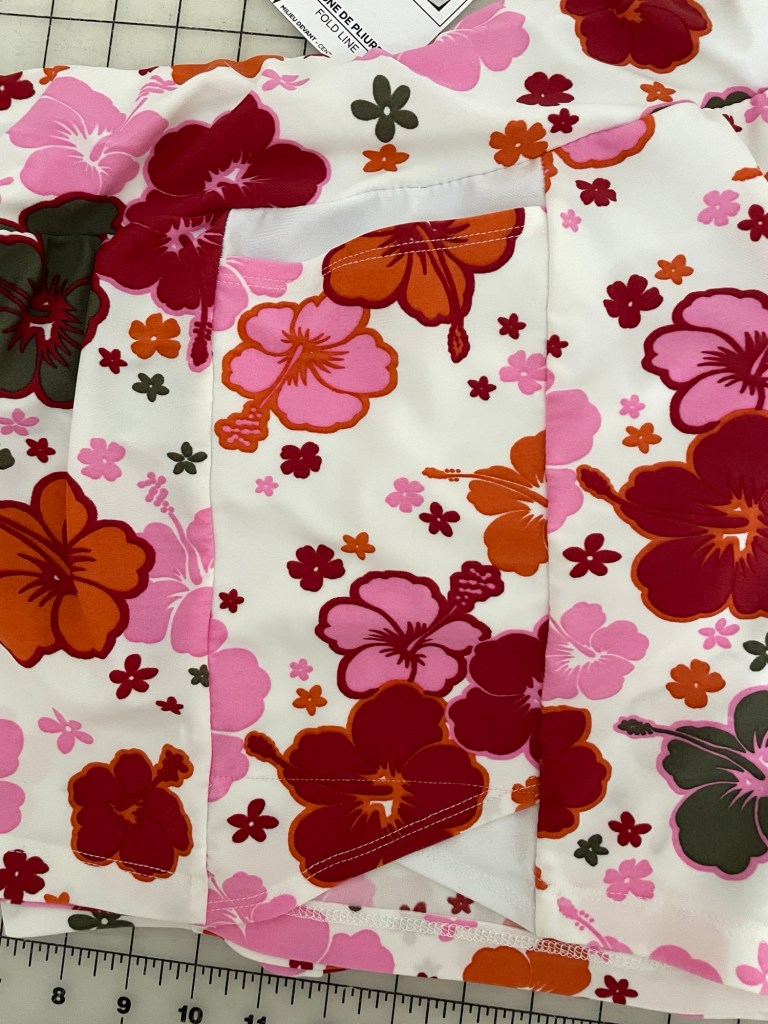
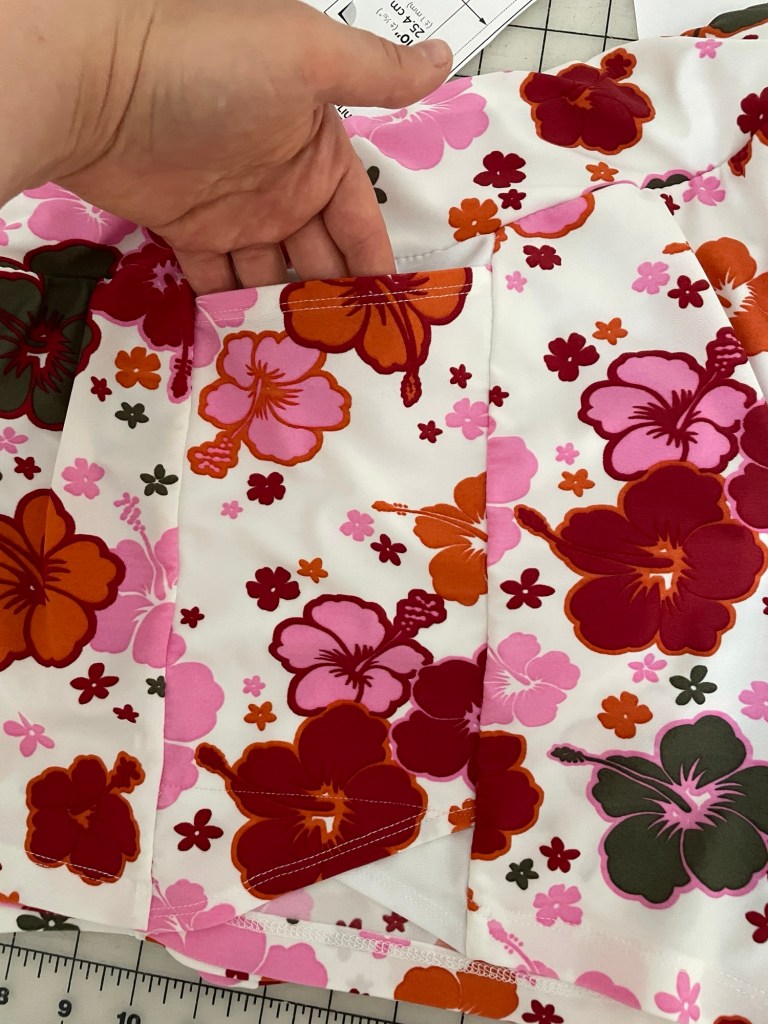
I used a Lycra purchase from the Elingeria sometime back in 2012 (yes it has been sitting in my stash all this time). I didn’t have quite enough (these were scraps from another project from long ago) so I cut the side panel, waistband facing, and brief from a white swimwear fabric I found on Amazon. I should have read the description better because it’s kind of shimmery and I prefer matte fabrics for swimwear, but so little of it peeks out that it doesn’t really matter.
The lining for the crotch was a swimwear lining recently purchased on sale from Emma One Sock.
The 3/8” braided elastic was from the Amazon seller Mandala Crafts.
For the bikini top I used a swimwear lining fabric from Payless Fabrics on Amazon.
Construction
Jalie 3351 Shorts
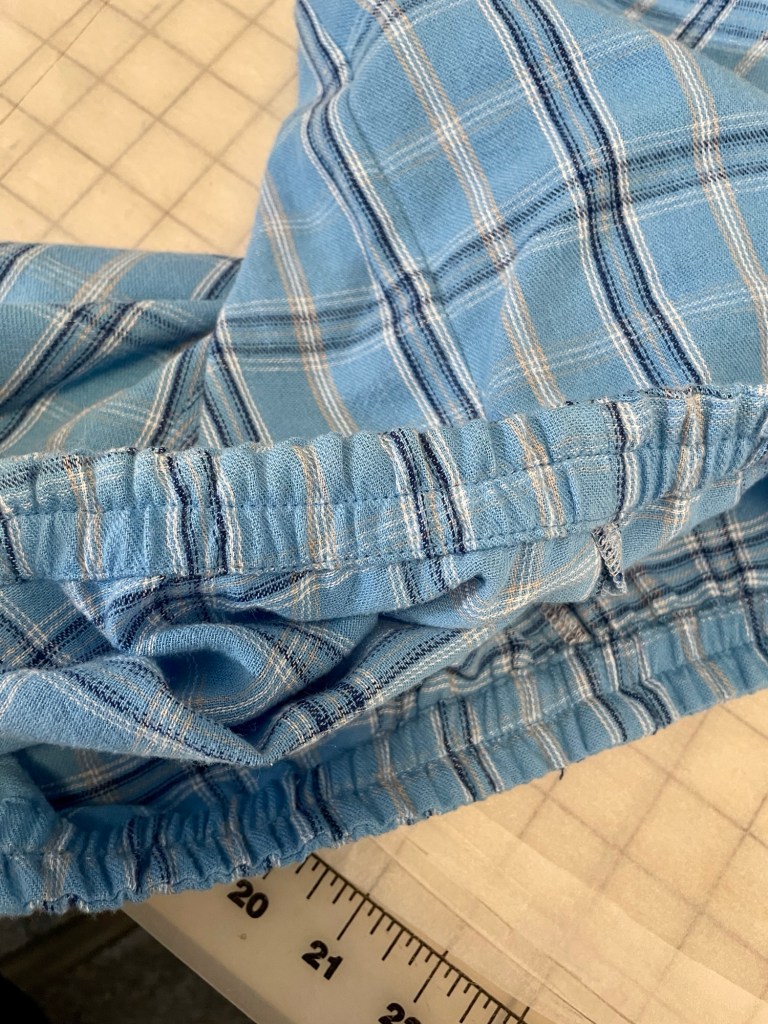
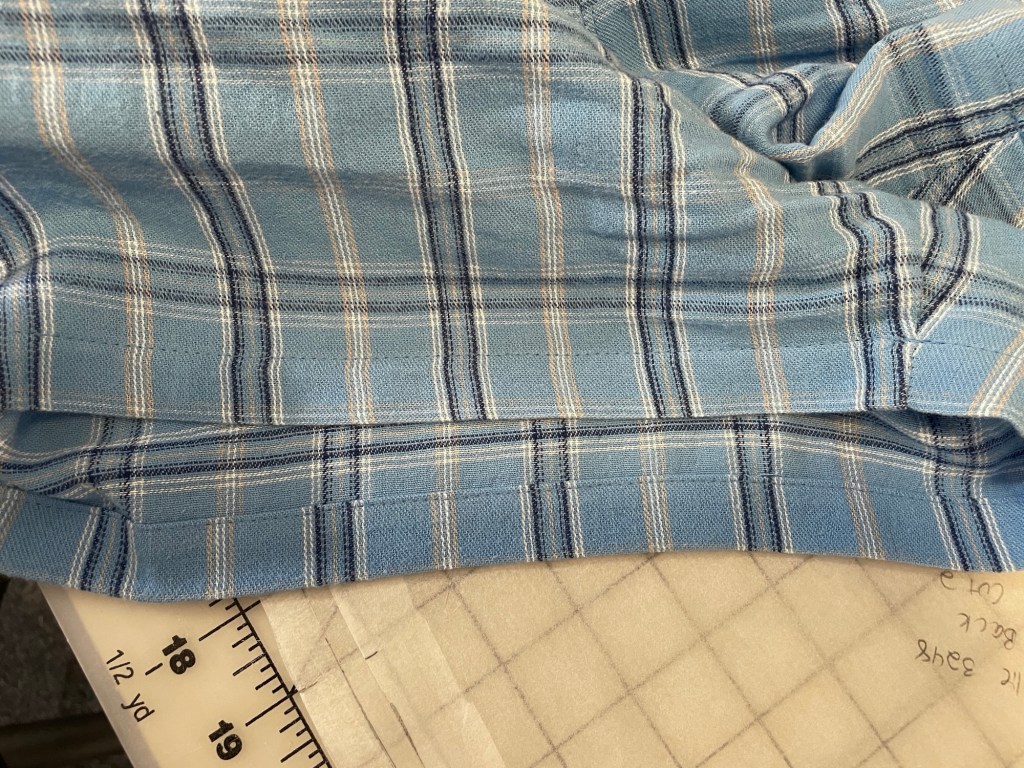
The instructions are excellent and I had no issues. I really like how the waistband is constructed. The facing is cut shorter than the outside waistband, which causes the seam where the elastic, outer waistband, and waistband facing meet to be folded entirely to the inside. This completely eliminates bulk at the upper edge of the waistband, and if you’re using a different fabric for the waistband facing it won’t show through at all.
I will say that my life was made significantly easier when turning up those hems for the pockets and hems by using Design One fusible stay tape. This tape is exactly 3/8” wide so if you apply it directly along the edge you get a nice guide for folding the hem before removing the paper. I just doubled it up to make it 3/4” wide for the front and back shorts hem. It not only made turning up the hem far easier on this slippery synthetic fabric, but also made cover stitching way easier. The final result still maintained its stretch. 10/10 recommend!
Jalie 4136 Bikini Top
Like with the shorts, the instructions were excellent. I particularly liked the band construction. You zigzag the elastic to one edge, fold the other edge of the fabric up around the elastic snugly, zigzag again, trim, and then sew it directly to the rest of the top. Very neat and completely eliminates the elastic rolling inside during wear or laundering.
Conclusion
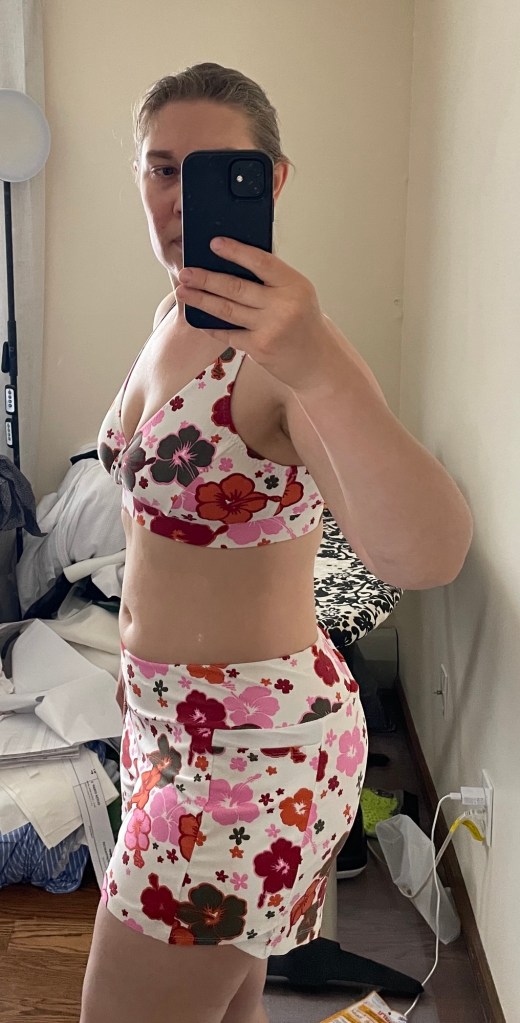
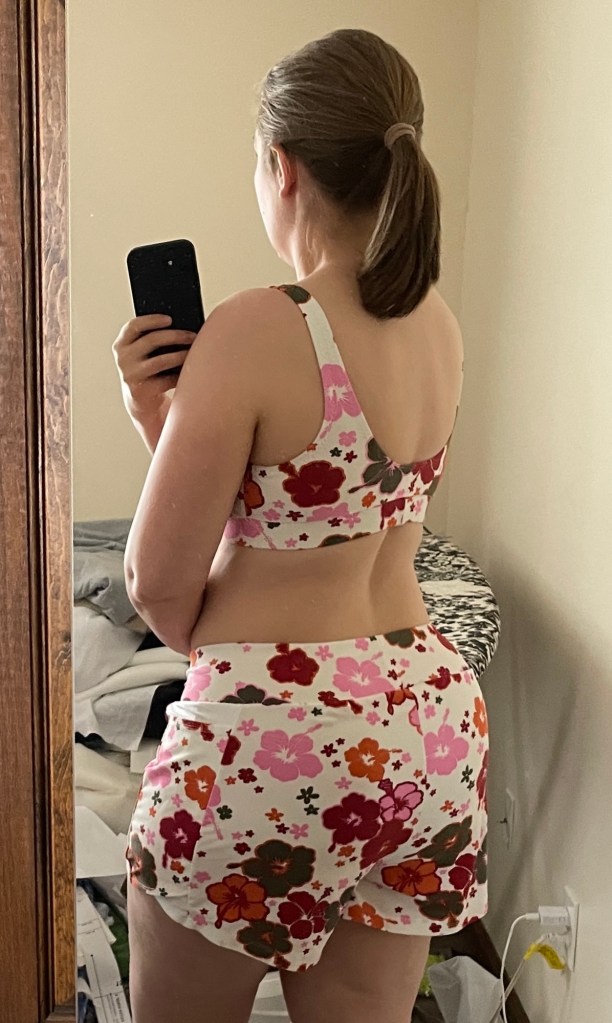
I’m extremely happy with the shorts. They fit and feel great! I wanted something I could confidently wear to the beach while playing with my little boy and these are perfect for that. Unlike with a skirt they won’t ride up in the water, and you get plenty of coverage if you’re self conscious about your lower half (which I definitely am post baby). The brief is full coverage and stays in place really well.
The bikini top feels secure and comfortable to wear. I think I am a 36C now (not sure since I haven’t worn a proper underwired bra in years now) and I feel like it gives good support. I have plans to make it as a bra top as well, because my toddler still nurses on occasion and the crossover styling makes that very convenient. (Jalie actually has a post on converting this pattern to an unlined bra top, though I would likely do a lined version for extra support.)