Second Jelly Roll Rug: Cottage Bloom

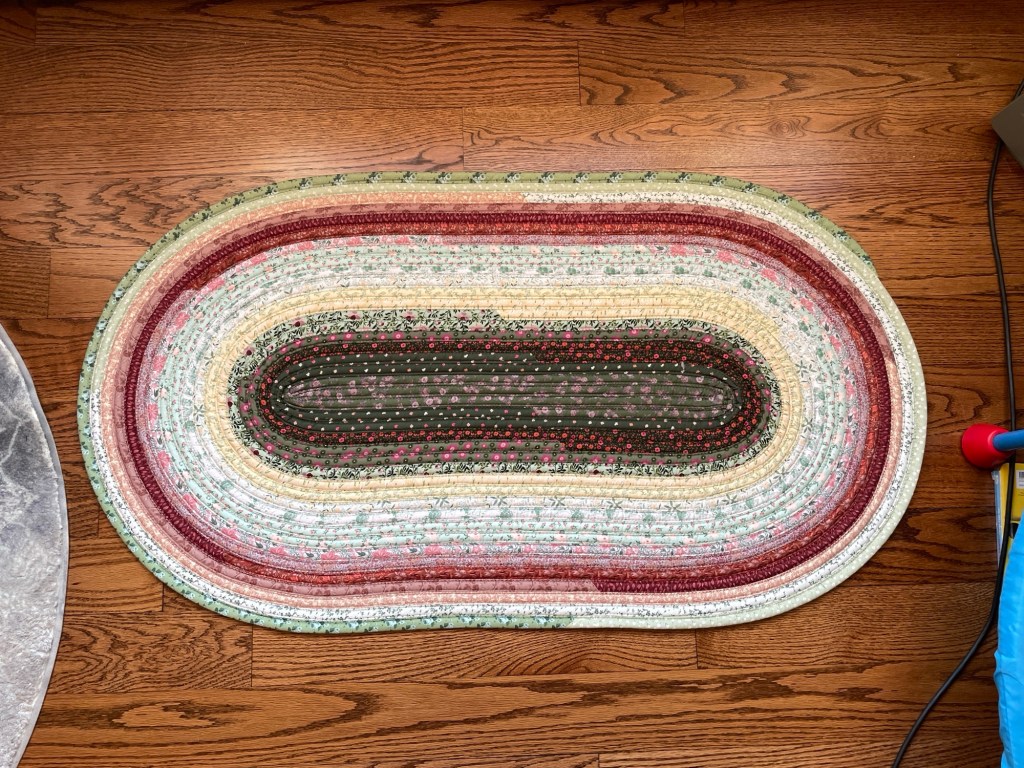
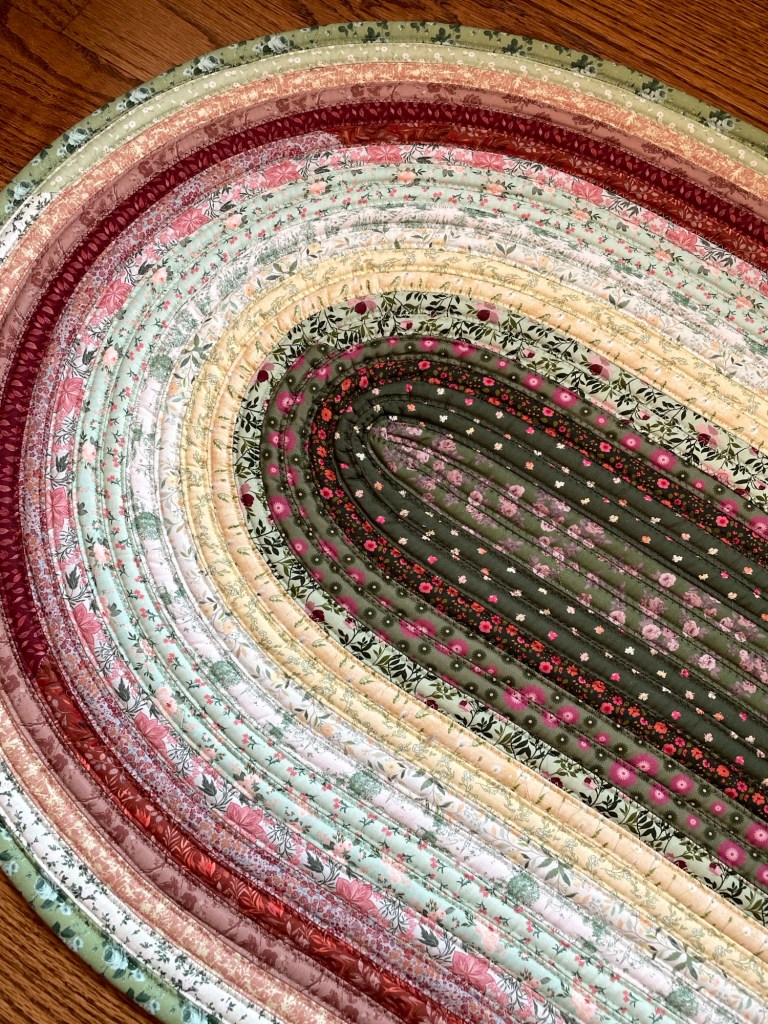
Fabric: Cottage Bloom from Craftido.

A few different things about this one from my first one.

I finally bought replacement legs for my Janome’s extension table, so I had that properly set up this time instead of it being balanced on some books. I also worked on my dining room table when it came time to zigzag the edges together. As the rug grew I was careful to push away anything that could bump up against it, like the chairs opposite from me. What a difference it made! It was much easier getting a flat rug this time.

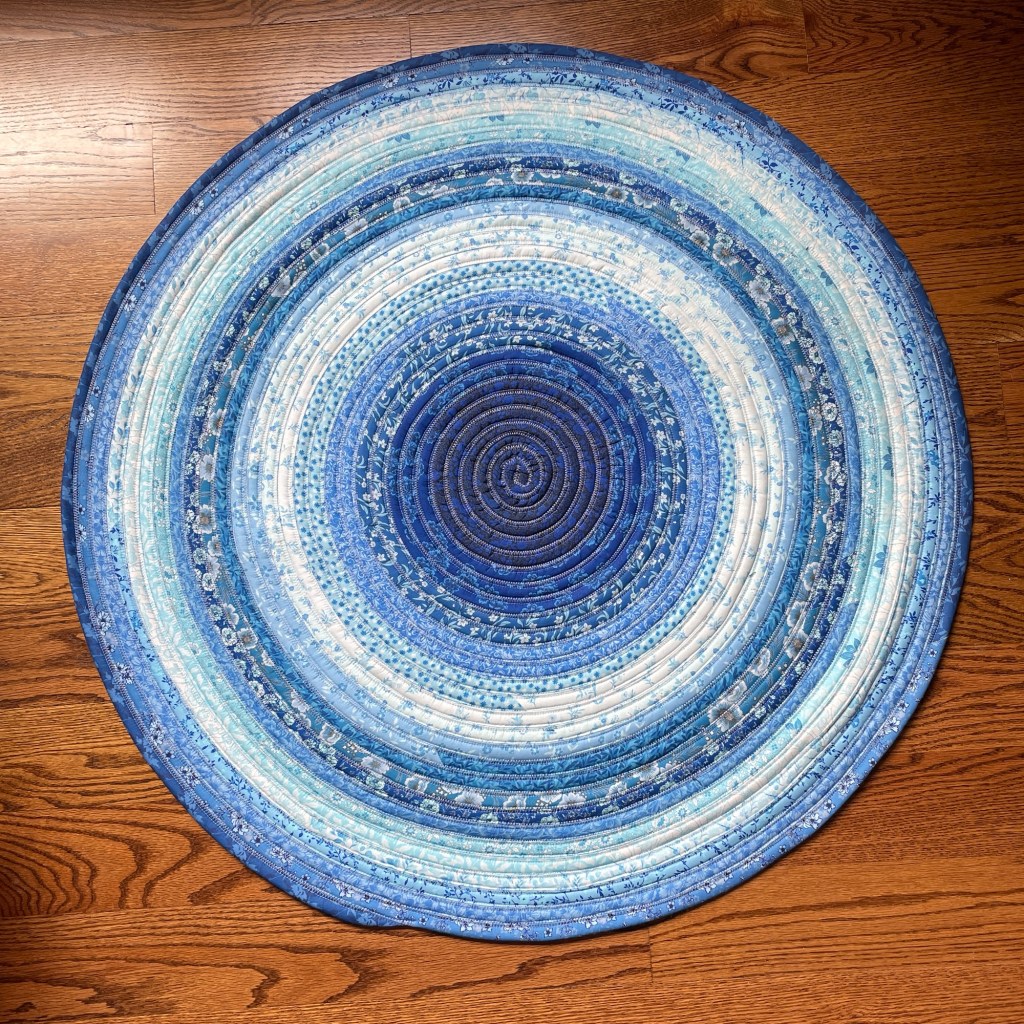
I decided to try to blend the thread colors with the fabric instead of using one color like I did for my first one. I like the more subtle look.

I also applied Gotta Grip-It rug fixative to the bottom after sewing. I have mostly hardwood floors in my house, which is downright dangerous when paired with a jelly roll rug. For my first rug I bought a rug pad to put underneath but didn’t like how it kept sliding out, so I decided to try something more permanent. With Gotta Grip-It you just paint on a thin layer and let it dry. It paints on white but dries clear, and once it’s finished drying it creates a tacky finish on the bottom of the rug. Aside from texture, the only indication Gotta Grip-It is there is a slight sheen.

After trying it on this rug, I am in love. It really keeps the rug in place! No rug pad sliding out, and the rug can still be washed.

With this particular rug I didn’t do a great job rounding the first few corners, and as a result they’re kind of squished. I was working with my toddler playing around me and wasn’t able to press as I went, so I just did my best with my fingers. I do think in the future it is worth taking the time to press as you round the first few corners.

First Jelly Roll Rug

Something totally different for me. I happened to see videos of people making them on Facebook and decided to try it for myself. I wanted something to go under my recliner so that’s why I chose to make a circular one.

Materials

I used Craftido’s Timeless Blue jelly roll. One jelly roll made a circular quilt about 3 feet wide.

For the batting I used HexaHive 2 1/2” jelly roll batting. I used an entire roll and then some of a second roll.

The thread was Gutermann Mara 100, one of the big spools from Wawak. I can’t believe how much thread jelly roll rugs require! I changed my bobbin at least twice on my Juki when I was sewing the strips and batting together and 4-5 times on my Janome when sewing the rug.

Construction

I found this YouTube video very helpful for getting started. She gets to the point and moves along unlike so many others that just talk talk talk.

I constructed the strips on my Juki TL-2010Q with the help of the Clover fabric tube maker. I found the big piece of the fabric tube maker really helpful but struggled getting the edges even with the smaller one. I would consider not using the smaller section next time.

I sewed the strips together on my Janome 6500P using a 6mm width and 1.5mm length and 100/16 jeans needle. Many people use a walking foot but I found it wasn’t necessary. My machine had no issues feeding the fabric despite going at top speed sometimes.

By far the hardest part was getting the middle started. I had to try a few times and what worked was just standing there with my iron working it in a circle at the ironing board. It still looks a bit rough to my eye but I guess it’s a good first attempt. You can see how my stitching improved more as the project went on and I got the feel for what to do.

At a certain point I realized I really needed an extension table in order to continuing making the rug. I technically have an extension table for this machine but some of the legs broke on it years ago, and I have no idea what happened to the remaining ones after we bought our house a few years ago. I ended up propping up the table with a bunch of books and magazines on the larger end, and cut a couple of pieces from a sturdy cardboard tube for the section that wraps around the machine. It is not a long term solution for sure but it got me through this project.

There is a bit of curling around the outermost edges. I admit I was rushing the final few laps because I was almost done and my toddler needed to be fed lunch. I should have done this at my dining room table because the table I was working at in my sewing room isn’t super wide and in the final stages of the project it started hitting the wall. I also should have stopped and pressed more like I did in the beginning, and been a bit more aggressive about easing in the strip being sewn in to the rest of the rug like I was earlier on.

Conclusion

When I started on this project last night I was like what have I done?? It seemed like the sewing would never end, and my wrist is a bit sore from manipulating the fabric round and round into the circle. I also struggled a LOT getting the circle started. But on the other hand as time went on I almost felt like the constant sewing was rather soothing. I also like the practicality of being able to make whatever size, shape, and color rug I want in the future.