Worn with my navy Style Arc maternity pantsPleat detailBack neck detail
I actually made this back in February. In early March I was finally starting to feel well enough to work on taking photos, and then I got covid (along with my husband, parents, and one of my brothers). Somehow all of us avoided it for three years, only to get it this spring!
Background
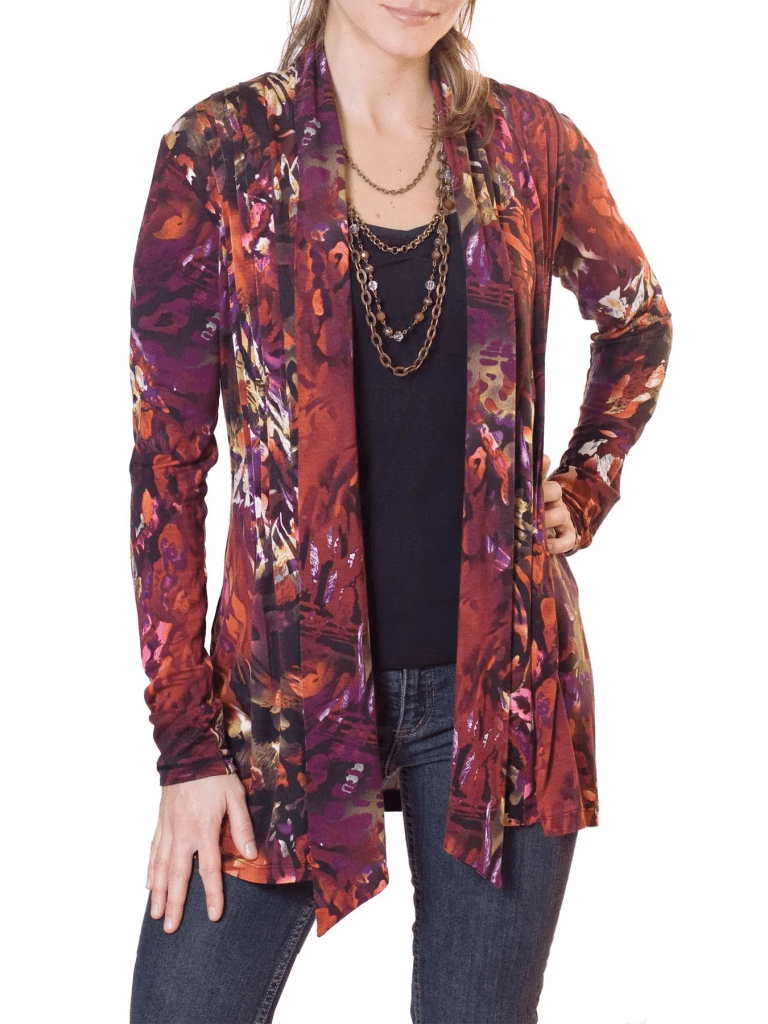
Jalie 2919 is a basically one of those tunic length “waterfall” style cardigans. The pleats help keep the volume at the top in control, with the fabric starting to let out at the waist. The sleeves are cut very long to allow for scrunching. Plan on shortening them if you want them to just be normal full length sleeves.
Jalie had this listed in their maternity/baby category. I think this is a great top for pregnancy because it helps hide everything in the first trimester, still fits once you start getting a bump, and then will continue to fit postpartum.
Materials
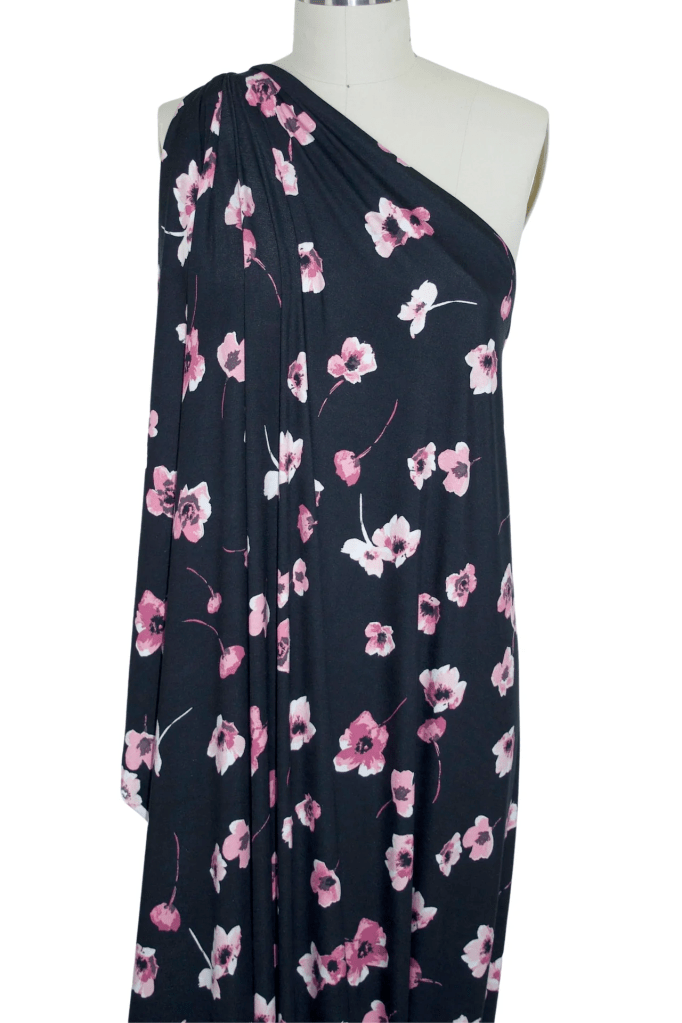
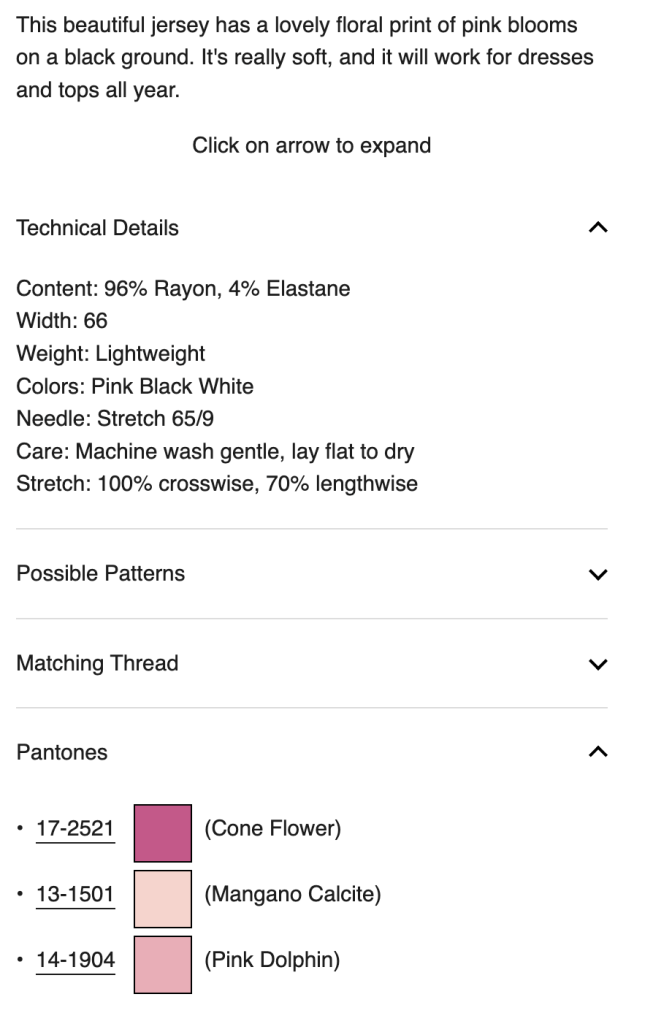
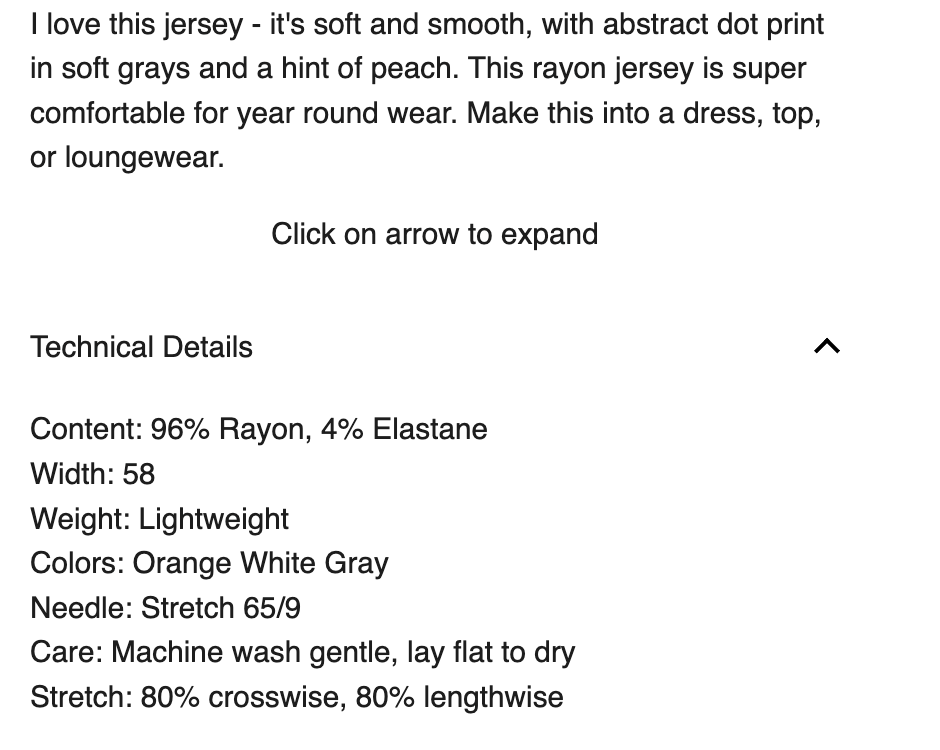
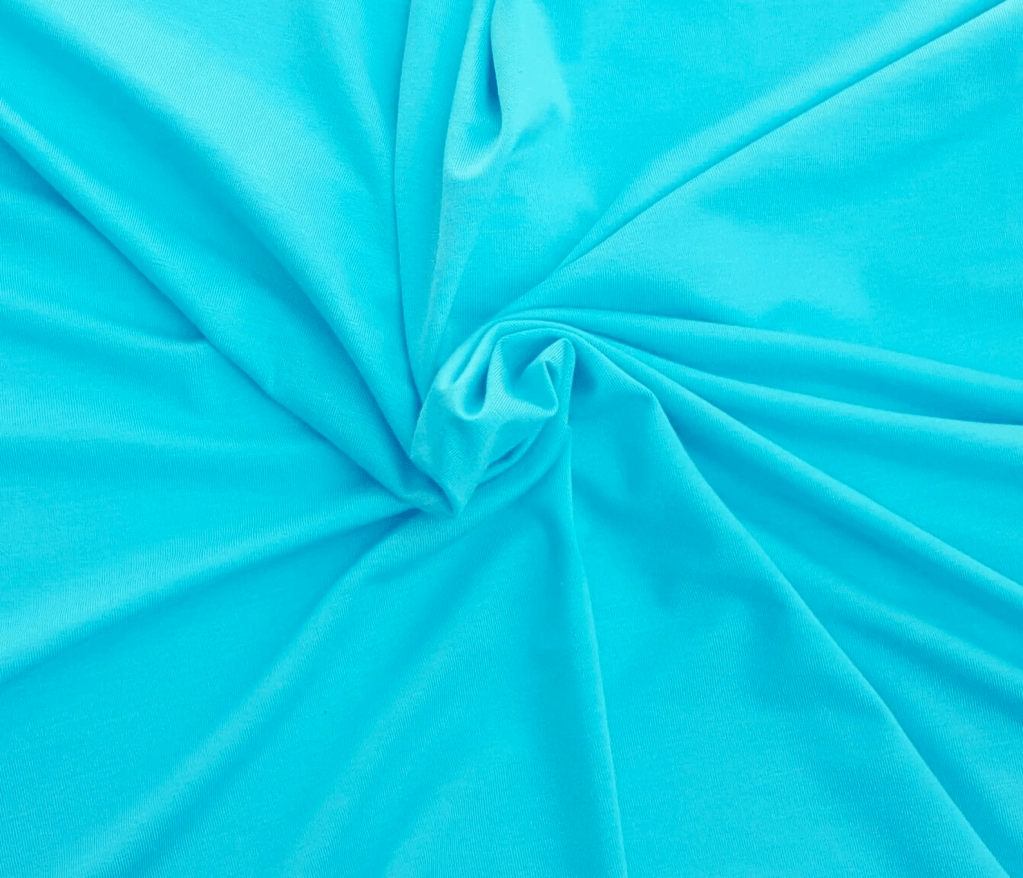
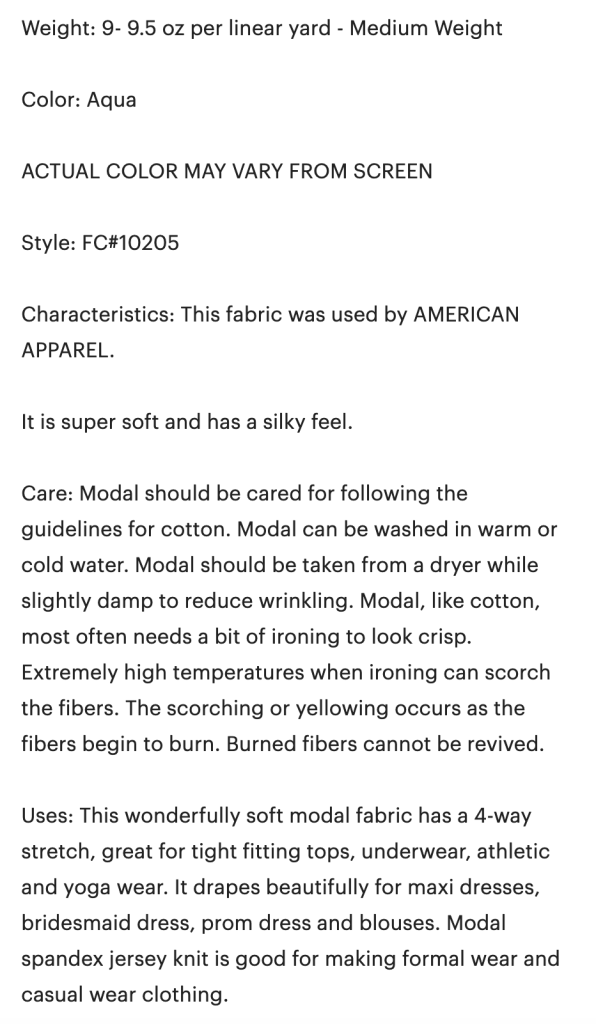
For this cardigan you’re going to want to use a lighter weight knit with lots of drape and 4-way stretch. Rayon/lycra or modal/lycra jersey is perfect. A thinner cotton/lycra jersey would also work.
My first cardigan was made from a rayon/lycra jersey from Gorgeous Fabrics, purchased recently during Ann’s big anniversary sale. It is super soft and stretchy, and I love cuddling up in it! I meant to take photos of it today, but completely forgot about it until after I had already taken down my reflector, camera, etc. Oops!
My second cardigan, which is in the photos, was also a Gorgeous Fabrics rayon/lycra jersey. Another super soft knit with wonderful drape. The colors are so beautifully muted and perfect for springtime.
Fit
I made a size V, which corresponds to a 37″ bust (my measurement at the time).
Tapered out to a size Z for the hip
Lengthened between bust and waist 3/4″
3/8″ forward shoulder alteration
3/8″ sloped shoulder alteration
I lengthened the sleeves 3/4″ before realizing that they were already drafted to be really long (and with my brain fog I failed to notice this on the pattern model). I ended up shortening them at the hem 2″ – and that is after removing the 3/4″ length I added.
Notes
Jalie has you stitch the pleats from the inside then just baste them in place at the neckline. Instead of stitching I basted the pleats from the inside, then topstitched them in place from shoulder to waist (about where they end). I think it looks a bit more finished and does a better job keeping them in place during washing.
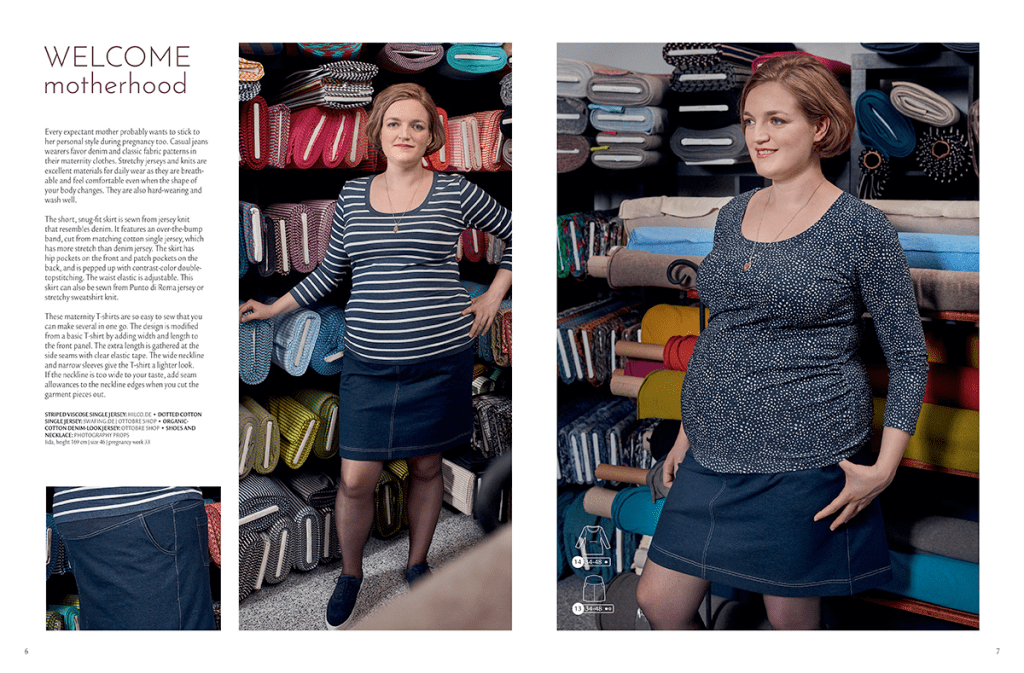
This pattern is a basic fitted maternity t-shirt top, with 3/4 sleeves and gathering at the front side seams. The scoop neckline is finished with 5/8″ width binding.
Ottobre suggests this top for the the third trimester, but I am still in my second trimester and found that it was just what I needed. Maternity clothes just feel more comfortable at this point, even if I’m not completely filling them out yet.
Alterations
I first started off with a size 42, with the following alterations:
3/8″ sloped shoulder alteration
3/8″ forward shoulder alteration
Lengthened 1″
Shortened the sleeves to short sleeve length (the underarm seam is about 2″ long)
Added about 1/2″ width to each sleeve
Added 4″ to the hips
After making it up I found out that despite my pear shaped figure the hips were far too wide and the hem was flaring out. Overall it just seemed too big everywhere. Even the gathering was too low because it wasn’t properly snugging against my figure.
So for my next try I sized down to 40, which is probably close to what my pre-pregnancy size was. I cut a straight size 40, with no extra room at the hips, and left the length the same as my size 42 pattern. While I had to snug up the sleeves where they attach to the bodice at the side seam, I did my best to maintain the extra 1/2″ I had added with my first version. The fit this time was far better. This is one of the few instances where going with my pre-pregnancy size actually worked!
Materials
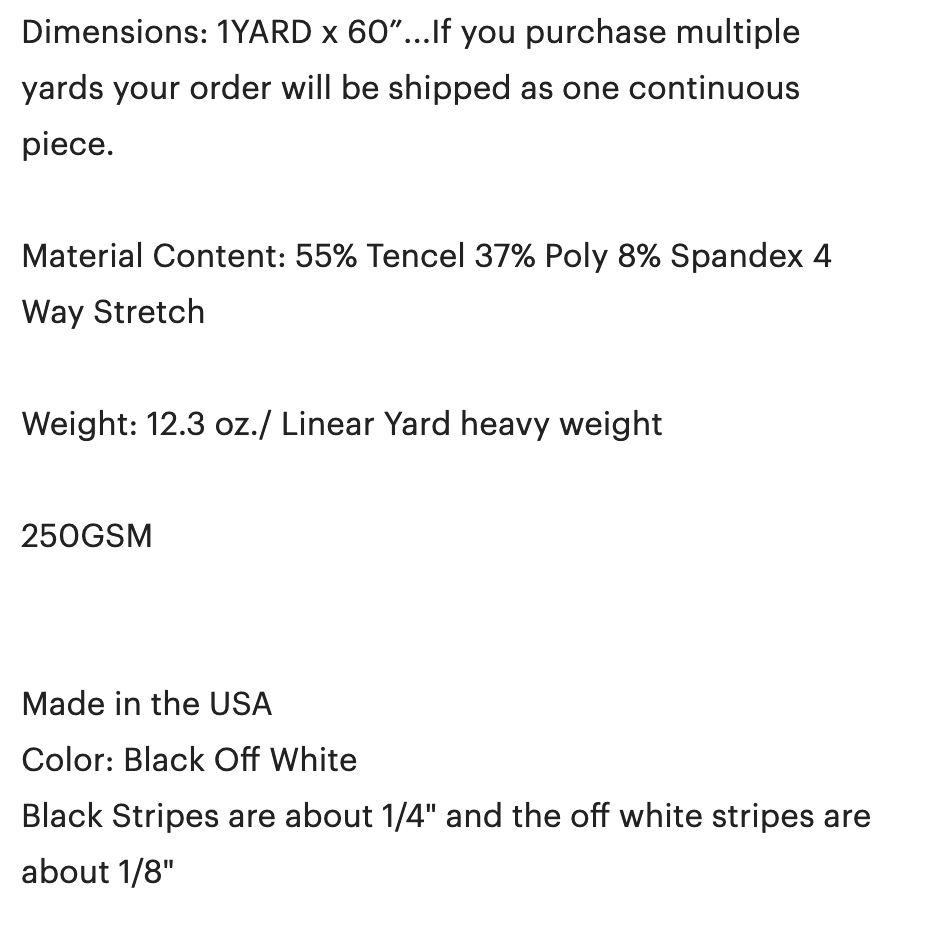
Both of my tops were made out of jerseys with four-way stretch, though the striped fabric has less stretch than the seafoam green one. Both of the fabrics used for the tops photographed are from the Etsy seller Koshtex. Each length of fabric was about 60″ and with careful layout, each top took about a yard of fabric.
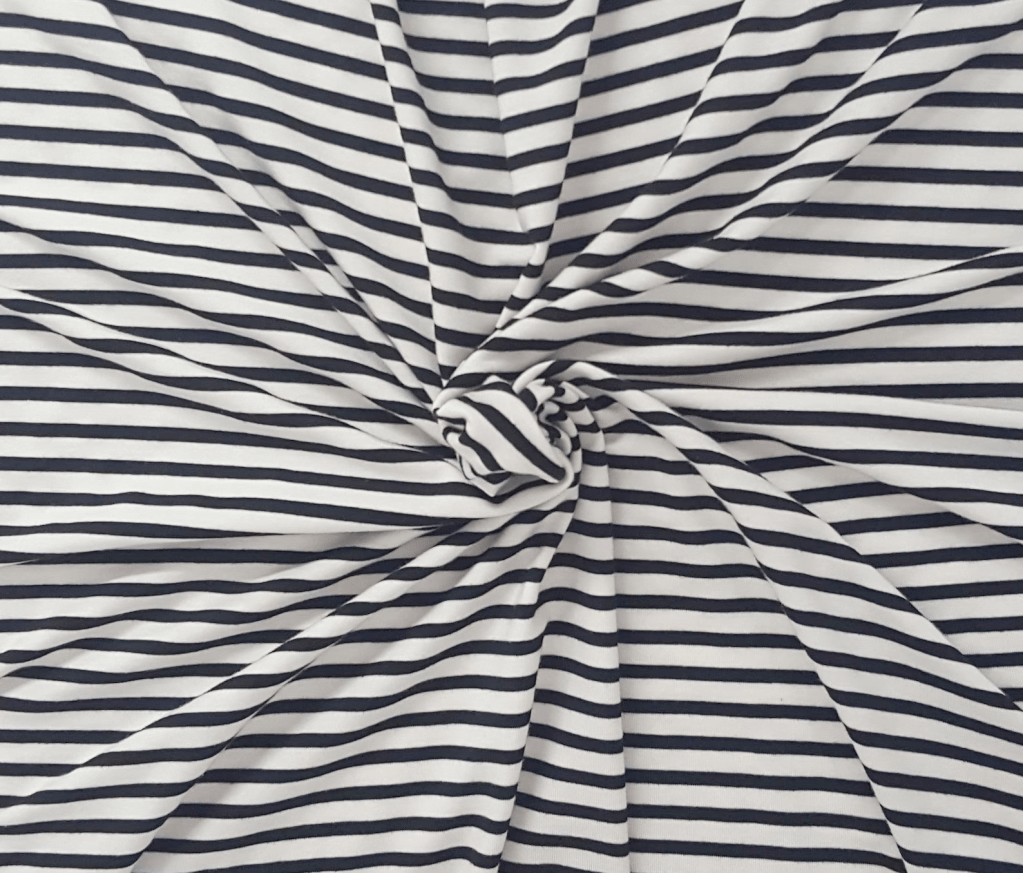
My second version was a 1/4″ black and off-white striped tencel/poly/lycra jersey. This one had the least amount of stretch out of all the fabrics I used, and the fabric feels slightly less delicate due to the polyester content. It was wonderful to work with!
The instructions tell you to use clear elastic to gather the front side seams between the notches to 12cm (about 4.75″). I found when making my size 42 top that this wasn’t quite enough. On the back pattern piece there’s a couple of notches at the side seam. Gather the side seams to match this length instead (which for my size 40 I think was closer to around 3.5″).
When gathering with the clear elastic, I stretch it before even cutting it off the spool. I then cut a length longer than I need so that there is a “tail” to hold onto when starting and ending the gathering and mark the length needed for the pattern with a Sharpie pen. I use a Teflon foot on my sewing machine and put the elastic on top of the fabric so it is against the Teflon foot and not the feed dogs. I set my machine to a 4.0mm width and 3.5mm length zigzag stitch and carefully match the edge of the elastic to the edge of the fabric, stretching it as I sew along. I try to sew closer to the edge, without actually hitting the cut edge of the fabric and edge of the elastic. When I sew the front to the back I always sew with the clear elastic facing up and not against the feed dogs. Doing all this gives me perfect gathering with no tunneling, and the zigzag is hidden within the serged edge of the fabric.
The instructions have you sew one shoulder seam, then bind the neckline and then sew the other shoulder seam. I found I had a harder time doing it this way and instead sewed both shoulder seams and then bound the neckline. It just seems like it is easier to get the binding evenly stretched this way. I also sewed the sleeve caps to the top flat (ie before sewing the side seams) instead of in the round (sewing the side seams of the top, the sleeve side seams, then attaching the sleeve cap to the bodice). It seemed both quicker and easier this way, especially when I was working with the striped fabric. I didn’t get the stripes perfectly lined up at the side seams, but they’re good enough!
I used my sewing machine to gather the front side seams, but otherwise this was entirely constructed on my serger. The hems and the edge of the neckline binding were all finished using my coverstitch machine. Since the neckline binding part can be so thick with all the layers of fabric I lengthened the stitch from 3.0mm to 3.5mm so the stitching would appear normal length and not super tiny.
Overall I’m really happy with this top, and it is just what I need to get through the spring and summer. So easy in the cooler spring mornings to just pop a denim jacket over it and be on my way! I can make each one for less than $10 and it takes a max of 1.5 hours now. I find that RTW maternity clothing is either expensive ($39 for this maternity t-shirt) or the fabric is poor quality. I guess they figure they can get away with it since in the first case people just pay whatever it costs in order to have something that fits, and in the second case most people aren’t wearing maternity clothes longer than a few months so they just put up with it.
Ottobre 2/2013 #19 is a V-neck knee length knit dress with a twist front, three-quarters slim sleeves, pleats directly below the bust, A-line skirt, and gathered waistband overlay. The front bodice is self lined.
Ottobre also offers this dress as a tunic-length top.
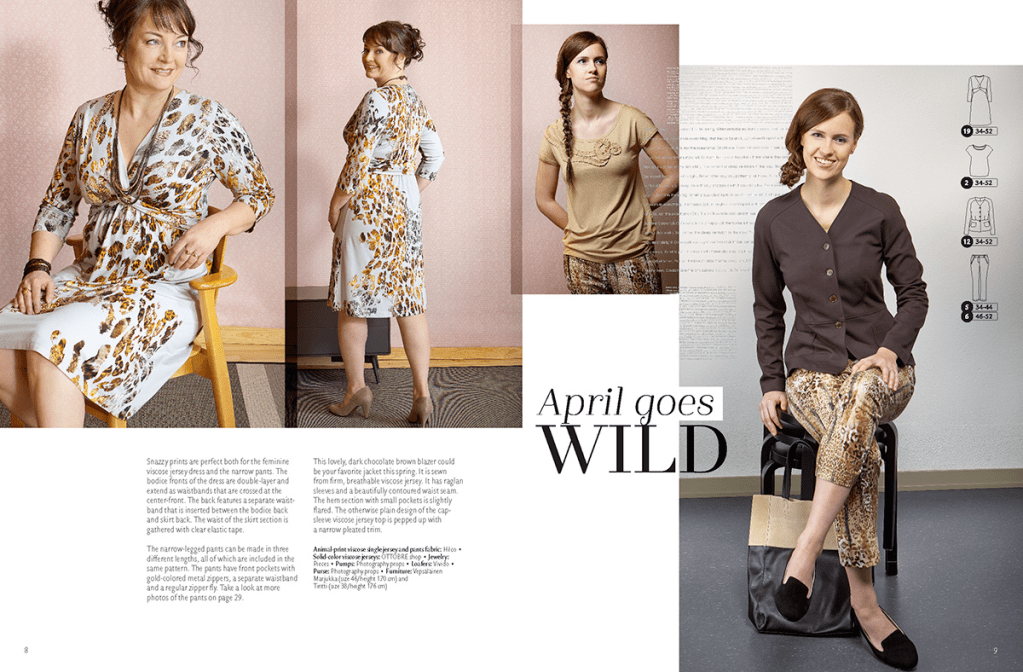
For those of you who aren’t familiar with Ottobre, they are an independent pattern company based out of Finland. They primarily publish pattern magazines for women and children, though in past years have also had the occasional “family” issue with patterns for men as well.
Ottobre specializes in a Scandinavian sort of style – simple, minimalist, functional basics that are comfortable to wear. Sexy, extravagent Marfy they are not! They often feature a wide range of sizes and use ordinary people as their models rather than professional fashion models as they are adamant that they want to represent the average person sewing their patterns, rather than a fashion world ideal. I once saw someone online scoff at Ottobre as “clothing for housewives.” Well, I’m going to be a housewife/stay-at-home mom soon enough, so that works for me!
Alterations
I started from a size 42 and made the following alterations:
3/8″ sloped shoulder alteration
3/8″ forward shoulder alteration
Added a total of 5″ to the hips
Removed 1″ from the back waist and transferred 1″ to the front waist
I probably could have cinched in the side seams a little more directly below the bust, but I decided to leave it alone. I went from a 32/34 bra band pre-pregnancy to a solid 36 band, and there’s a good chance my ribcage (along with everything else!) will continue to increase as my pregnancy gets further along. (I’m about six months along at this point). I’m trying to make my clothes last as long as possible these days so I’m all about stretchy fabrics and a slightly looser fit. I am apparently not one of those lucky women that just gets a cute little bump and more or less stays the same everywhere else!
Materials
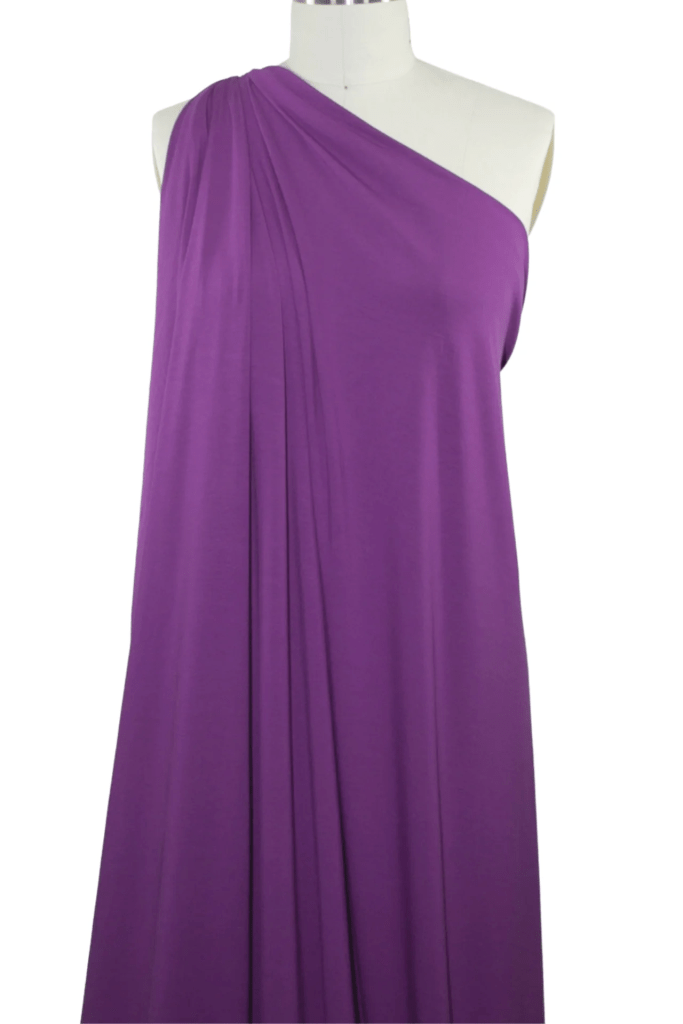
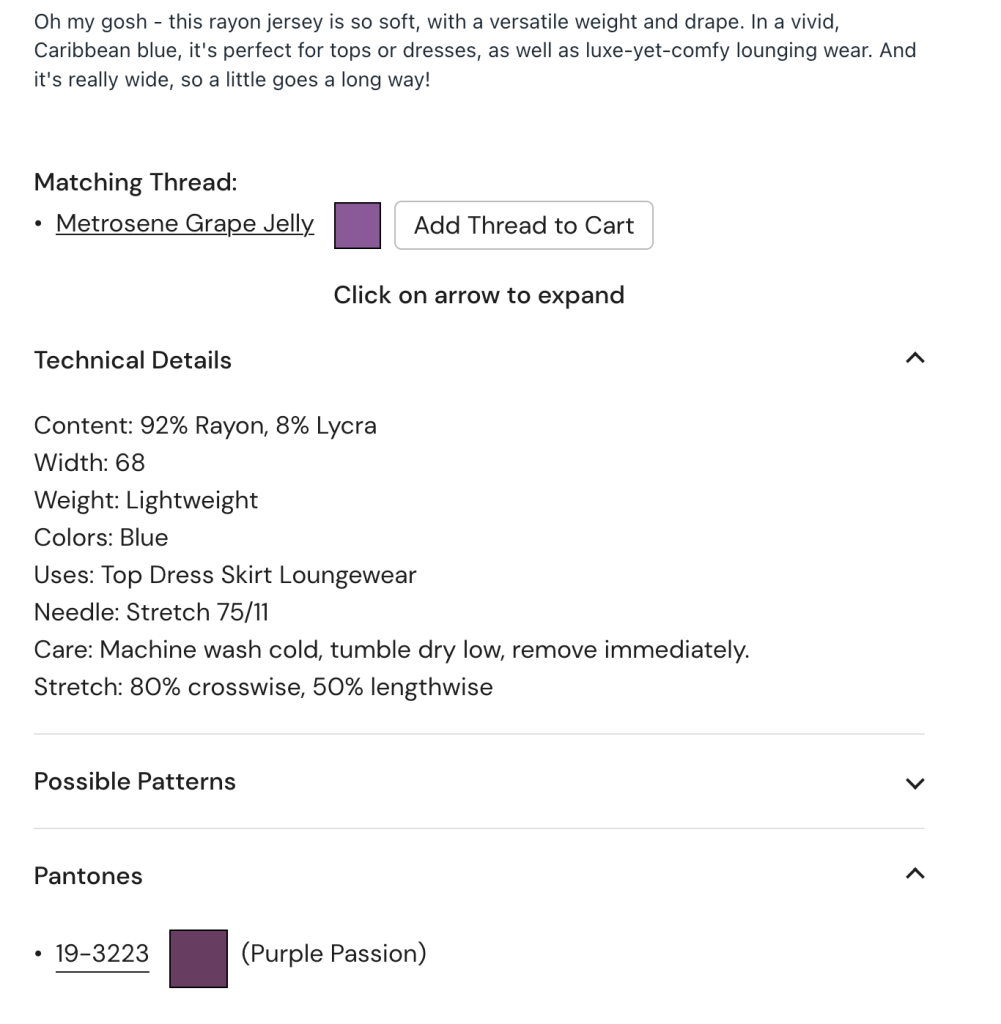
The fabric I used was a stretchy purple knit from Gorgeous Fabrics (still some in stock). I believe it is mismarked as while the description says rayon/lycra jersey, the dry hand and slightly stiffer drape feels more like a cotton/lycra jersey.
I used 3/8″ clear elastic to gather the skirt pieces at the center front and center back, and superfine Design Plus fusible stay tape to stabilize the shoulder seams and neckline.
Notes
This is a great second trimester dress, especially for the pear shaped. The skirt and gathering provide so much room during a time when regular clothes are getting harder to fit but full-on maternity tops and dresses are still too roomy in the belly. It would also be great for that awkward time earlier in pregnancy where you’re more bloat than baby. It is really, really comfortable! I also like the deep V neckline, which helps a lot with feeling less frumpy. So many RTW maternity clothes are rather modest at the neckline, which doesn’t make sense to me because this is the first time for a lot of us where we actually have a bust!
I found the front twist detail rather maddening, both to understand and sew. I was struggling with some lingering fatigue from my bout of Covid in mid March, and it took me a while to figure out what certain parts of the instructions meant when making the insert at the center front where the twist detail is. Then, I found it just as maddening and fussy to actually sew the front twist detail at the center front, as you are working around a lot of bulk with the twist detail and a small seam allowance. I ended up sewing this section on my sewing machine using a zigzag stitch because it was simply too tight and bulky for my serger presser foot. But once I got that part figured out the dress went together very easily, and I had it done in time to wear for Easter a few weeks ago.
Jalie 3896 is a square shaped funnel neck top with fitted sleeves. This is a free pattern, available for download from the Jalie website. This is a very quick and technically simple project – with minimal distractions you can download, print, assemble, cut, sew, and finish this top all in one evening!
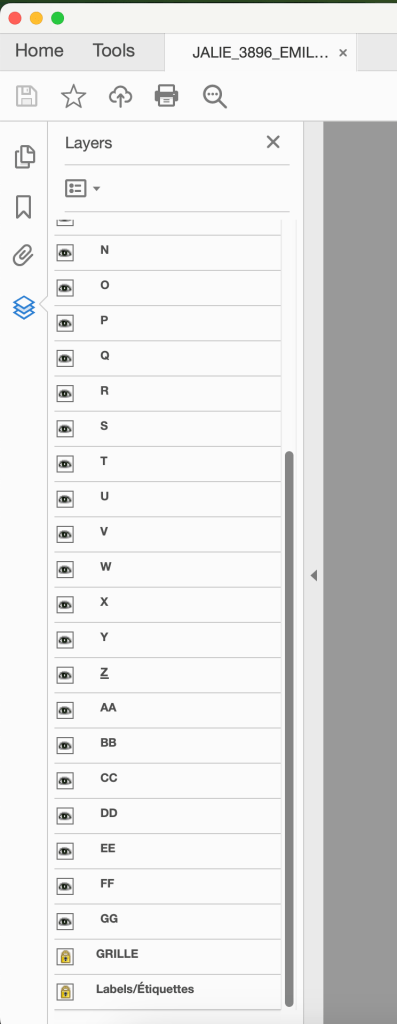
Jalie patterns include a very wide range of sizes, with a lot of the patterns going from children to plus size. This pattern is also set up with the sizes as layers, so when you print it out you can print ONLY the size(s) you want. I love this feature! You just go to the left sidebar, click on the Layers icon, and then click on the eyes of all the sizes you don’t need. I wish every pattern download had this feature.
For many years now I favored more streamlined looks, with a lot of waist emphasis. I loved knee-length wrap and A-line dresses, bootcut pants with fitted tops that hit just below mid hip length, fitted jackets, etc. After 35 I gained a small amount of weight, but still kept my small waist and flat belly and only had to make minor adjustments in woven clothing styles (basically tracing halfway between my original size and the next size up). In fact I hardly sewed for several years because I was perfectly happy with my wardrobe and saw no need to change things. When you sew your own clothes they last a long time! But right now with pregnancy rapidly changing my body I have to start going in a different direction. My flat belly, defined waist, and modest bust are pretty much gone at this point and out of sheer necessity (rather than personal preference) I’m looking towards slim leg pants and the oversized/boxy shirts, dresses, and jackets that are so popular right now…you know, stuff that is comfortable and will still fit in a month. It feels very strange. I haven’t had to do a wardrobe change this significant since I was about 22 and going from college student to working a full-time white collar professional job.
That being said, while it is fine for casual loungewear I don’t love this look and won’t make it again. I think this would work better on someone smaller busted (never thought I’d say those words) and has a more straight up and down figure. There’s a reason why they picked kids and a very slim woman for their pattern envelope models! But it was very quick to make and in the meantime provides me something to wear for when I go for afternoon walks with my husband (which I am finally physically capable of again, yay!)
Fit
I started with a size W, which corresponds to my current 38″ bust measurement. From here I:
Added 4″ width to the hip. Even though this is a very roomy style, my thin, clingy knit made me want to err on the side of caution.
Lengthened 1.5″ at the hem
Added 1/2″ length to the sleeves. After making it up I saw it wasn’t necessary. The sleeves as drafted are definitely on the long side! Plus I’m still used to sewing my old size where everything was drafted shorter, plus this fabric is stretchier than what the pattern was drafted for so that alone adds some extra length.
I would say if you make this, consider sizing down, especially if you use a stretchier knit.
Materials
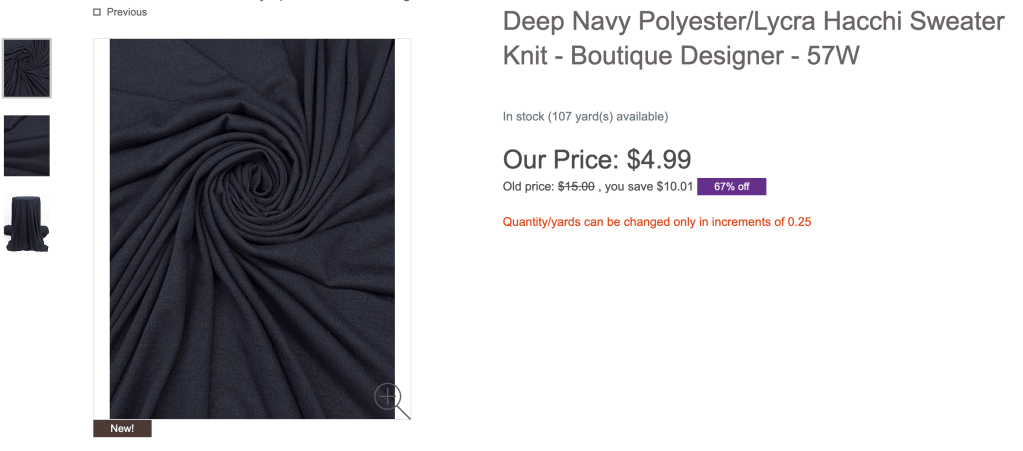
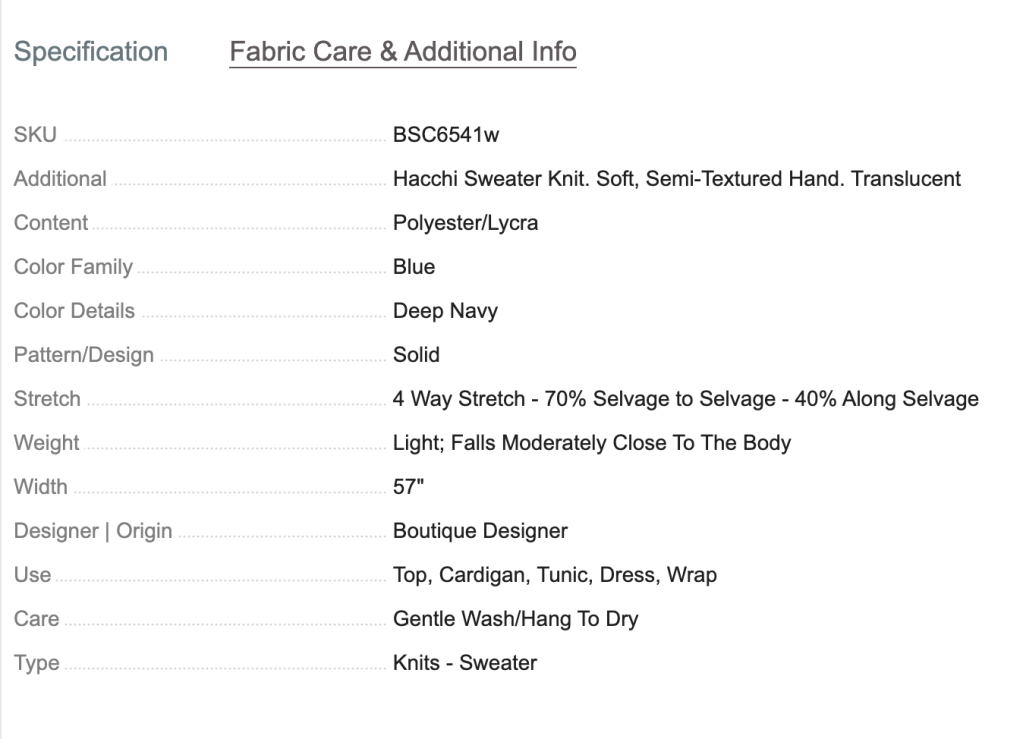
The fabric I used was a very lightweight poly sweater knit I purchased back in late 2020 from Fabric Mart Fabrics. I believe I originally bought this to make a wrap dress, but when I got it I felt like it was too lightweight and stretchy for this project. I set it aside, figuring I would eventually find a suitable project. Despite being polyester it is soft and isn’t prone to static (my two major complaints about a lot of polyester knits). It is also surprisingly cozy considering how thin it is.
Construction
I made this entirely on my serger, then followed up with hemming on my coverstitch machine. Everything went together smoothly! Jalie has technical drawings as well as written instructions to guide you along. This is a great project for a beginner.
Yup…I’m pregnant! My husband and I are expecting a little boy, due two days before our first wedding anniversary in August! Since I’m tall, long in the waist, and its my first pregnancy I don’t have much of a bump at this point (my doctor said not to expect much of one until around 23-26 weeks), but my waist has thickened quite a bit (3-4″ larger than before I got pregnant) and while they are still big on me, maternity pants feel far more comfortable right now.
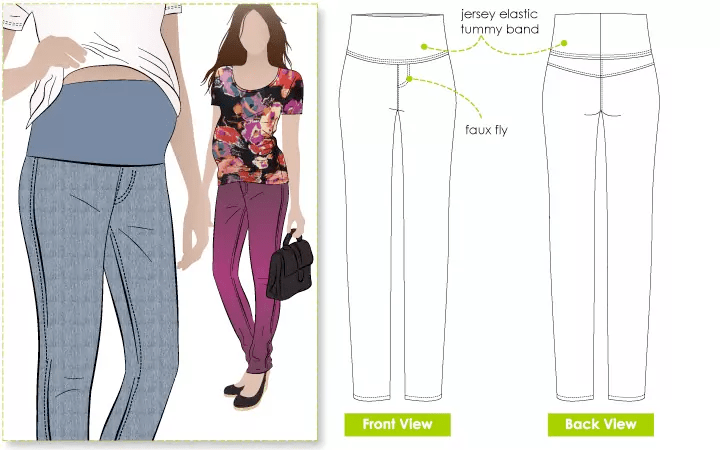
Faux front fly detail and stretchy waistband panelTopstitched back yoke and outer side seams Adjustable waist, with buttonhole elastic
Background
The Style Arc Andy is a slim leg maternity pants pattern…basically the maternity version of the Style Arc Elle. They are the type of maternity pants that go over the belly and have a stretchy waistband panel. Almost like a built-in belly band.
I struggled a lot during my first trimester, and all I could do was focus on basic survival. I spent sooo much time in bed feeling awful. If I didn’t know I was pregnant I would be convinced that I was terminally ill. Some women seem to love pregnancy and just breeze right through it. I am not one of those women. You could not pay me enough to be a surrogate. Unisom + B6 helped a lot with the motion sickness and nausea, but I still felt terrible. I have no idea how some women successfully hide it from everyone for months, because I looked and felt like such a wreck I had to disclose to a few people at my job very early on. Of course numerous older women in my life would take one look at me and accurately guess right away what was going on!
Due to the hormones, inactivity from feeling so exhausted/weak/dizzy, and eating way too many carbs every 2-3 hours because of food aversions and nausea, I gained 10-15 pounds during my first trimester. (I never realized just how active I was before!) Very little of my original wardrobe was suitable at this point. I have never had an easy time buying RTW pants but I was so exhausted and bloated and needed something to wear to work and out in public. I ended up buying and then returning a ton of RTW because most of what I bought fit really badly, making me feel even more frumpy and awkward. It seems that 99% of pregnancy-friendly “pants” are just leggings and sweatpants, and I really wanted pants that looked like regular pants. Once I was in my second trimester and starting having some almost-normal days again I started working on getting back my strength and making plans for sewing again! I still haven’t gotten that second trimester “burst of energy” they talk about, but life is definitely starting to feel a bit easier and more “normal” again. I feel fortunate that I was able to easily conceive and everything looks good so far (despite being considered high risk due to “advanced maternal age” and “elderly primigravida”). He’s bouncing around in there like a happy little puppy, completely oblivious to all the chaos he’s causing!
Materials
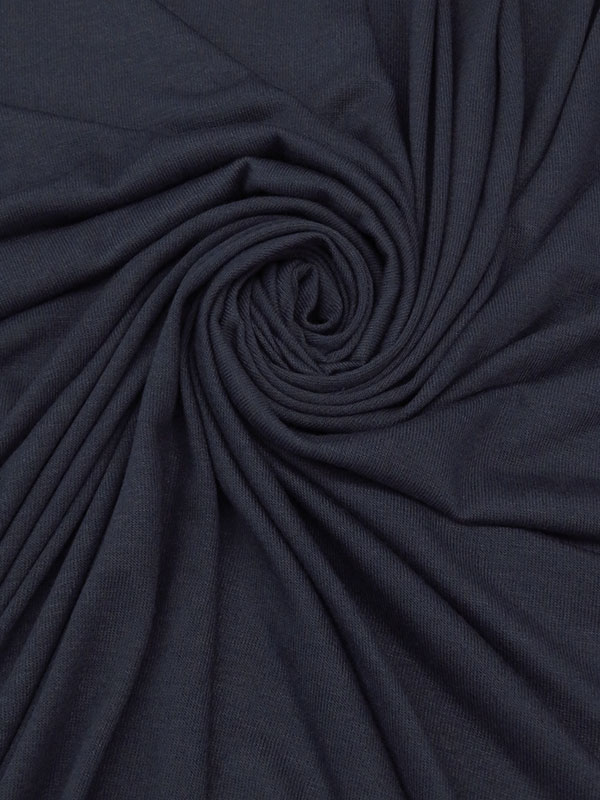
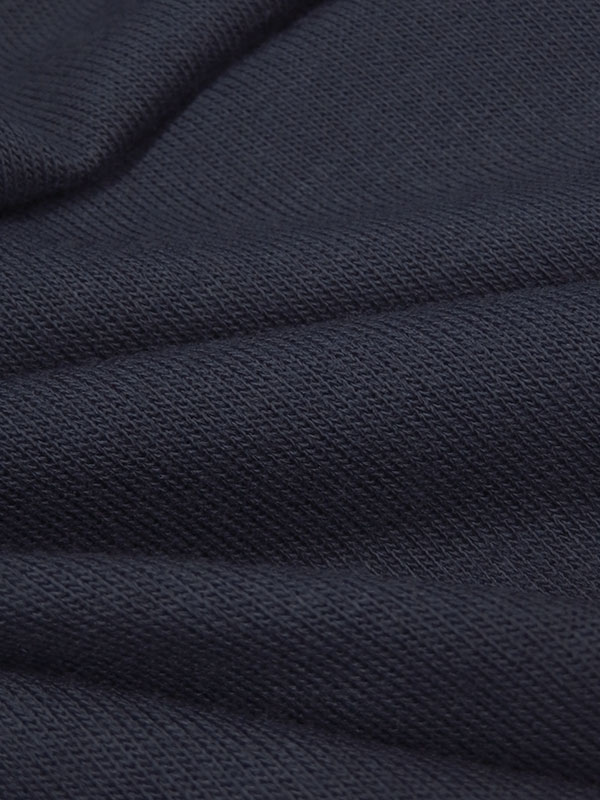
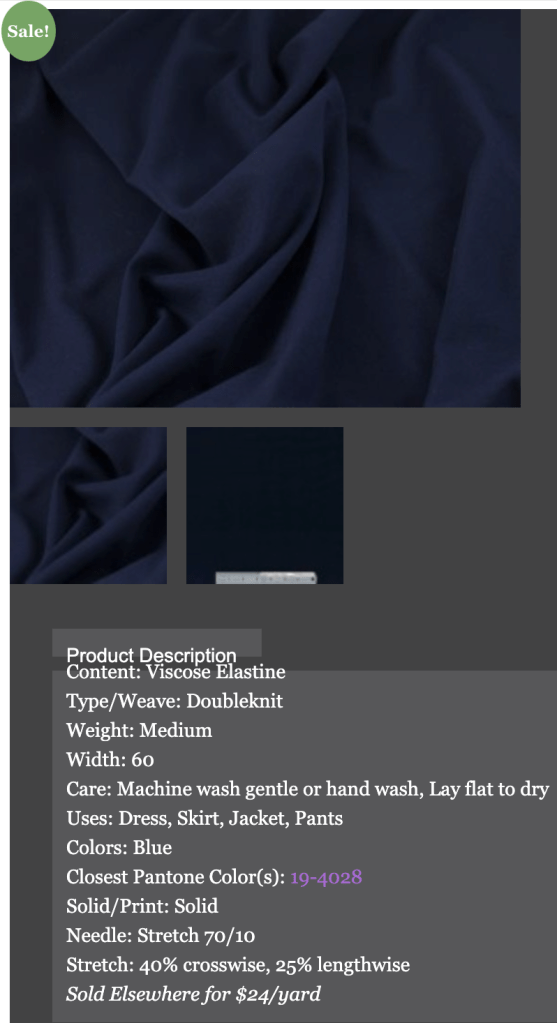
The fabric I used for the pants was a navy viscose double knit/ponte from Gorgeous Fabrics that’s been sitting in my stash since 2016. The pattern description says it is for stretch wovens, but ponte is structured enough to work as well. In my opinion the slight vertical stretch makes it work even better.
For the waistband I used a nylon/lycra activewear knit from Fabric Mart, purchased way back in 2015.
These pants are extremely wash and wear friendly. One of the best things about making your own clothing is you can treat the fabric thoroughly before sewing with it. I washed on warm and dried on high to get rid of as much shrinkage as possible, and the fabric is no worse for the wear. SO much of my RTW ends up shrinking despite carefully following the care instructions…one pair of pants from Amazon seemed to fit ok, then shrunk 2-3″ in the length after being washed on cold! I’ve found this problem has gotten significantly worse since the pandemic. Maybe manufacturers are taking more shortcuts now.
For the waistband elastic I used a 5/8″ wide black buttonhole elastic from Cleaner’s Supply, along with a 3/8″ navy button.
My husband noticed that the fabrics don’t match in color (the waistband is lighter than the pants) but this seems very common in RTW maternity pants. These maternity pants are over $200 and they have a very different color waistband. My shirts will cover it anyway. I’m just thrilled to have something that is machine washable, long enough, good quality, and will still fit in a couple of months…and they cost me only $26 to make. The only $30 and under maternity pants I’ve found online are either polyester or leggings, and none of them come in tall sizes either.
Fit
Fitting adjustments were as follows:
I used a size 14 for the waist/back yoke, then tapered out to a size 16 at the hip/thigh/leg
Removed 3/8″ length from the upper part of the front crotch curve
Added 1/2″ to the upper back crotch curve
Added 2″ width to the leg opening, making these more of a slim straight leg rather than a true slim leg
Added 1.5″ to the length. Due to the vertical as well as horizontal stretch of my fabric, I ended up removing 1.25″ after hemming and left them a tiny bit on the long side just in case if there’s any future shrinkage. Yet when I compared them to the paper pants pattern after sewing, they were still a bit longer. I think the fabric relaxed a bit during construction.
You probably noticed from the photos that waistband is rather loose at this point, and the back waist is definitely a bit baggy, but I’m reluctant to mess with it as I am sure I will be filling it out in the not so distant future.
Construction
I made this entirely on my sewing machine, and then hemmed them using my coverstitch machine.
I chose to go with the buttonhole elastic option for the waistband. I am not entirely happy with it as it is soft so it tends to roll when taking the pants on and off, but at the same time I like how it is going to allow for plenty of adjustment as my body continues to grow. When I sewed the buttonholes in the inner back waistband I used a lightweight cut-away stabilizer on the wrong side of the fabric and trimmed it away afterward. It worked out great! When making the waistband elastic casing I traced a line 5/8″ away from the folded edge of the fabric with chalk, then used a 3.5mm length and 2.5mm width zigzag stitch to create the casing, making sure the edge of the zigzag stitch just hit the chalk marking. I went with a zigzag instead of a cover stitch because despite my waist getting much thicker I’m still pear shaped and wanted the extra stretch for getting over my hips and thighs. A cover stitch stretches, but a zigzag gives more durability and stretchiness.
I found there’s one mistake with this pattern. The front crotch curve has only a 1/4″ seam allowance, but every other seam allowance on this pattern is 3/8″. Not a big deal to fix, but just something to be aware of.
This pattern has a faux fly. I did a double line of topstitching for the fly, and then a single line of topstitching 1/8″ away from the edge for the front and back crotch curve. I topstitched 1/4″ away from the edge for both the upper edge of the yoke and the outer side seams. (I pushed the seam allowance towards the front when I topstitched the outer side seams, instead of to the back. This helped with some of the bulk created by the back yoke). The topstitching at the outer side seam helped make sure those side seams stay very flat and in place.
When I attached the waistband to the pants I used a 4.0mm length and 2.5mm width zigzag stitch. I pushed the seam allowance up towards the lycra and topstitched in place fairly close to the seam line, again using a 4.0mm length and 2.5mm width zigzag stitch. Then I trimmed the seam allowance after stitching.
Conclusion
I LOVE THESE PANTS. I’ve got two more pairs in black ponte cut out and ready to sew. They’re a cinch to make and I feel so much better having them to wear. They’re slim without being tight and pair well with looser fitting untucked dress shirts (my go-to work style right now). There’s so few modern maternity pants patterns on the market, and I am so grateful to Style Arc for offering this pattern. Highly recommend it to the other pregnant ladies out there!