Jalie 4451 “Claudette” Shirt

Angular cuff
Angular collar band

Pattern Background

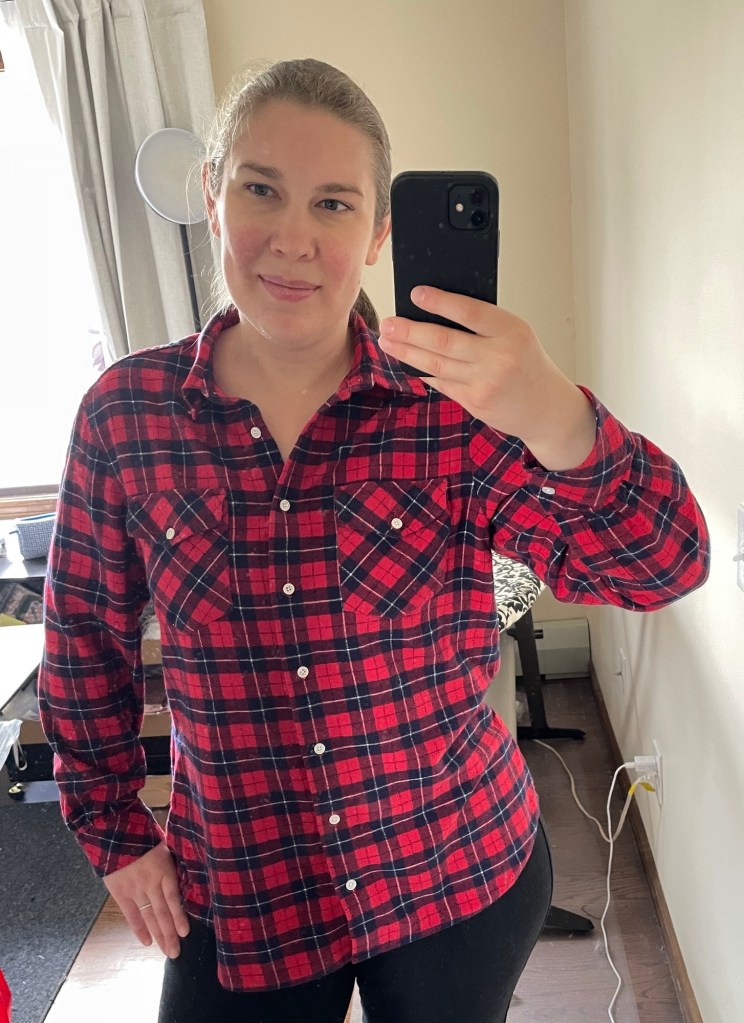
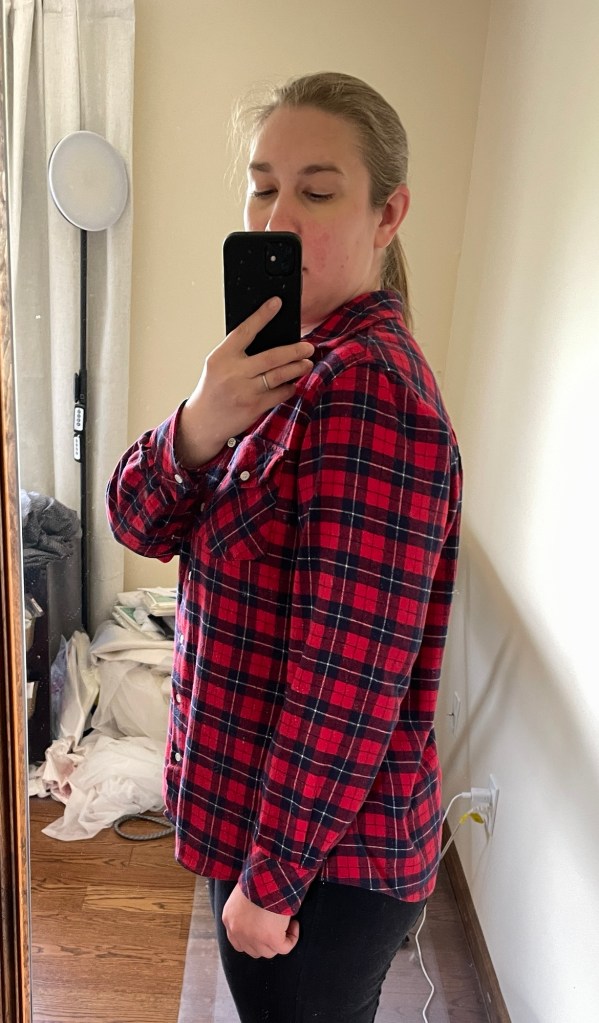
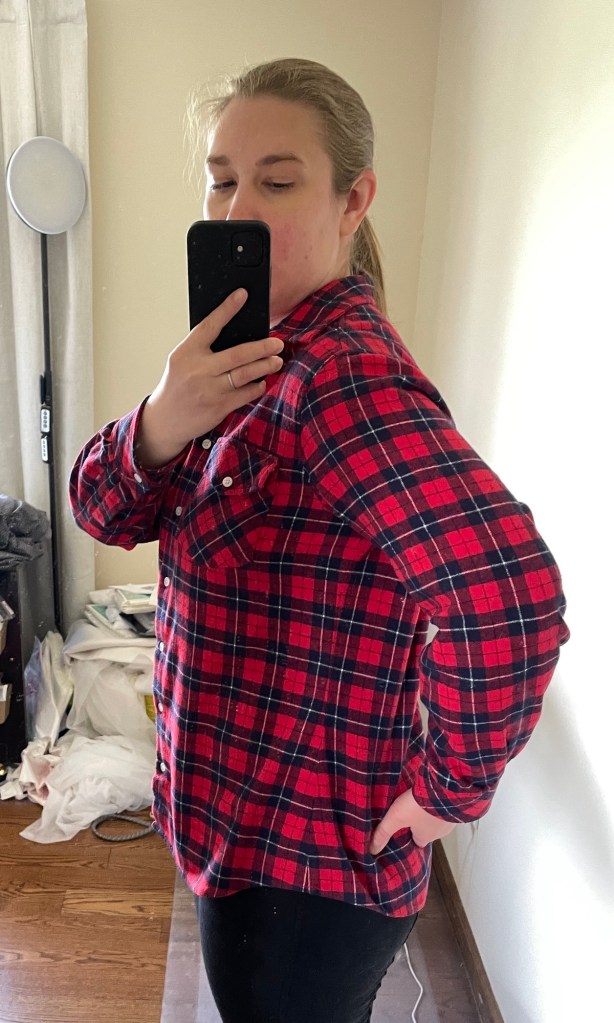
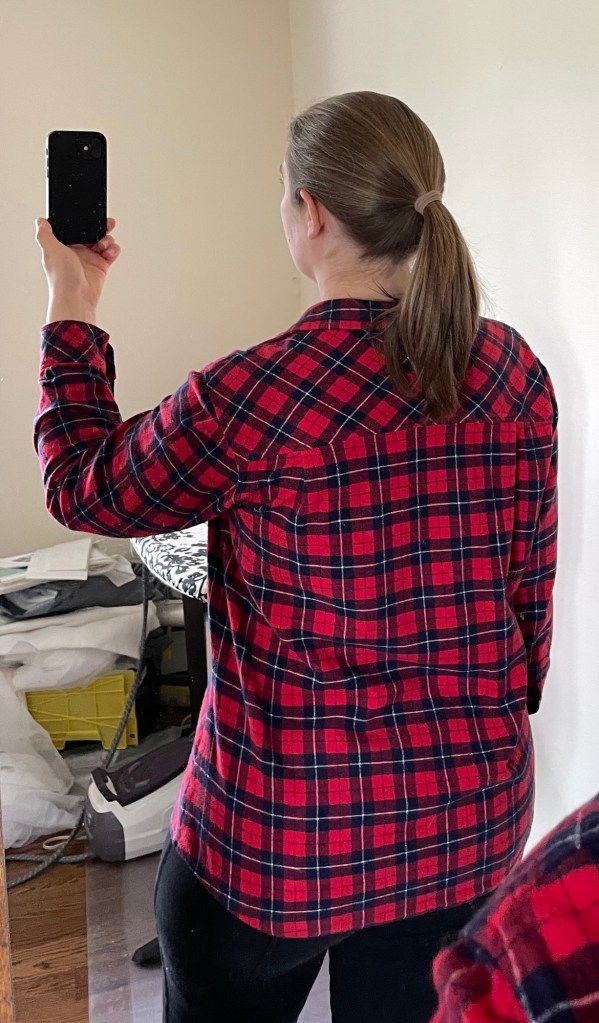
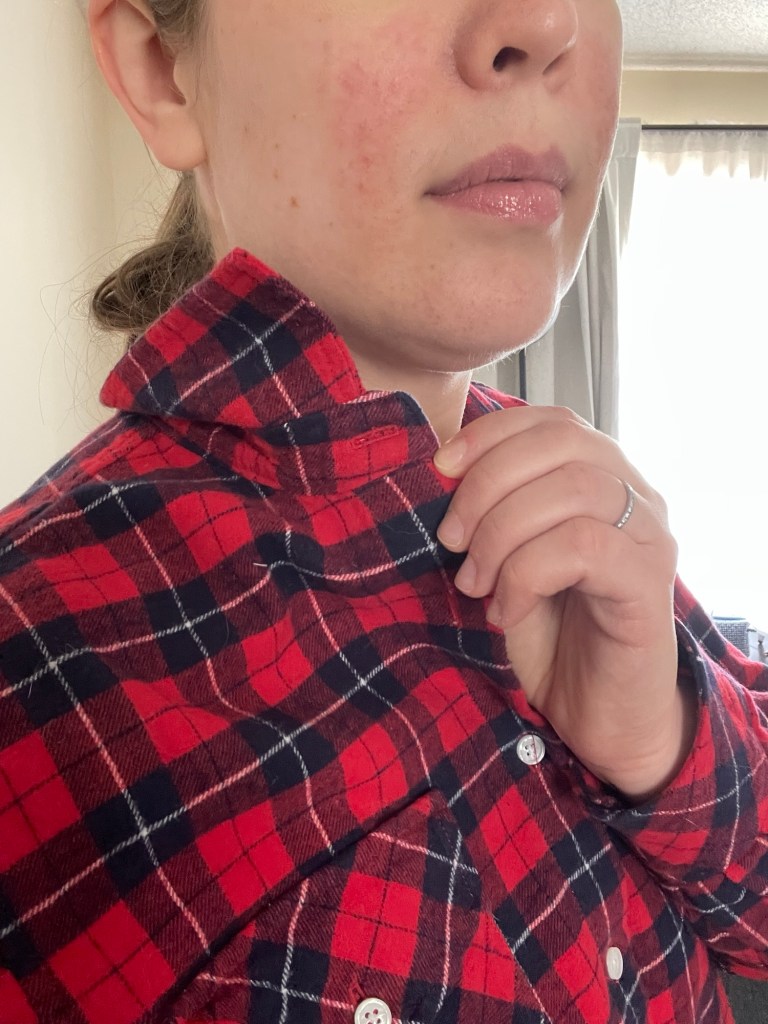
Jalie 4451 is a long sleeve shirt with a back yoke, two back tucks, and standard sleeve placket. The cuffs and collar band are angled off instead of rounded at the corners. You can also make this in shirtdress length with a shaped hem and self fabric tie belt.

The pockets and flaps for the shirt are pointed shape. The shirtdress pockets and flaps are square shaped, with larger square patch pockets at hip level.

Fabric and Materials

I used a single napped cotton flannel recently purchased from Fabric Mart. Sometimes flannel thickens up a lot after washing/drying which can change the drape, but this maintained a very soft hand.

I used fusible knit interfacing for the front placket/pocket reinforcement/pocket flaps/sleeve placket. Not a huge fan of the plasticky feel of the backing, but it works for soft stabilization. For the collar, collar band, and cuffs I used a lightweight woven interfacing. I’m not sure but I think it was Pellon SF-101 Shape Flex.

The buttons are from WAWAK. I find they are the best value, you can get 144 for less than $7 and it’s not such a gamble on quality like buying from Amazon.

Size/Alterations

Based on my measurements I cut a size Y for the best/shoulders/sleeves, a W for the waist, and BB for the hips and hem length. From there I added 1” length to the sleeves. I probably only needed 1/2-3/4” extra length but I always go long with flannel because I feel like no matter how much you prewash/dry on hot, it still ends up slowly shrinking over time. I also added 3/4” width to the sleeves at the bicep and elbow, tapering to nothing at the cuff. I’m not sure the extra width was necessary but RTW shirt sleeves are usually too tight so I always err on the side of adding more room. It can always be trimmed off if necessary.

Construction

Cutting took me quite a lot in both time and extra fabric due to trying my best to pattern match the plaid.

When it comes to shirts I find there often a few different ways of accomplishing the same thing, so while I give the instructions a glance I often depend on instructions from a variety of resources.

For the collar and collar band pieces I trimmed all seam allowances down to 1/4”, with the exception of the seam where the collar band attaches to the shirt neck. I just find it’s easy to manage both seam allowance accuracy and bulk with 1/4” instead of 3/8” seam allowances.

I use the thread method for collars now. It involves some precision getting the thread and your needle in the right position but once you turn out the corner it comes out so much sharper than if you trim and then push it out like most sewing instructions have you do. I use this same method for cuffs and really anything else where you need to turn out a sharp corner.

I used Pam Erny’s tutorial for shirt sleeve plackets. Her tutorial is probably the best out there. Something about splitting the placket piece into two where the slit is instead and keeping the folded edge squared off instead of angled helps me get a more professional end result.

I sewed all the buttons on using my new button sewing foot. It certainly makes the process much quicker, but I prefer the function of a hand sewn button as you can add a shank when sewing to make things sit smoother, especially when it’s a thicker fabric like this.

Conclusion

I’m pretty happy with this shirt and plan on making the shirtdress length version in the future as well. I just wish Jalie included short sleeve length as well as full length sleeves with the pattern, since it seems like it would make such a nice summer dress.

Jalie 4131 Laurent Sweatshirt

The boys in their matching Easter shirts!

I made this several times so far for both my husband and son. The latest version, which is shown in the photos, were matching Easter sweatshirts. I embroidered both of them on the ancient Janome 300e my mom gave me last fall (another new obsession of mine). The machine is ancient and was sitting in a closet completely untouched for about 20 years. I oiled the bobbin and needle bar and have been using it ever since. I had to hunt on Amazon for memory cards that would actually work and designs often require me to do some rotation and size adjustment in Ink/Stitch, but I’m making it work.

Another one I made for my husband, freshly embroidered! You can see how much nicer the neck looks.

Pattern Background

This pattern is for crewneck and hoodie sweatshirts as well as a tshirt. The size range goes from size 2T to 2X. Th suggested fabric is sweatshirt fleece with a minimum of 10% stretch and ribbing for the neck, cuffs, and waistband. You can also use self fabric if your fabric has at least 30% stretch.

Materials

I used a cotton/polyester sweatshirt fleece I found on Amazon. It is not great quality but for something like this which is worn only a few weeks it is fine.

The ribbing is a cotton/lycra rib knit from Nature’s Fabrics. I’m not really happy with it. It seems like the recovery isn’t great (which caused some gaping at the neckline) and the hand suggests there’s some polyester content hidden in it.

Fit and Alterations

For my husband I used size Y, which is on the larger side of Medium.

I found the collar ribbing rather wide and removed 3/8” from the width, bringing down the finished width to 3/4”.

He also found the collar was too tight. I added another couple of inches to the length.

My husband is 5’4” so I shortened the sleeves 3”. For the first version I shortened the length 3” but he found it too short, so I reverted back to the originally drafted length.

For my son, I just added a couple of inches around the hips because he still uses cloth diapers when out and about. I may have to take it in next year because he keeps getting taller and slimmer!

Construction

This is a super easy make. You can do it almost entirely on a serger. I did cut out the fronts and embroidered them before sewing it up because it’s just easier to hoop that way.

Conclusion

I use this all the time for sweatshirts for my “boys.” It is a classic style and one of the few knit Jalie patterns that doesn’t require a lot of stretch. Highly recommend!

Jalie 2111: Men’s and Boy’s Classic Shirt

Pattern Background

Jalie 2111 is a classic men’s shirt pattern. It has a relaxed fit with a back box pleat, banded collar, and shaped hem. Both short and long sleeve pattern pieces included in the envelope. The cuffs have two buttons so you can wear them either tighter (like my son is in the photos) or looser, depending on your preference. The long sleeves have a shirt sleeve placket with a button. There’s also a chest pocket but I chose to leave that off this time.

Sizes go from 2T (22” chest) all the way to size XXL (47.25” chest). The wide size range, in addition to the timeless style, is what sold me on this pattern.

This is an older pattern, from 2001, so while it is no longer in print you can still buy it as a digital pattern. I ended up having it printed using the website PDFplotting.com. I used the higher quality paper available and found the service reasonably priced (if you do a bulk order like me) and quick to arrive. Highly recommend this service!

Alterations

I cut a size 3T. My son is on the verge of outgrowing European size 92 right now (2T) so I cut a size 3T just so he would have more time to wear it. I added a total of 2” around the hips because he still uses cloth diapers and needs the extra room.

Fabric and Notions

I used a 100% cotton shirting from Fabric Mart. The buttons were from WAWAK. I used a lightweight shirt crisp cotton interfacing from Fashion Sewing Supply for the collar band, collar, and cuffs.

Construction

I was happy I made time to work on this project, as it was my very first project using my new Juki TL-2010Q. This shirt was great for getting to try out my new presser feet as well as just get used to the feel of the machine. I was super happy with how the machine performed. I finally got used to using the machine threader and the feel of the presser foot (which has the auto thread cutter built in). And unlike my Janome 6500, the auto thread cutter works GREAT and doesn’t leave any ugly thread nests.

One of the nice things about this machine is that it can use regular industrial feet, which can be found for very cheap. For this project I used my new compensating foot set, topstitch guide set, and rolled hem foot set. I was particularly impressed by the performance of the rolled hem foot. It had no trouble at all going around the shaped hem and did a perfect job the first try. My Janome foot, by comparison, struggled to feed anything other than a perfectly straight edge.

I didn’t have the best of luck with the old Greist/Singer buttonholer for the buttonholes. For some reason the stitches kept skipping so rather than continue to fuss with it I just used my Janome 6500 and automatic buttonhole foot. For some reason I still had a bit of skipped stitches at the very start top of a few buttonholes, but a zigzag with the feed dogs dropped was able to save them.

The instructions included with the pattern are typical of the older Jalie patterns and not the best. In particular, the section for how to construct the front button band was rather confusing and I ended up redoing it before finally understanding what they meant. Another part of the instructions were wonky where the illustrations for the final steps are randomly thrown in the middle of the illustration for some middle steps. I might do a sew along and take a bunch of photos the next time I make this shirt.

Conclusion

My son loves how dapper he feels in his new shirt! He had no problem at all moving around in it to play outside today for 3.5 hours. It can be hard finding long sleeve button down shirt patterns for smaller sizes so I’m glad Jalie still offers this pattern.