The Green Pepper 203: Drawstring Daypack

Pattern Background

Daypack in both children and adult sizes with grommets and drawstring opening, front pocket, hidden zip pocket under the front flap, and padded, adjustable straps.

Fabric and Notions

I used a polyester water repellent canvas, purchased almost exactly 10 years ago from Fabric Mart. I sewed the entire bag with matching Gutermann Mara 70 thread.

Zippers, ladder buckles, drawstring cord, cord stopper, front buckle, and 1” webbing were from Amazon.

Grommets are size 1 grommets from Wawak I had in my stash. You should technically use a size 0 for this pattern, but this is what I had in stock.

For the strap padding I used some leftover Bosal handbag foam from Wawak.

Construction

The instructions started off ok, but by the time I was starting to finish up the bag I realized there was a major error. Unfortunately there are no line drawings or sample photos of the back of this backpack, so I didn’t know what was happening until the very end when I went to turn under the top hem where the grommets are set it and realized I was going to be sewing it into the reinforced section with the straps and hanging loop. I had to figure out what went wrong, then unpick the entire section and try sewing it again. I was not happy.

Take note of the illustration under G. FLAP AND HANGER LOOP TO DAY PACK.
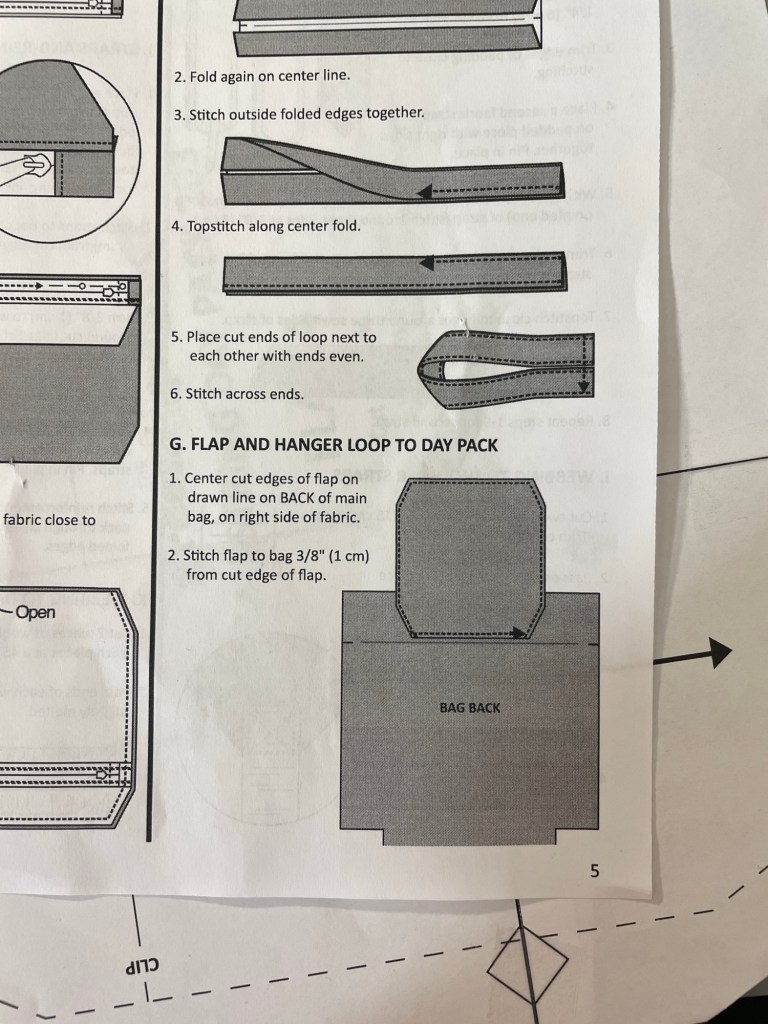
See how it has you place the flap with the cut edge on the line? That is wrong! If you sew it like that you’re going to have that issue of the entire strap and loop section being in the way when you go to sew the drawstring hem.

Instead, you want to place the angled part of the flap on top of the line and sew over that. Basically transfer that line which they tell you to use as a cutting line for the flap to the other aide as well, only don’t cut through it. Note in the photo below my chalked in white lines to the side of the flap and how my stitching line goes right at that angled part of the flap.
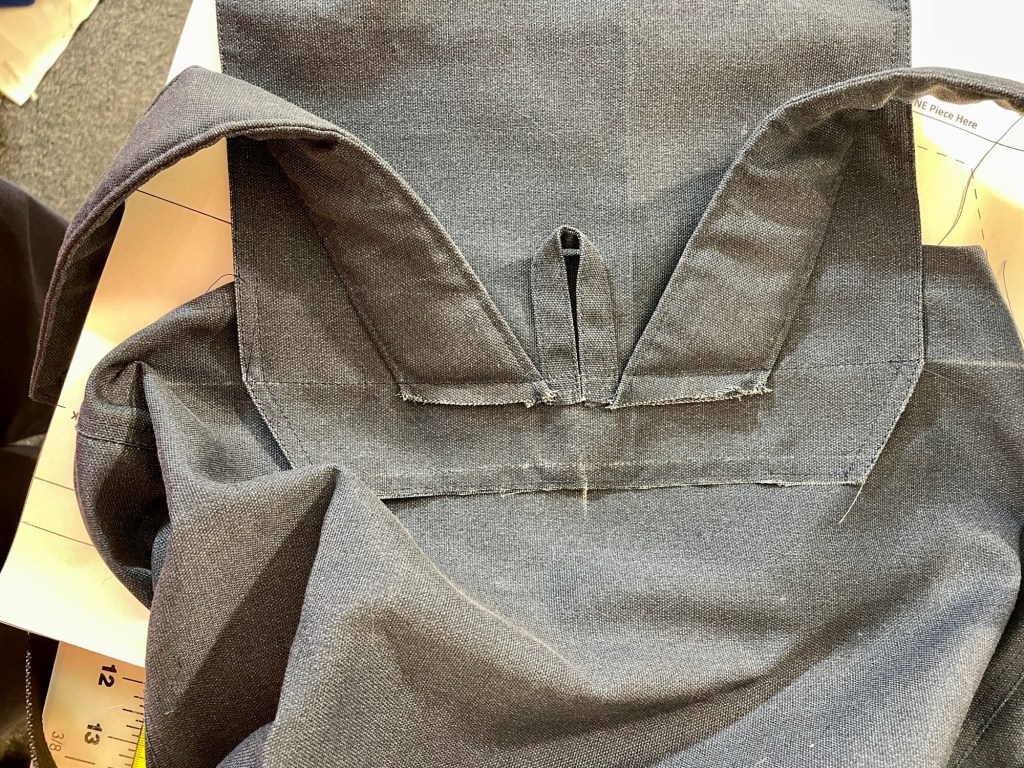
Here’s what it looks like when the reinforcement patch is finally sewn on.
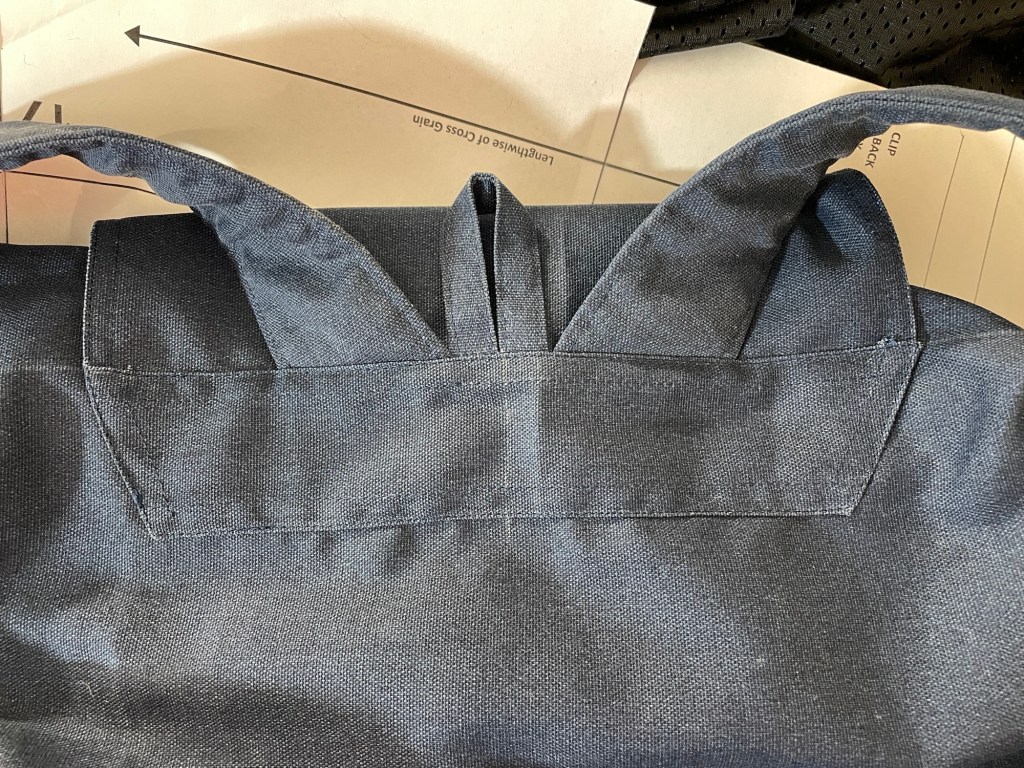
The instructions also have you do 10 grommets, but I ended up doing only eight.

Conclusion

I will be honest, I don’t like this bag. I feel like it’s smaller than I expected, not just in size but like my frame is almost too big for it. You can see how the straps just barely fit me despite being nearly let out completely, and I’m not even wearing a coat, just a sweatshirt. I don’t have this issue with any of my purchased backpacks. It also feels like the bottom is caving in against my back instead of staying flat. The entire balance feels off.

I think another part of my dislike is how the poorly edited instructions caused me more time and work than it should have taken, which caused negative feeling about this project before it was even done. I ended up giving it to my son. It’s way too big for him but he loves filling it with his stuffed animals and dragging it all around the house!
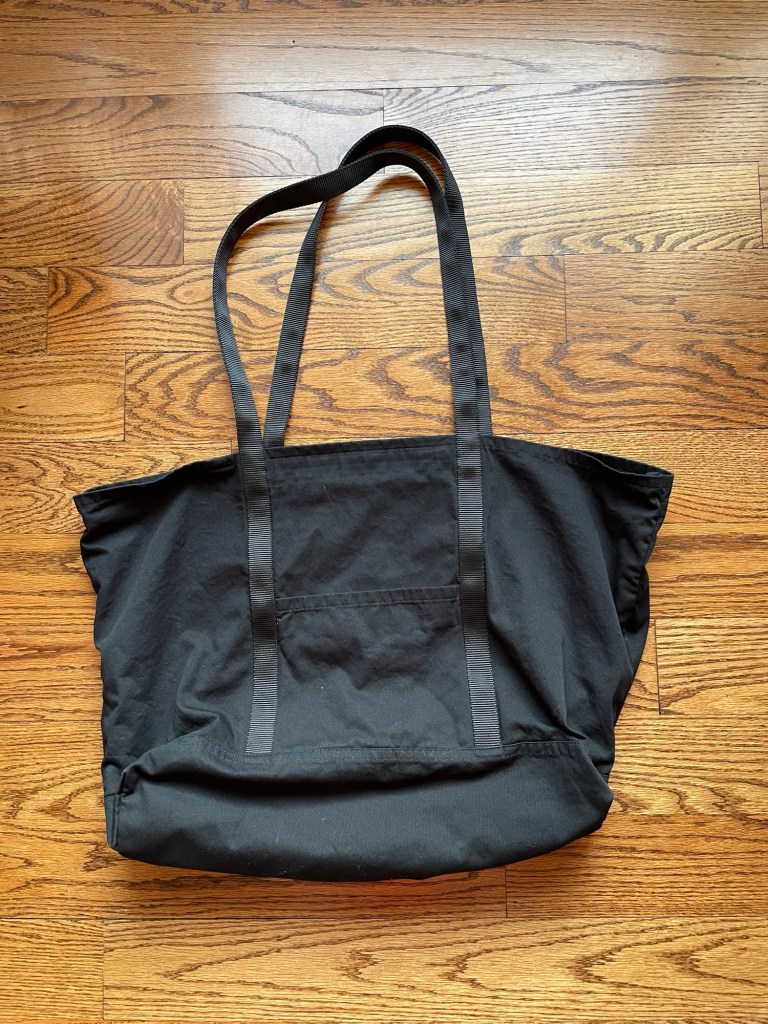
The Green Pepper 533: Rugged Tote and Portfolio

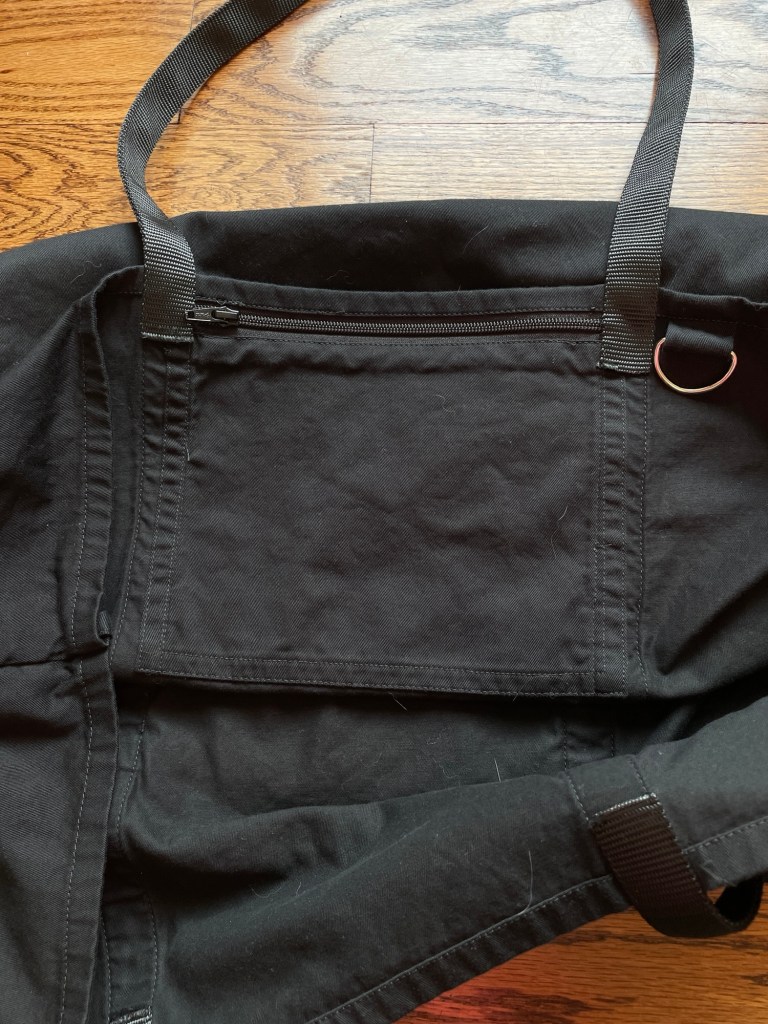
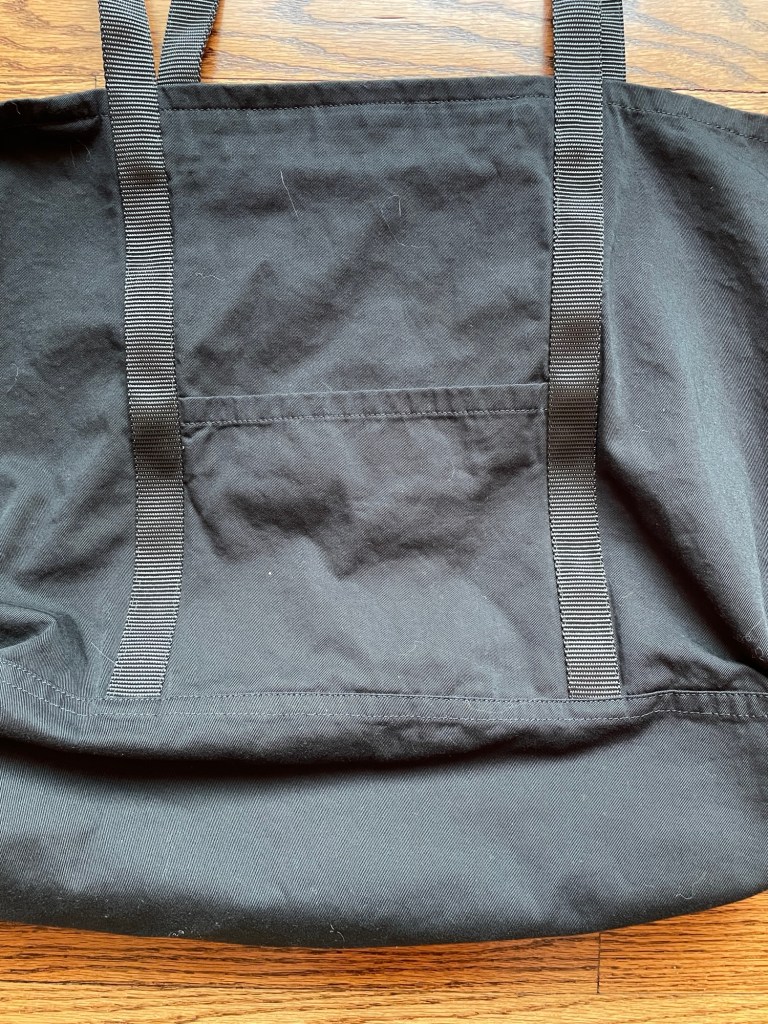
Inside pocket with D-ring
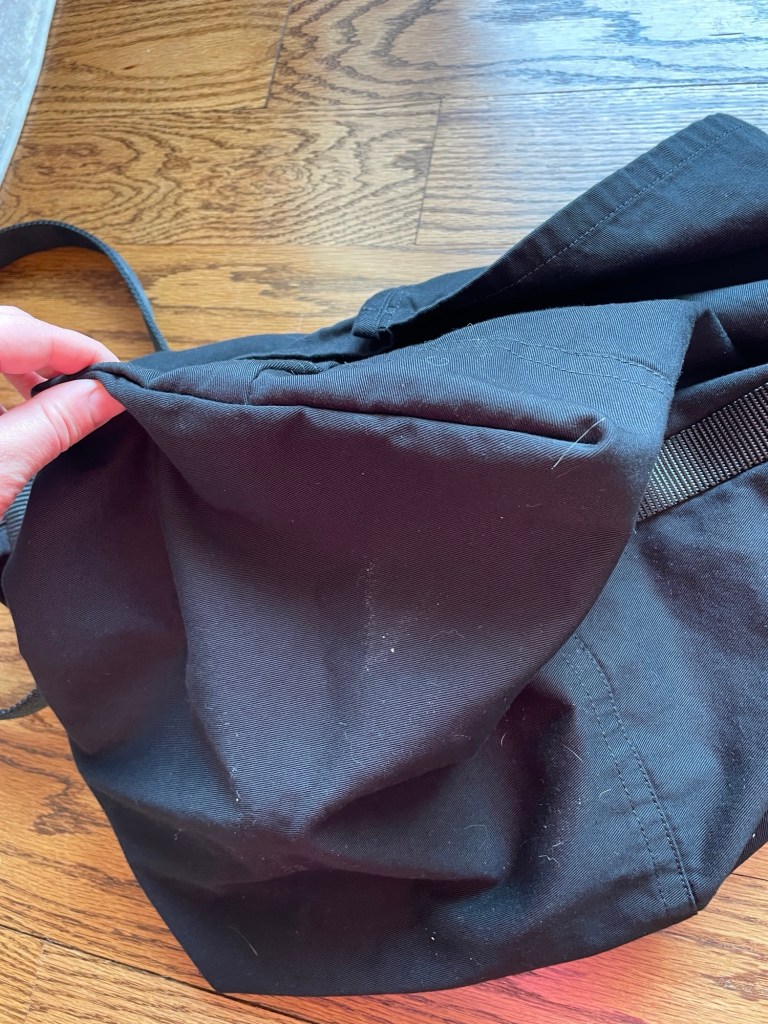
Outside constructed corner of tote
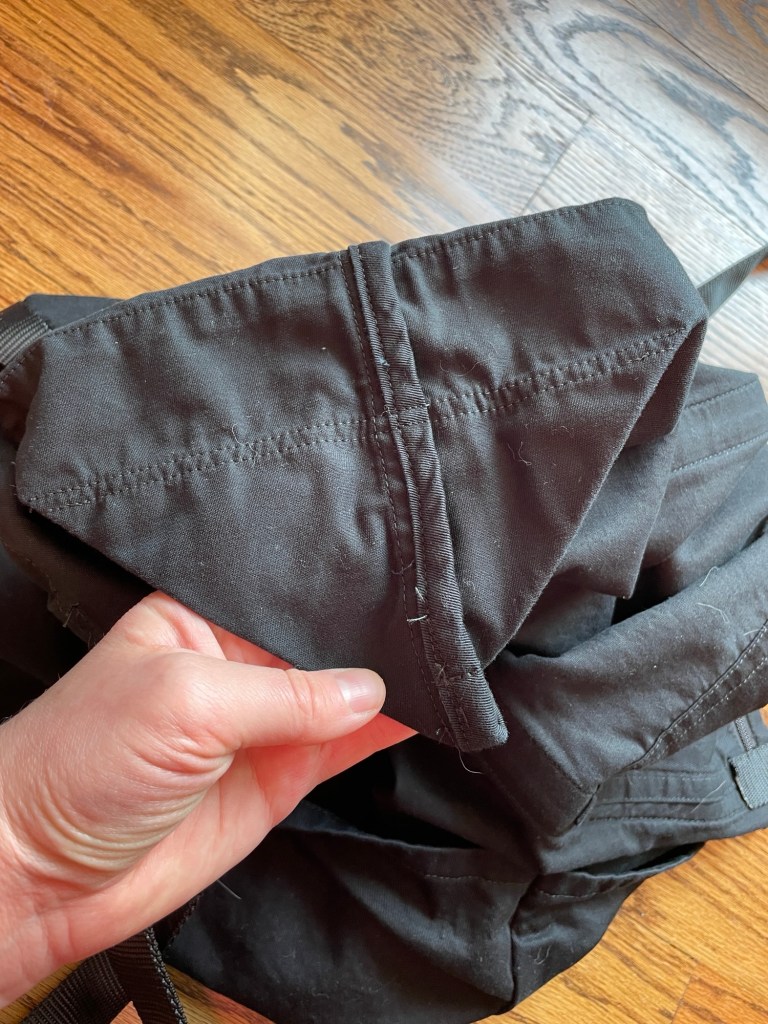
Inside constructed corner of tote
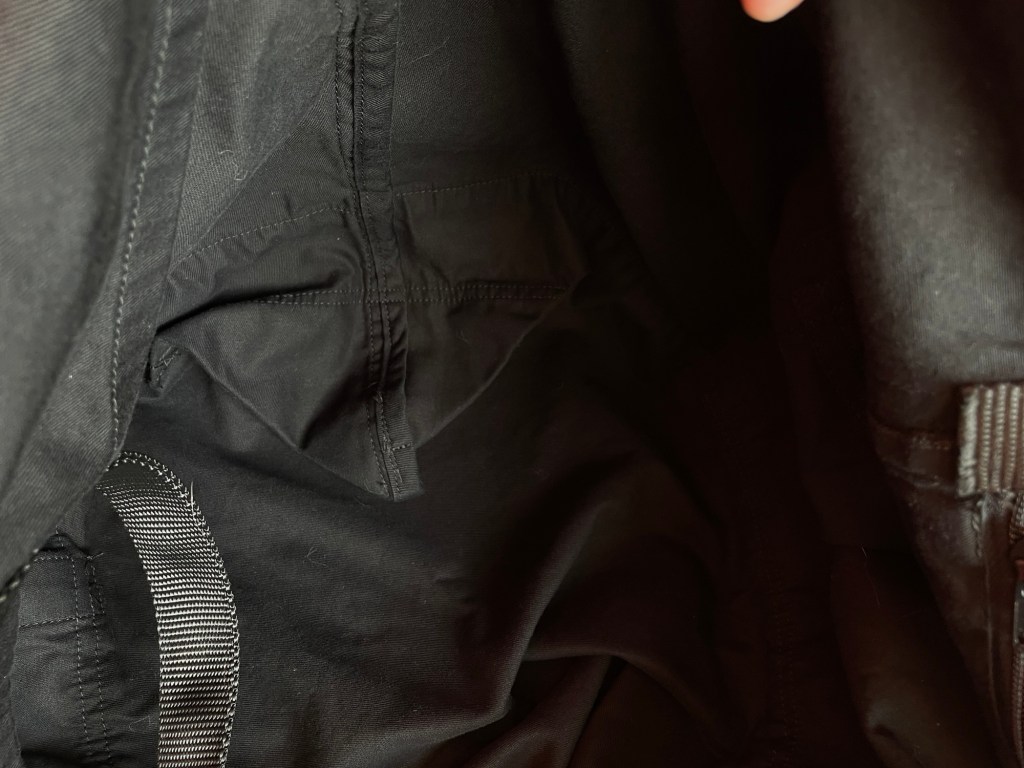
Tote corner tucked inside

This was kind of a spur of the moment project for me. I wanted to do something a little different from garment sewing and decided to venture into bagmaking. My toddler has been maxing out his diaper bag lately between potty training but still using diapers, bigger clothes, snacks, etc. I’ve been keeping a backpack in the car with the lesser used stuff and a medium size LL Bean tote for his more frequently used stuff and have been wanting to consolidate into one bag because I also tend to keep some of my own stuff in his diaper bag. This pattern was attractive to me because it is simple and uses minimal speciality materials.

Background

The Rugged Tote and Portfolio from The Green Pepper is an unlined tote bag with optional exterior pockets, a zipped interior pocket, and D-ring for keys. You can use either webbing or self fabric for the straps, which come in regular and long lengths. The bottom of the bag is actually a double layer of fabric, as a separate bag bottom is sewn onto the main body of the tote. If you made it out of 25 oz canvas it would be very similar to the LL Bean Boat and Tote.

The tote and portfolio styles use the same pattern pieces. The only difference is that you sew the corners of the bag into a triangle at the end to make the tote version.

There are four tote sizes, listed below as height x width x depth:

  • Small: 11.75” x 9.5” x 5”
  • Medium: 13.25” x 13” x 6”
  • Large: 15” x 16.5” x 7.5”
  • Extra-large: 16” x 19” x 8.5”

These roughly correspond to the size of the LL Bean Boat and Tote bags.

I made the extra large tote with the long straps and all of the optional pockets and D-ring.

Materials

Recommended fabrics are sturdy midweight to heavyweight fabrics like denim, canvas, and Cordura.

I used a midweight black 100% cotton twill I had in my stash for over ten years. For the straps I used nylon webbing. The zipper is a #5 nylon coil zipper from Wawak that was also in my stash. I used Gutermann Mara 70 thread for all construction.

The keyring was a 1.25” D-ring I’ve had in my stash forever from Bagmakers Supply.

Construction

I thought the included instructions were pretty good. I just was working very late at night and got confused about the zipper and how the ends of it were secured close until I went further along and realized that the inside strap actually covers it.

The Green Pepper 557: Infant, Toddler, and Youth Snuggle Booties

Pattern Background

The Green Pepper 557 is a pattern for lined booties/slippers for babies, toddlers, and older children. 1/8” elastic shock cord and a spring cord lock ensure they stay snug on feet.

This pattern is available as both a paper pattern and PDF download from The Green Pepper’s website. Since I wanted to make this in a hurry I used the PDF version. (I don’t mind downloads when they’re for small projects such as this one.)

Pattern Sizing

This will fit babies through children’s size 6 shoe. There’s a graphic within the pattern sheet you measure you child’s foot against. My son measured just above the largest infant size (approximately 18-24 months) but below the smallest toddler size. Due to the fabrics I used (a heavier corduroy and a heavy cotton sherpa fleece) I ended up sizing up to toddler size 7. If I had used a lightweight fleece and thin exterior fabric the largest infant size probably would have worked.

Materials

My goal with this pattern was to create a warm, washable indoor winter slipper of natural, breathable fabrics. It seems difficult to find slippers for little ones that don’t use polyester fleece. It was mandatory that they stay on securely, but I didn’t want a Velcro closure because I find it’s too easy for him to undo and gets messy over time. It was also important to that they have a very grippy sole because my son runs around full speed on hardwood and LVP floors.

For the main fabric I used a sturdy 100% corduroy from Fabric Mart.

For the lining I used a heavy 100% cotton sherpa fleece from Nature’s Fabrics.

For the soles I used Dritz anti-skid gripper fabric. (FYI – one package of this fabric is enough for three toddler size bootie soles.) I wanted to add some extra durability so I fused some low loft fusible fleece to the wrong side of the gripper fabric to help reinforce it and give a little more padding. I didn’t go with a higher loft because I felt like the thick fleece lining combined with a higher loft fleece might make things too unstable when he’s running at top speed.

I didn’t have any 1/2” grosgrain ribbon in stock to create the elastic casing, so I subbed in 5/8” satin ribbon from my stash.

The cord lock is from Amazon. The 1/8” elastic shock cord is from WAWAK. I highly suggested using an elasticized cord instead of a regular non-stretch cording in order to make them quicker to get in and off.

Construction

The instructions included with the pattern are clear and straightforward, and include illustrations as well as text. You make this entirely on a sewing machine (no serger needed). My only struggle was sewing the Sherpa fleece lining because the bulk and loft of the pile made it difficult to see the edge of the fabric. If I had used a micro fleece as suggested in the instructions it would have been much easier, especially when it came time to attach the lining to the main fabric of the shoe.

I did find the elastic measurement for the bootie too long by about 3” or so. I think the instructions assume you will be using a cord lock with one hole, not two, so they have you loop off some and tie it into a knot. My cord stops have two holes so I didn’t need to do this.

Conclusion

My son was so excited when he saw his new slippers! (He always gets excited when he sees a new piece of clothing I’ve made for him, somehow he knows it’s made just for him so I guess it makes him feel very special.) He immediately insisted on wearing them and started running and stomping around the house with them. I’m pleased to report the gripper fabric works really well. He had no issues whatsoever with slipping despite all of his running around. Despite it being a warmer fall day he insisted on wearing them for hours! I plan on making another pair for him to keep in my diaper bag for when we go visiting other people’s homes in the winter.

This is a great pattern for baby showers and Christmas gifts because as I mentioned before, it seems like most commercial booties/slippers for babies and small children use polyester fleece for the lining. With this pattern you can make something much more special than what you would find in a store.