New Machine: Juki TL-2010Q

Just got this baby delivered yesterday! I haven’t made a space for it in the sewing room yet so I set it up on my dining room table for now.

My primary sewing machine for the past 20 years has been a Janome Memory Craft 6500P. My mom bought it a year before I caught the sewing bug, and when she saw how much I fell in love with sewing she decided to give me her machine and bought another one for herself. It’s been a great machine and I can’t even tell you how many hours I have on it. However, it does have some quirks:

  • The automatic thread cutter sucks. It has sucked from Day One. It always leaves a big thread nest unless I use a leader cloth, and if I need to use a leader cloth all the time I feel like it’s quicker to just use the built in manual thread cutter and snip the threads afterwards
  • It sometimes it goes for another stitch or two after I stop stitching, especially with heavier weight materials. I’ve seen other people complain about this.
  • Regular buttonholes are super easy and good quality, but it struggled with making nicely rounded keyhole buttonholes, especially on heavier fabrics.

When Juki Junkies advertised last month that they were going to sell the Juki TL-2010Q floor models being used at Quilt Con at a discount, I decided to go for it. Right now this machine sells for around $1200. I got mine for $950 with shipping included. My husband didn’t really understand why I wanted it, but when I said it would take the place of birthday, Christmas, anniversary, Valentine’s Day, Mother’s Day etc gifts for the next two years he thought that was a pretty good deal 😂.

This machine is marketed for quilters and bag makers. Nearly everything I sew is a garment. Now why did I want a straight stitch only machine like this?

  • I have a compound walking foot industrial (the Seiko STH8-BLD-3). I don’t use it very often because it is for heavy materials, but I love how it is simple, super reliable and feeds everything through with ease. It does one thing, but it does it really well. It will never die and likely outlast me. I wanted this same experience with a machine that handles lighter fabrics. After going through two expensive sergers that performed beautifully but ultimately failed due to their complexity, I just wanted something simple and reliable.
  • If I had the space I would have probably gotten the Juki 8700 industrial; however, my sewing room is a small spare bedroom and between my four other machines (Janome 6500, Janome MyLock 204D serger, Janome 300e embroidery machine, Janome Coverpro 2000CPX coverstitch) and my cutting table, ironing board, etc I just don’t have the room. (As it is now I have to keep the Seiko in my basement.)
  • Speed! My Janome maxes out at 1000 stitches per minute. The Juki does 1500 stitches per minute.
  • The Juki allows you to use a lot of industrial sewing machine feet, which are often much cheaper and more effective than domestic sewing machine feet.
  • As I mentioned before, my current Janome is 20+ years old and being computerized, I have no idea how long it is going to last. I know that parts are getting harder to find for it.

My Juki Tl-2010Q just arrived a day ago so I haven’t had much time to sit down and play with it yet, but so far I am very happy with its performance. It feeds the fabric easily and I feel like the presser foot design makes it easier to topstitch, especially around corners, without a guide. The thread cutter also works GREAT!

The things I don’t like so far:

  • It doesn’t have a 3/8” seam allowance mark on the stitch plate, but a magnetic guide will take care of that.
  • The automatic threader sucks! My Janome is so much easier to use. Despite some practice I am just threading it by hand more often than not.
  • There’s a learning curve to the foot pedal. You have to be careful to not hit the back of it or else it activates the automatic thread cutter. I believe there’s a piece you can buy to prevent this from happening, but it’s another $20 added to the purchase price.

Now for the big test…buttonholes!

My mom recently gave me an old Singer branded buttonholer which was probably from the late 60s. My dad worked a bit back then as a machinist at the Griest buttonholer factory in New Haven, Connecticut. He ended up leaving the job less than a year later because it was mind numbingly dull, but while he was working there he brought home a Singer branded Greist buttonhole attachment with all the cams for my mom. She used it for a while but eventually switched to one of the first computerized Viking machines.

I wasn’t sure if it would work with my Juki since it is a high shank machine (and the high shank Greist buttonholers are apparently harder to find) but I can confirm that it does work. Maybe those photos will help those looking on the secondhand market for a vintage buttonholer to fit their Juki,

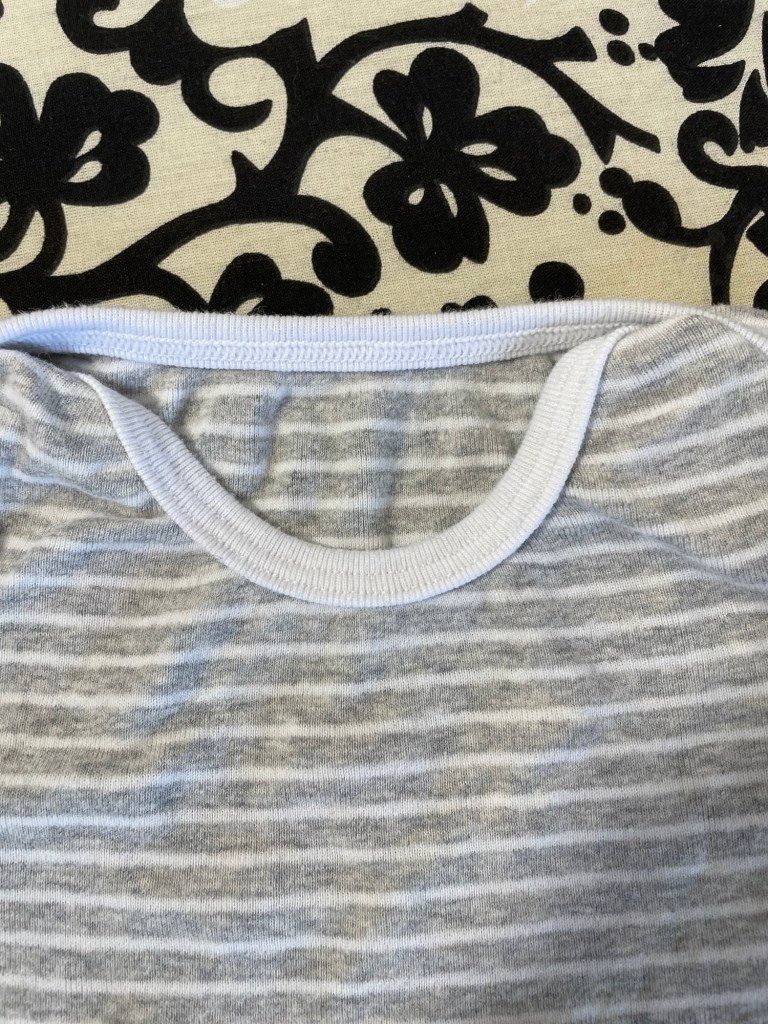
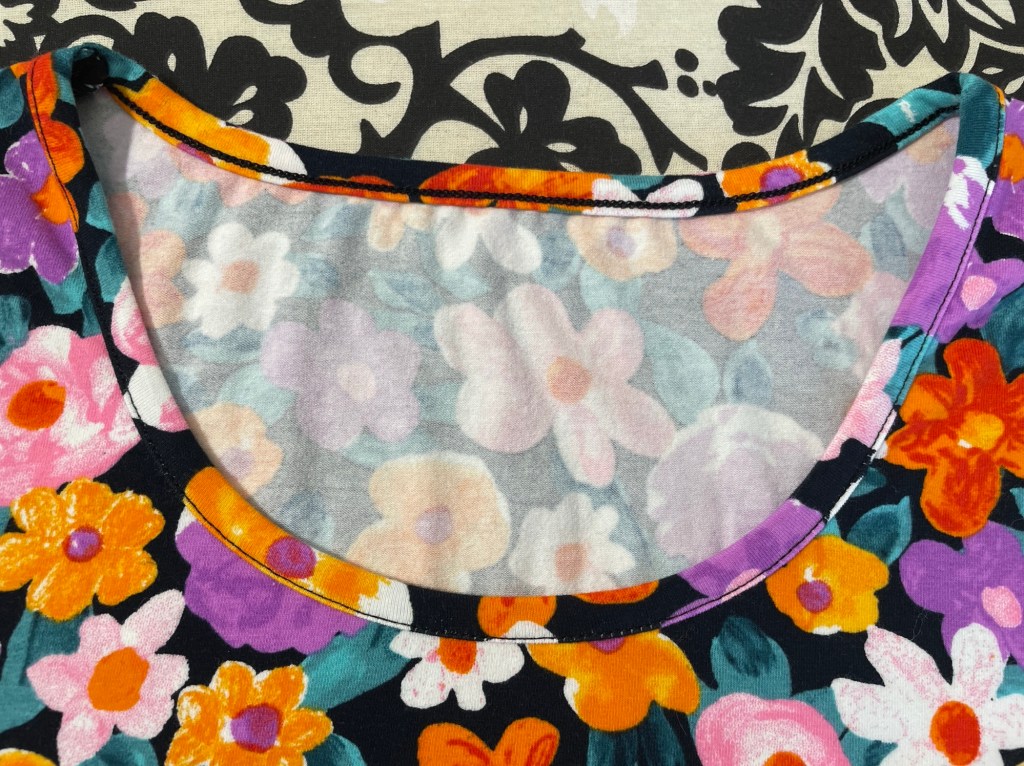
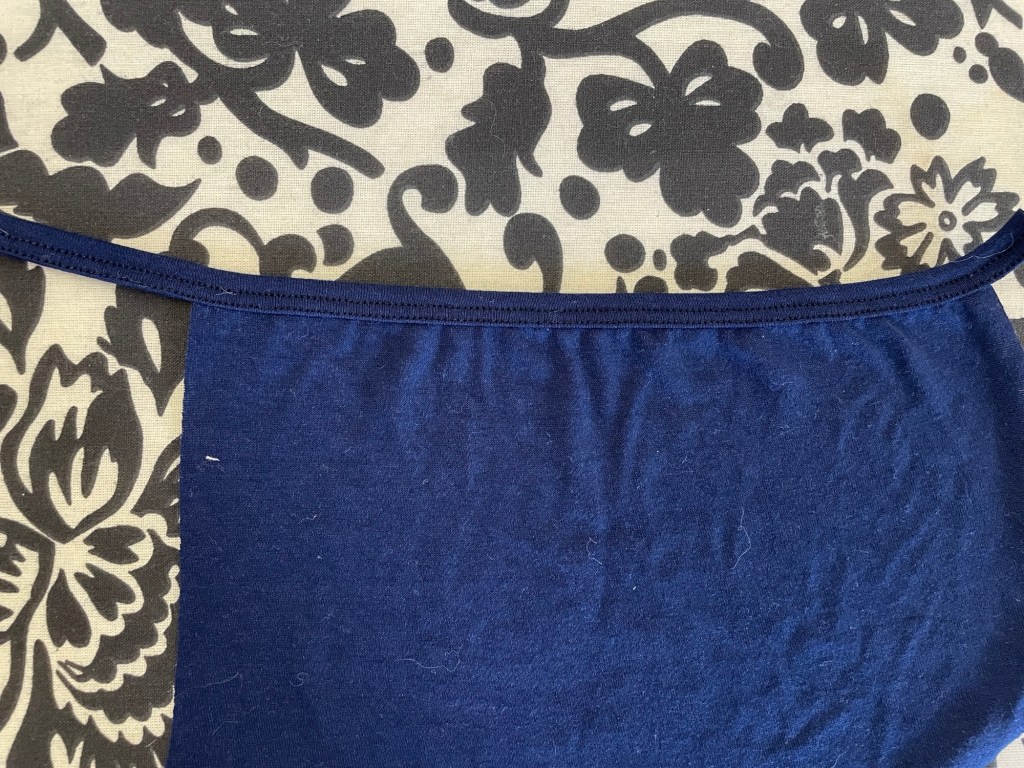
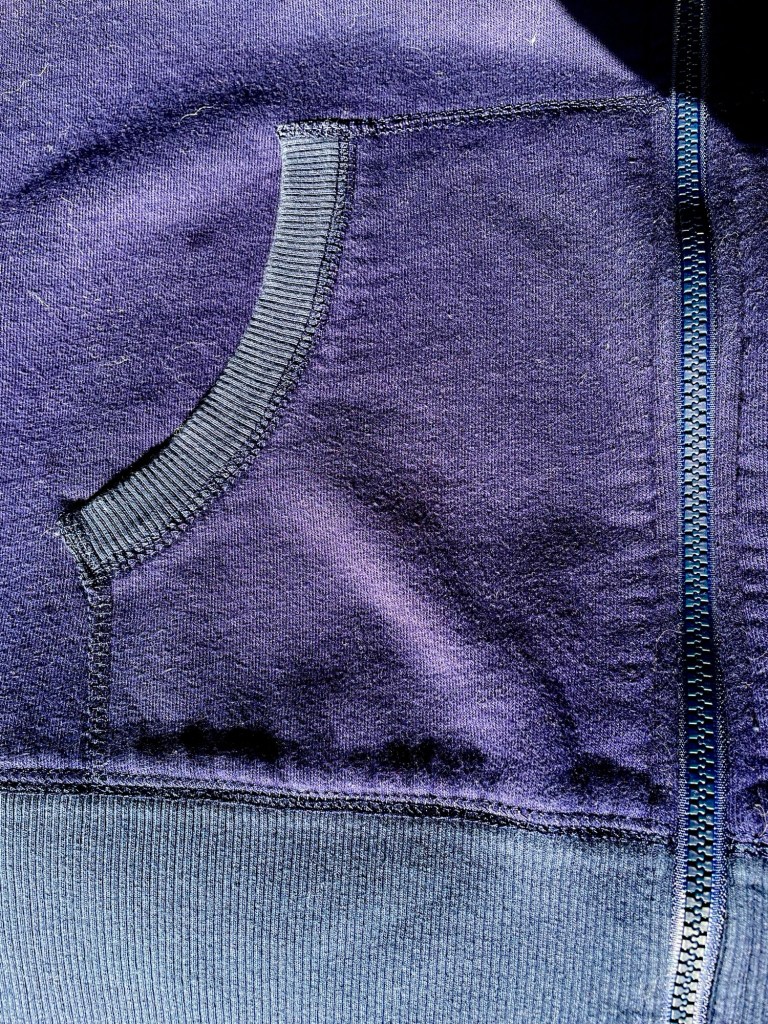
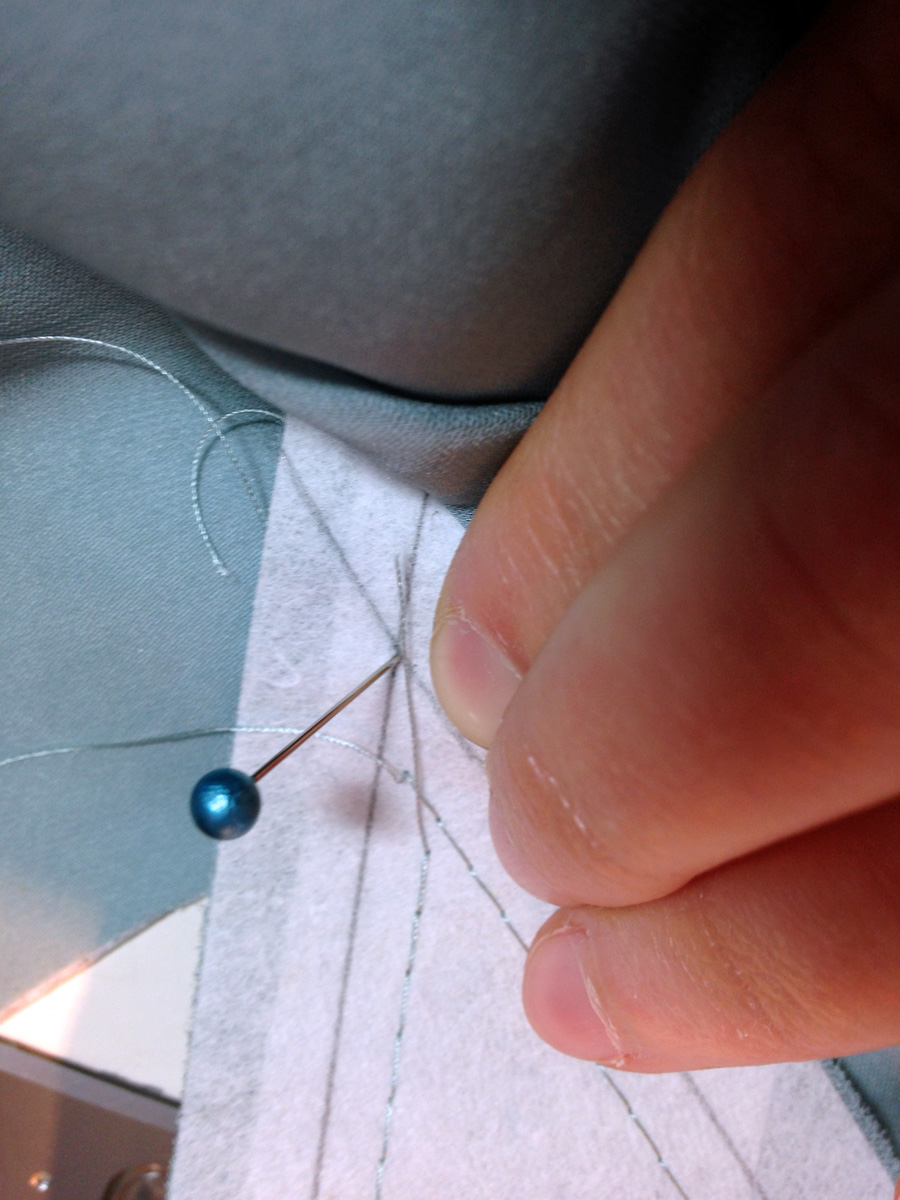
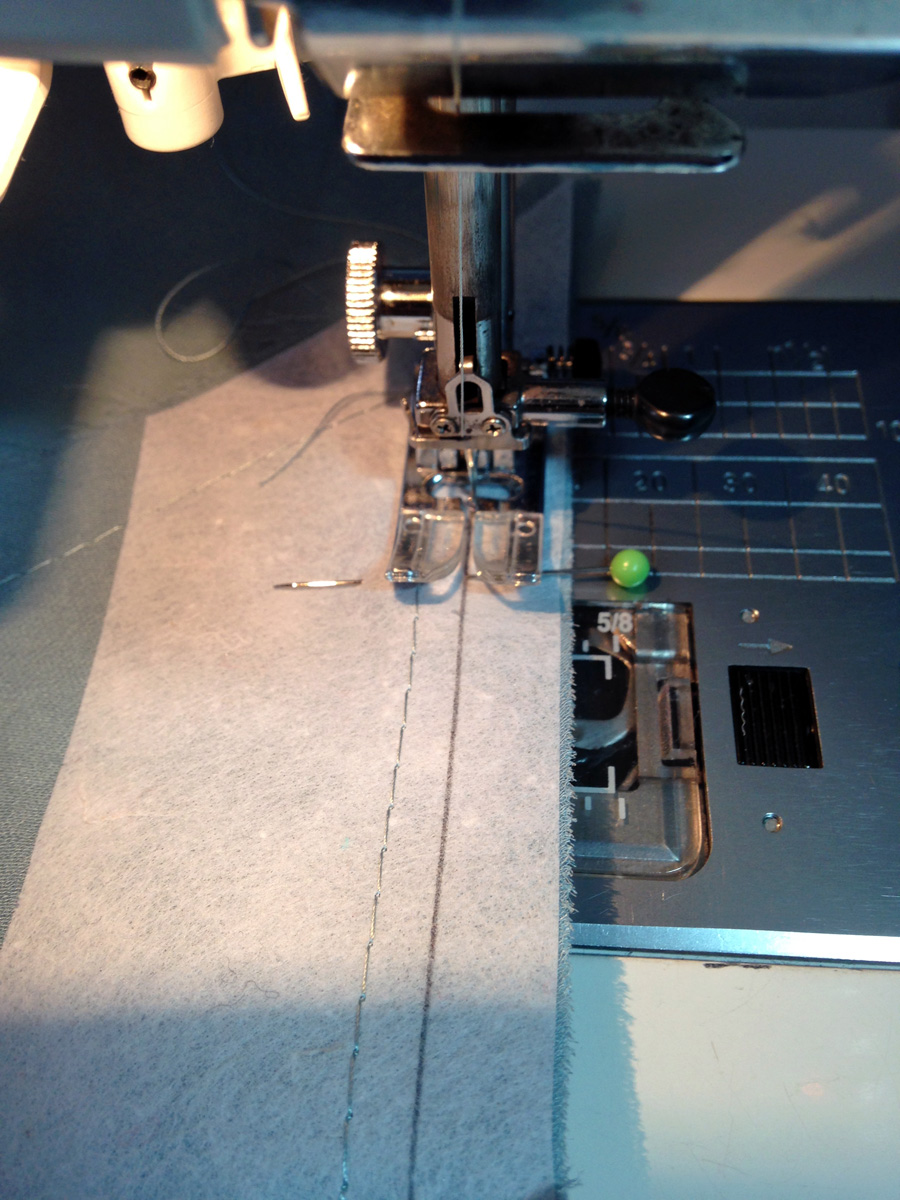
Here are some action photos, along with a video of me doing the second pass for the larger keyhole buttonhole. I used three layers of a midweight 100% linen and Gutermann Mara 120 thread.

First pass
Second pass
Second pass of larger buttonhole

Now for some finished samples. I think they came out great!

Finished front
Finished back
Small vs larger keyhole. I used a wider stitch width for the larger one.

If you’ve never used one of these attachments before I found this tutorial very helpful. I don’t recall if the video tutorial mentions it or not, but make sure you drop your feed dogs before attaching the plate! It was late at night when I first tried using this attachment and I couldn’t figure out when I turned the hand wheel to test the action why the bottom plate wouldn’t stay in place 😂🤦‍♀️.

I hope to give this machine a better workout soon, but my time is more limited right now. My dad suffered a stroke last month. It was actually the same day that my husband ordered my Juki for me. Due to the disastrous experience he had at short term rehab, I decided to take him home with me to recover. It is definitely more work for me, especially since I am already the full time caregiver to my toddler son, but my son loves having him around and I no longer have the stress of wondering what was happening to him when we weren’t there to advocate. (Nights and weekends were particularly bad.) The good news is that he is much happier living with me right now, and we have a fantastic team of people from the local visiting nurse agency coming in helping out with various care and therapies. He was very active before this happened so he’s frustrated with his current condition and limitations, but I see a little bit more improvement every day.

Master the Coverstitch Machine

I am using my Janome Coverpro 2000CPX more than ever. My little guy and I wear a lot of knits and I had been wanting to improve my skills, particularly when it comes to binding necklines. Bound necklines have always been the bane of my existence. I felt like I spent so much time trying to make precise, professional looking bound necklines, often having to rip it out and start all over again because I was unhappy with the quality of my work. I was getting super frustrated because I don’t have the time I used to for sewing, and wanted to spend it producing wearable finished garments, not ripping out stitching!

I decided to start off by buying the book Master the Coverstitch Machine: The Complete Coverstitch Sewing Guide. I saw a video by the author on her website and was impressed with her attention to detail and experience. I prefer sticking to books more than ever now. There’s too many videos on YouTube made by clueless people that clearly have no idea what they are doing. Some of these videos are of people doing these things for the first time! They have such poor technique and camerawork and try to cover it up with clever little quips and editing. They just look really dumb to me, putting it bluntly. I feel like people don’t want to put in the time anymore it takes to really master something before immediately jumping into being an influencer about it. Even the author of the book, who is clearly an experienced seamstress, said it took about it eight hours of practice before she really got the hang of using a binder.

Along with the book I bought some attachments for my machine. I had held off on buying a binder for my coverstitch machine for a long, long time because honestly, the price of the Janome ones are eye watering (like over $250 now). I also held off because I read posts here and there by people claiming that binders are clunky and don’t work well, especially the off brand ones. I kept reading though in my Ottobre pattern instructions about using binders though, so I decided to just go for it. I bought a 1/2” finished width double fold binder, along with a clear binder presser foot. I chose this size because the Ottobre children patterns often recommend a neckline binding finished width of 15mm, which is around 1/2”.

The video I saw on the author’s website suggested using cotton rib knit when you’re just starting out, as it is easy to work with. I have a ton of cotton rib knit in my stash, so that’s what I used. I cut the strips 1 5/8” for this particular binder (the width you need to cut is listed on the binder) using a clear ruler and rotary cutter. I then set up the binder on my machine. I ended up using the video on the Janome product page to help because the binder that I bought had absolutely no instructions. I then loaded the binder up with the rib knit, using an awl and tweezers just as the author suggested to feed it through. It took some fiddling to get it actually folded correctly under the presser foot, but once I got it going I was able to start perfecting the settings of the binder and my machine. The author recommends using a long stitch length (4mm) and playing with the differential length and presser foot pressure. I also had to loosen the screws and slide the binder around a bit in order to get the angle it fed the fabric under the presser foot correct. Once I was satisfied I started feeding some fabric into the binder, which involved more tweaking and testing. But it was completely worth it. I couldn’t believe what a perfect finish I got without having to estimate how long the strip would need to be, stand by the ironing table folding, etc. I tried a few different fabrics and while I needed to adjust some settings, I found that generally it gave a perfectly finished neckline without puckering or being too stretched out, and it had a ton of stretch – a lot more stretch than when I did it by hand with a serger/regular machine then topstitching with the coverstitch. I have no idea how the binder gets it so perfect despite the variety of fabrics I used, but it does it really, really well and saves me SO much time.

Here’s a tshirt I made my son recently, with one of those envelope style necklines, using a cotton rib knit for both the binding and the shirt. Perfectly placed stitching with plenty of recovery and no stretching or puckering. Making little boy shirts is SO much more fun now!

Now here is a light to medium cotton/lycra jersey tshirt I made for myself. For this one I used a smaller 3/8” finished width binder. I also chose to use a chain stitch instead of a two needle narrow coverstitch. Partially because I wanted a more subtle finish, but also because I wanted to experiment. The neckline lays perfectly flat when worn. Again, no having to measure and estimate what amount of length I would need. You just cut a strip of binding as long as you can, and the attachment/machine does the rest of the work for you.

The author warns in her video that lightweight, stretchy knits like rayon/lycra jerseys are difficult to work with using a binder, and not really suitable. I don’t agree, it is definitely trickier but as you can see below I got pretty good results using the 3/8” finished binder on a scrap of lightweight, stretchy rayon/lycra jersey. It IS much harder to get it initially fed through the binder though, and you have less tolerance with the settings. Practice with a few scraps is essential!

At least for my Janome Coverpro 2000CPX these off brand binders work just fine and are all less than $30 each. They all include the attachment plate. The 1/2” finished width Janome branded binder is currently around $267 and doesn’t even include the attachment plate (another $40!) I’m sure the Janome branded one has a better build quality but I’m just pointing out that you can make yourself an entire set with the most commonly used widths for a lot less than one Janome branded binder.

I did splurge for the Janome Coverpro tape stand. The book said you can use a paper towel roll holder, but I wanted the flexibility of the height adjustment and something that wouldn’t be so bulky. Much like the binders, it is stupidly expensive for what it is. However I have found that using a stand is essential for helping feed the binding into the binder, especially when you’re working with a flimsy rayon/lycra jersey that wants to fold over itself before you even get it fed into the binder. I did take the tip from the book to roll the cut binding into an empty toilet paper roll.

Something else I wanted to experiment with was reverse coverstitching. I think the industrial machines that do this call it flatlocking. A lot of Ottobre knit patterns call for this stitch. You sew the seam on a regular machine using a straight stitch and then open it up, press ur, and then and topstitch from the back using the coverstitch machine. The newer model Janome Coverpro 3000CPX has five threads and can do it from the top, not the bottom, but I can’t afford to upgrade my machine at this time. The book explains very well how to make do with a four thread coverstitch machine like I have though.

I found reverse coverstitching over a seam very easy with the help of the Janome clear guide foot. You can buy the branded Janome one for $62, but Amazon has a generic one for $27.

Coverstitching something like a pocket however was far more difficult, and I ended up having to redo my work so many times. Since you’re working from the back you’re sewing completely blind. I used the marking paper with a tracing wheel but even so I had a lot of mistakes that needed to be redone. For this reason alone I wish I could upgrade to the 3000CPX.

Below is a sample of the Ottobre zip sweatshirt hoodie I made lately. It is a cotton/polyester sweatshirt fleece so a fairly heavy fabric with a heavier rib knit for the trim. The hem band was sewn using the coverstitch over the attachment seam, and the pockets and their trim were sewn directly on top of the fabric. Even though I had to keep redoing it I love how flat the pockets came out!

I did find I had an issue with skipped stitches where the rib knit meets the side seam, as the fabric is heavy and the seams very bulky (there’s an attachment seam where the front hem ribbing is sewn to the back hem ribbing, as well as the fleece side seam bulk). Despite my best efforts I couldn’t get it right, so I ended up just fudging it with some hand stitching.

Overall I highly recommend the Master the Coverstitch Machine book. It has great instructions, very clear and high quality photos, and the projects section shows in depth how to apply the techniques to your own projects. Pretty much anything you might want to do with a coverstitch is covered. As I mentioned before I also found the generic binders and feet from Amazon worked perfectly fine on my machine, so I highly recommend trying those out if you are hesitant to go all out and buy the official name brand binder.

Maxi-Lock Serger Real Thread Color Chart

If you’re looking for a real thread color chart and not one of the wildly inaccurate online ones for Maxi-Lock serger thread, someone on Facebook is selling them for $35. We are in the same state but since she’s not super close to me I asked if she would be willing to ship it to me. She charged very reasonable shipping and it arrived quickly. The swatch cards are sturdy and there’s a nice big ring to keep it all together. Her communication was excellent as well.

Here’s the listing if you’re interested: https://m.facebook.com/story.php?story_fbid=3071557416334323&id=886555474834539

Sewing Corner, Angle, and Pointed Seams Tutorial

After sewing the Style Arc Victoria I thought I’d share the method I used to sew those tricky corner seams you see at the back and  above the bust:

a70ba1b59eb094a1dcb427f6591a5769

To follow my method you’re going to need small, very sharp scissors, pins, a pencil, ruler, and iron-on stabilizer. The stabilizer holds the shape of your fabric (silk georgette in this case) and will help you determine when to pivot. I’ve tried making corners without it before and found it much, much harder, especially on a lightweight fabric like this. Using stabilizer will make your life easier.

What you’re going to do first is make “stay” pieces from the stabilizer. Take the stabilizer and trace your pattern at the edges where the corners are. Then iron the stabilizer to the fabric. Take a pencil and mark your seam allowance on the stabilizer. In this case it is 3/8″. Create a stay for any piece where there’s a pivot point. Do it for both pieces of fabric that are going to be sewn together, not just the top one.

photo 1

Next you’re going to pin the pieces together at the seamline and at the corner. Make sure they match up at the pivot point. Since you marked the seamline it is easy to know just where to place that pin.

photo 2
Note: the basting stitches you see are just holding doubled-up layers of silk georgette together. They have nothing to do with this particular technique.

photo 3

Now stitch your seam, using your paper as a guide. I find it best to sew with the corner (as opposed to the “pointed” piece”) on top. Keep your needle in the down position whenever you stop.

photo 2

Decrease the stitch length when you are within 1/2″ of the corner. Stop EXACTLY at the corner. Very important: before lifting the presser foot, make sure your needle is in the down position!

photo 4
Note: this photo was taken from another corner. The one I took of the corner I was working on was out of focus.

Now lift your presser foot, take your scissors and cut into that corner at a 45º angle. It is exactly like a welt pocket where you don’t want to cut into the stitching, but instead get as close as possible (barely 1/16″). Just like with a welt pocket, the closer you cut the sharper your corner will be. Just make sure not to cut into the stitching!

photo 4

Now pivot and turn the fabric so the new seamline is in front of you. Take all of the fabric that’s bunched up and push it to the side and back, match up the seams and start sewing. It may take a minute to pivot and orient your fabric—just take your time! You’ll see a tiny fold right before the needle. Sew right over it. The more you cut into that corner the smaller the fold and the sharper your corner will be. That’s why it is important to cut as closely as possible. Once you are 1/2″ past the corner you can resume your normal stitch length.

photo 1

When you are done with your seam you can tear away the stabilizer. With my delicate fabric I had the best results when I held the seam allowance between my fingers very close to the stitching, and gently tugged at the stabilizer. The needle creates a proforated edge along the stabilizer which makes it a little easier to tear away. After you tear away the stabilizer from the main body the stabilizer in the seam allowance usually just falls away.

Now all that’s left to do is press your corner. I also topstitched mine.

photo 5