Another winner from the Ottobre 1/2024 issue. He’s been wearing them all fall, winter, and spring!
Pattern Background
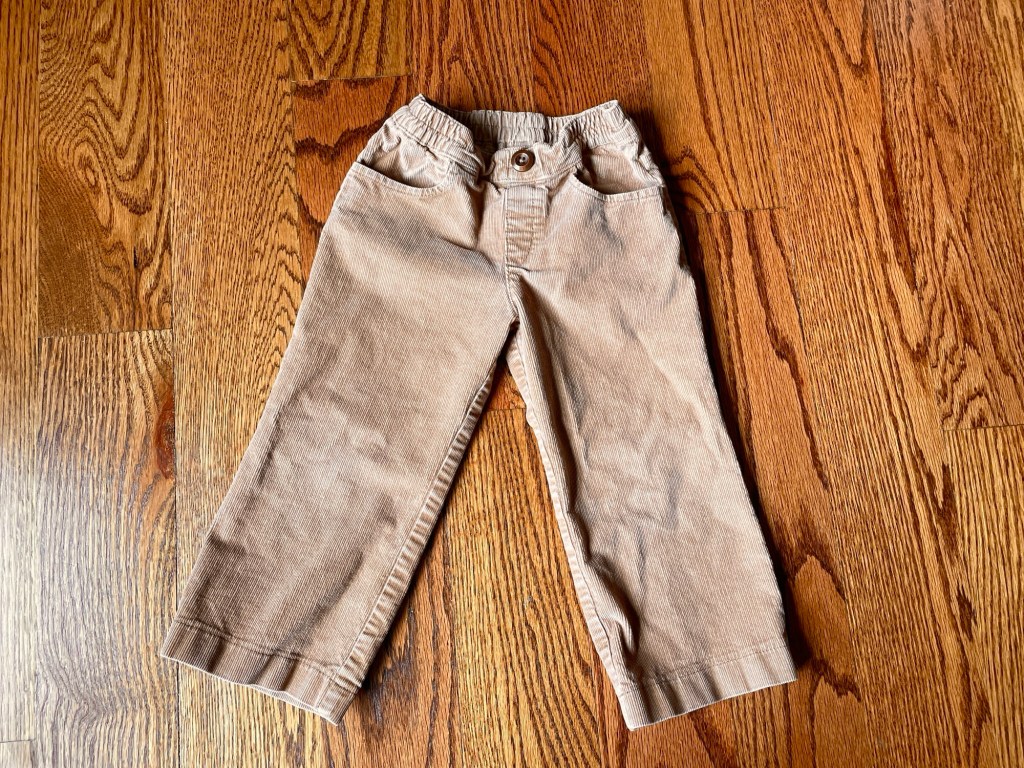
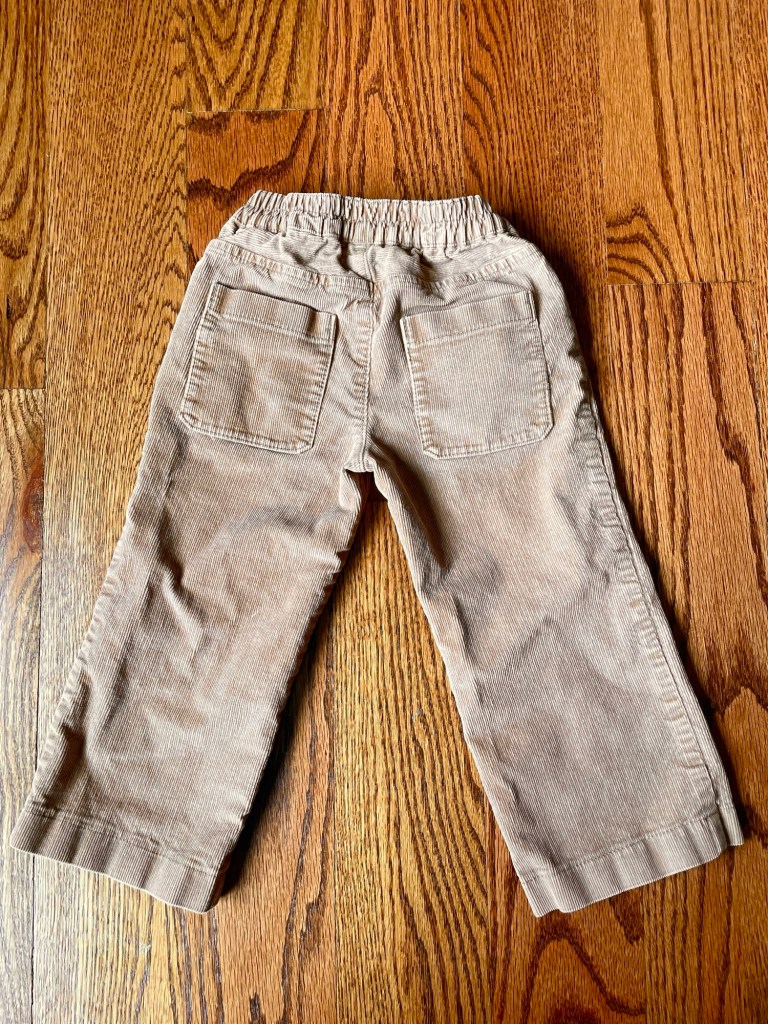
This is a wide leg pants pattern with back and front pockets, faux front fly, and a partially elasticized waistband. It has a wide range of sizes. #17 is European 92-122, and #22 is 128-170.
As I mentioned above, these pants start at 92 and go all the way to 170. I made a size 92. I do find the waist is a bit on the low side with these pants, especially since he wears cloth diapers, so in the future I may extend the rise a bit to help with coverage. I did my usual adding 1/2″ length to the top of the center back seam to help with coverage and and honestly it could have been more.
Fit/Sizing
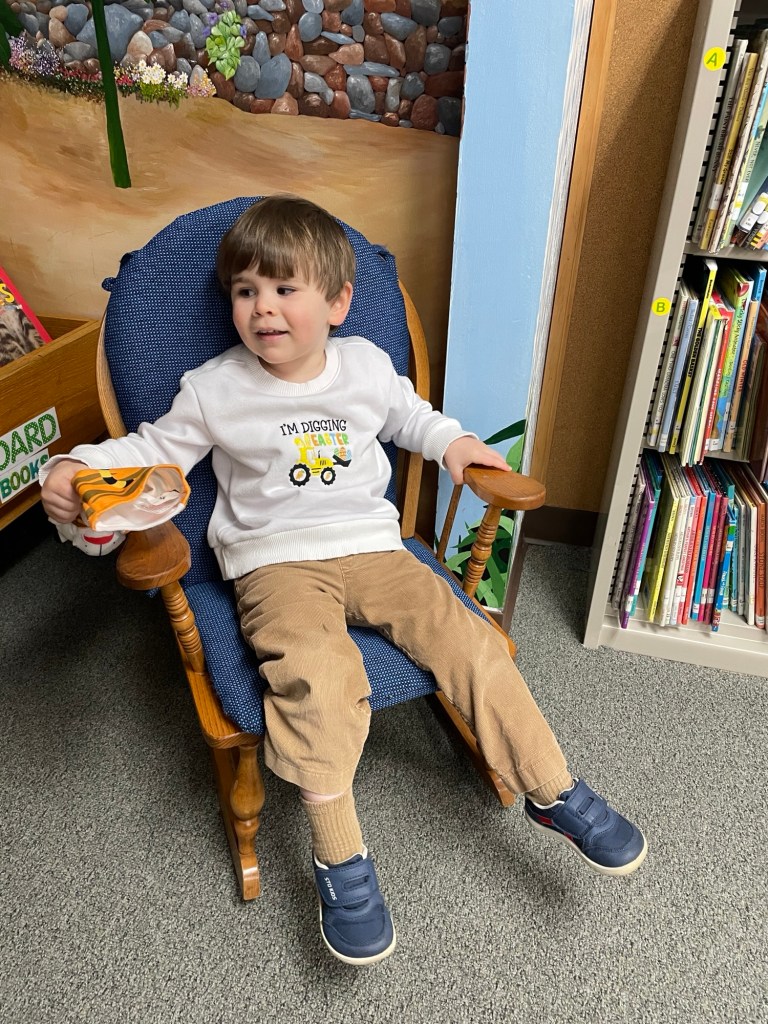
When I first made these they were a bit too long and needed to be cuffed, but not long after he had a growth spurt and now they’re totally fine as long as he’s wearing shoes with them.
Materials
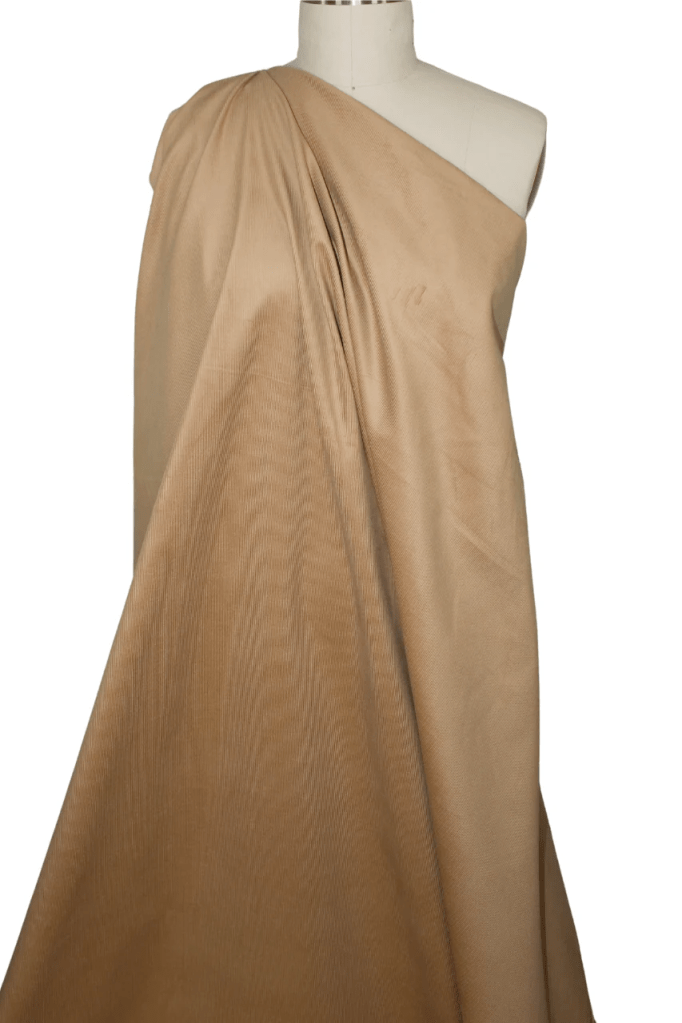
Any sort of woven with a bit of stretch will work for these pants – denim, corduroy, twill, etc.
I used a slightly stretchy fine wale corduroy, purchased from Gorgeous Fabrics last year.
Construction
These pants are fairly straightforward. As I mentioned in the description its a faux front fly, so you just turn back the inside pieces and topstitch and then sew a button onto the front. The waistband is elasticized except for a small section in the front between the pockets.
Conclusion
I’ve made my son a couple of pairs of woven pants for the fall and this is my favorite pattern. He really likes the wide cut (easier for playing). I was unsure at first about how it would look on him since he has a slim, muscular build for a toddler but I really like them on him. They have a modern look and go well with looser fitting sweatshirts as well as slimmer fitting t-shirts.
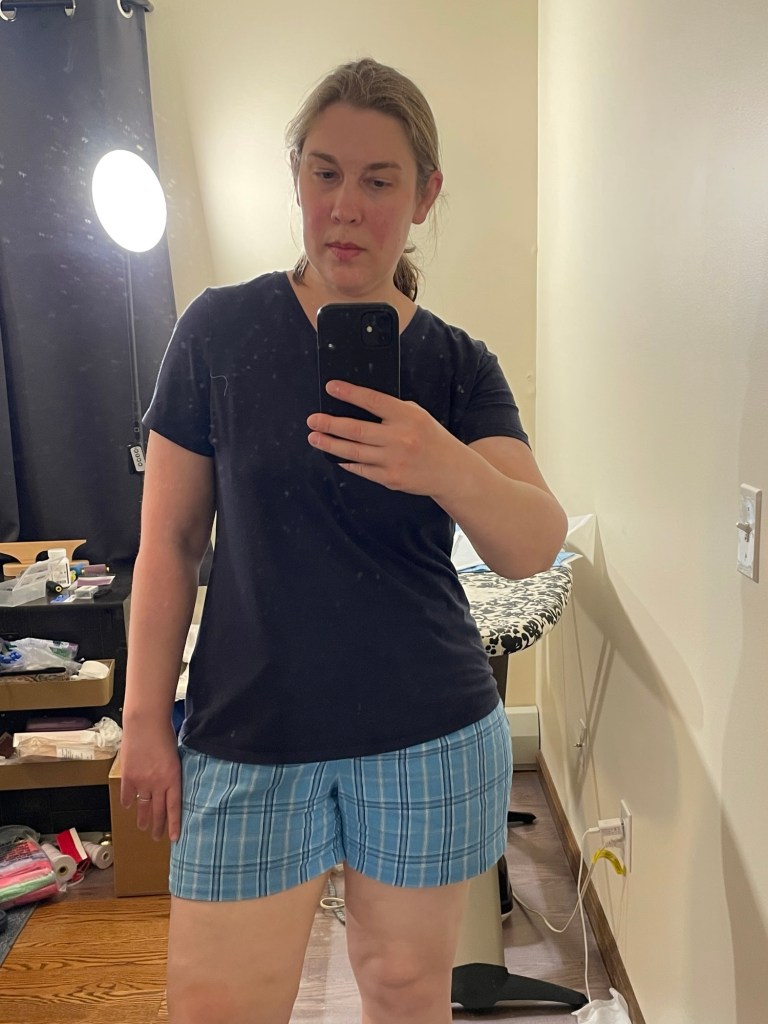
This was a very quick and easy Friday night project. I’ve been trying to get ahead of a summer wardrobe and needed some lightweight pajama shorts.
Pattern Background
Jalie 3243 pull-on pants and shorts have front patch hip pockets, an elastic waistband, and the option of having either the waistband facing showing on the front (nice if you want to do a contrasting color) or hidden inside. This pattern is drafted for wovens.
Sizes go from 2T all the way up to women’s size 22. As is often the case with Jalie, I chose this pattern because the wide size range and classic styling mean I can use it for my toddler son as he grows as well as for myself and my husband.
Materials
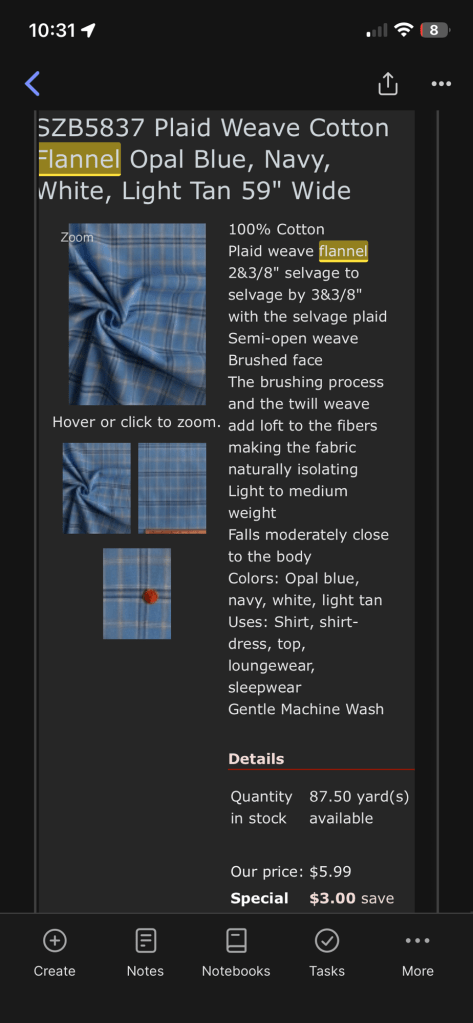
You can use both regular and stretch wovens. I used a lightweight plaid flannel I bought back in 2012 from Fabric Mart. It isn’t the best quality flannel but since I wanted these for summer pajama shorts the light weight and minimal nap worked in my favor. (And yes I really paid only $3 a yard! How I miss the times before rampant inflation and tariffs.)
Size and Alterations
I cut a size CC based on my hip measurement. For alterations I added 2.5” to the center back seam height, tapering to nothing at the center front. I also added 1/4” width to the front inseam. I left the pockets off because these are for pajamas and I just didn’t want to deal with trying to pattern match that.
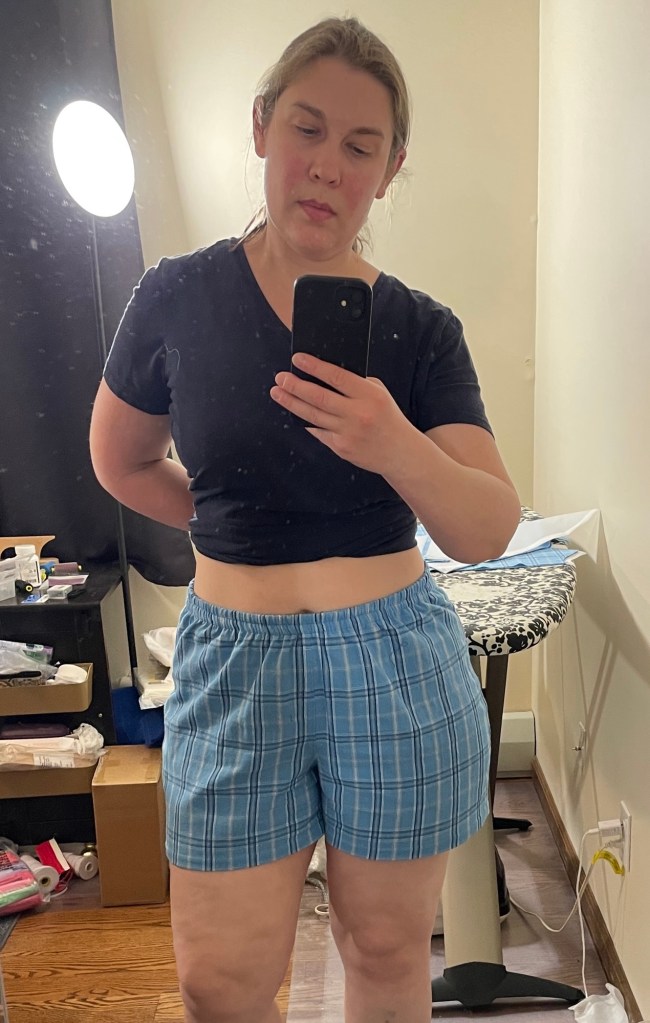
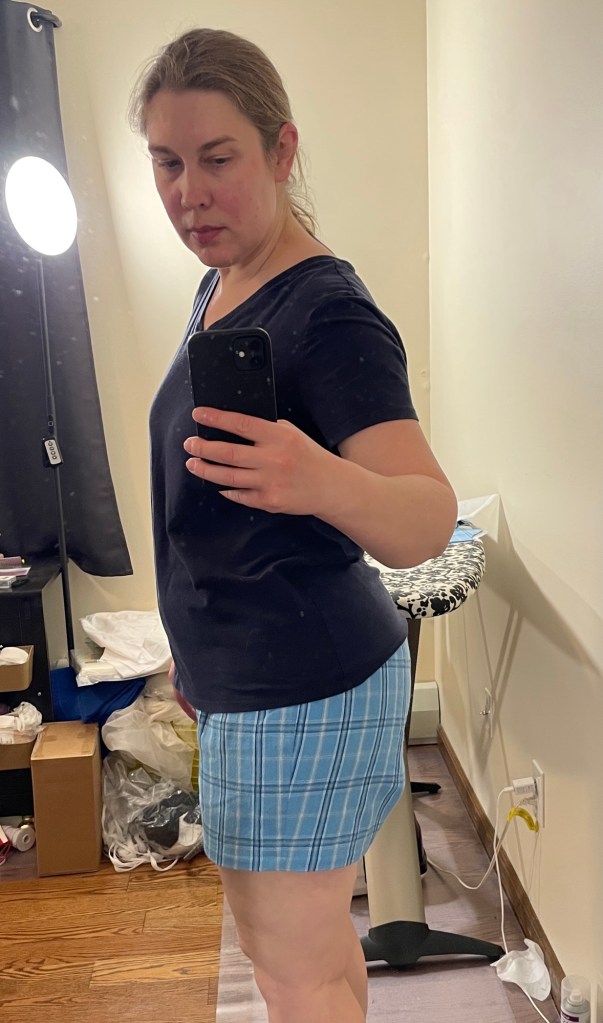
My first pair wasn’t uncomfortable but they just seemed too snug for my taste. Jalie does note on their website that if you want a looser fit in the hip you should go up a size or use a stretch fabrics.
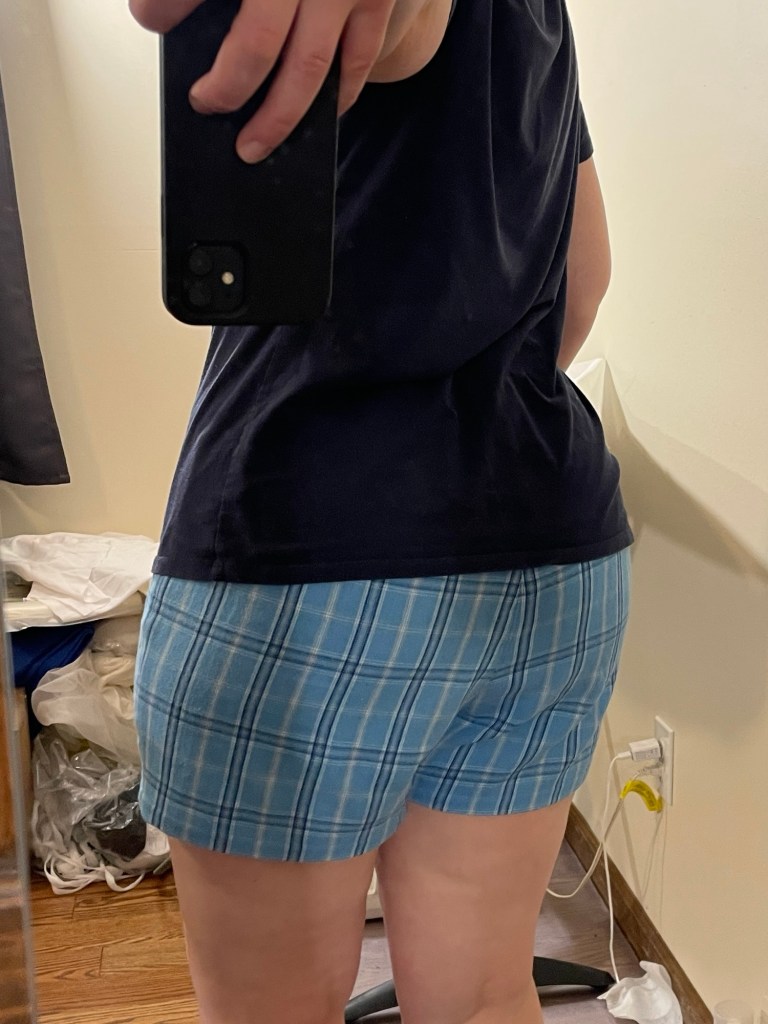
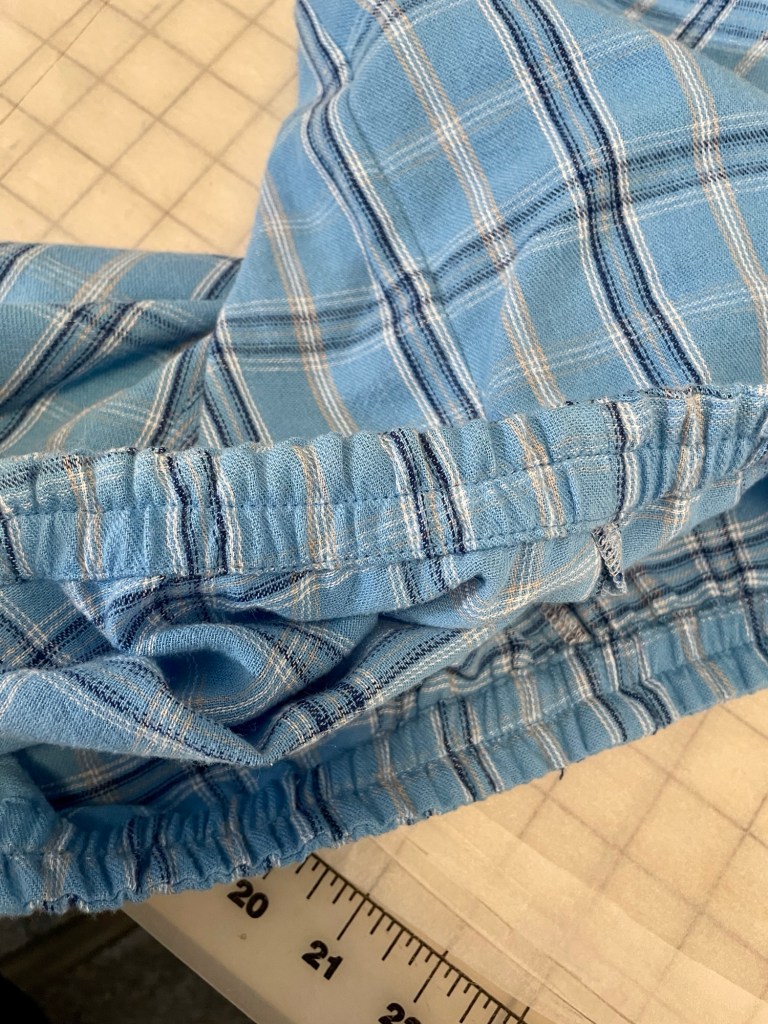
I also noticed they were too tight in the butt and the side seam wasn’t hanging straight. So for my second version I added 1/4” to all side seams, thus giving myself another 1” of ease, and added another 1/2” width to the back side seam at the hip. Here’s what the back piece looked like after I was done:
These alterations made my second pair much better.
Construction
These pants are very quick to make. I sewed them on my Juki TL-2010Q (always a pleasure to sew on for light to medium weight fabrics) and finished the inside seams on my serger. I did a couple things slightly different from the instructions though.
Rather than creating a casing and then pulling the waistband elastic through, I sewed the seam allowance of the waistband facing piece directly on top of the elastic, overlapping the edge of the seam allowance about 1/4” from the left edge of the elastic and using a 4mm length stitch so I wouldn’t overwork the elastic and stretch it out of shape. Then after I rolled the elastic to the inside of the shorts I stitched very close to the lower edge of the elastic. Once it was done the elastic was completely encased and then I topstitched in the middle. No need to make a casing and then pull the elastic through.
Of course it isn’t as adjustable after the fact so probably not good for kids clothes or your first version, but good for situations where you have confidence that you won’t need to alter it after the fact.
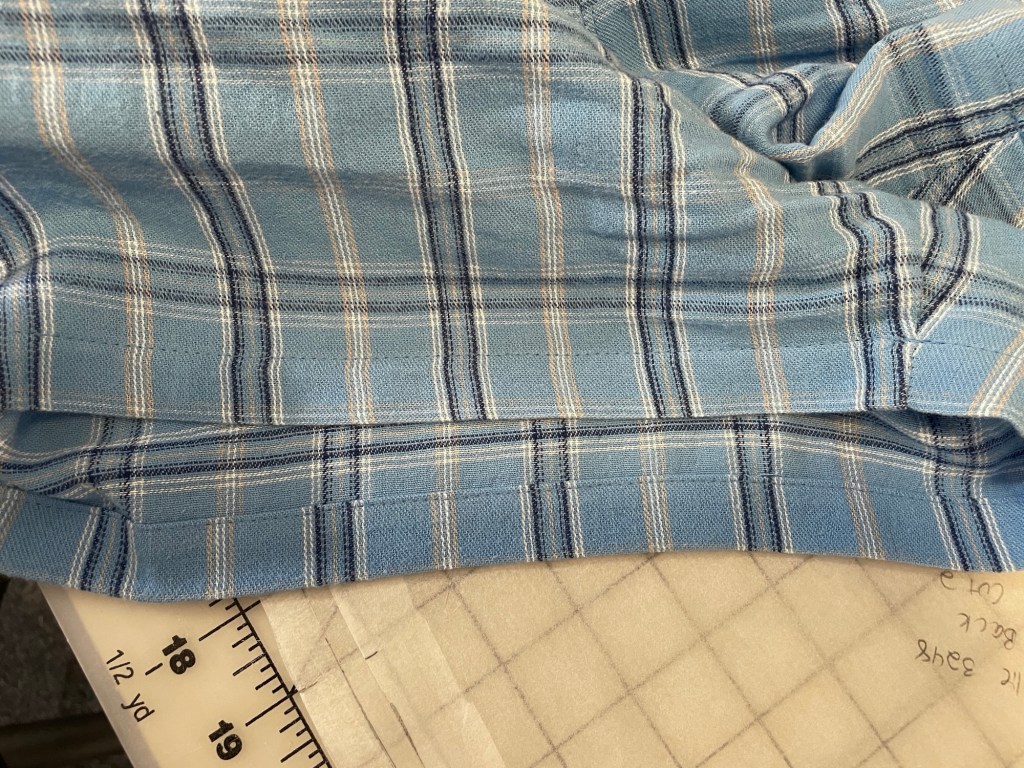
When I did the hem I first turned it up only 1/4”, then turned it up again another 3/4” and stitched very close to the edge. Very similar to how I did the waistband. This made for a very neat hem finish:
In the past I used to serge then fold to the inside and then topstitch over the serged edge, but I find myself preferring to try new things and do finishes like this lately. Helps distract from some recent sadness like my father’s health struggles and losing my beloved cat recently. (My dad actually improved enough that he was able to go home to my mom a couple of weeks ago, but I’m still doing a significant amount of caregiving duties. And while my cat had some health struggles the past six months, I wasn’t anticipating losing him quite so soon and miss him terribly.)
Conclusion
This is a really nice pull on pants pattern for all ages. The waistband facing eliminates having to measure and turn up a waistband casing, and the fit is actually quite tailored for this style of pants. I do recommend going up a size though if you use a non-stretch woven.
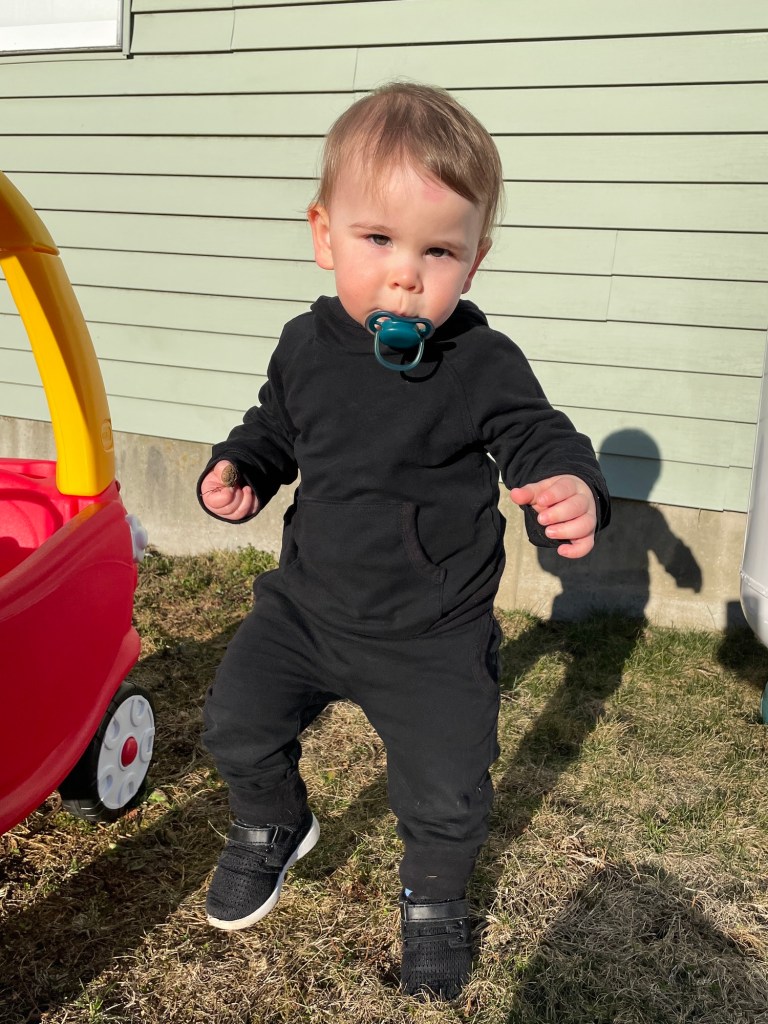
This was unfortunately the best photo I could get of him wearing the set…he’s not the most cooperative child and would not stand still while facing me.
I have been wanting to make this for my son since I first saw it when the issue came out nearly two years ago. About two months ago I finally got around to it.
Pattern Background
The velour hoodie has a half zip front with a bear face applique. The bear has little ear and paw pieces that are sewn in. Sizes are European 62-92.
The slim leg pants have an elastic waist and front pockets. They come in sizes 62-92. Velour is recommended for them as well, though I think they’d be great out of a jeggings denim or stretchy French terry.
My son is currently a 92 so this fall was my last chance to make it before he grew out of it forever!
Fit/Alterations
For the hoodie I added a total of 2” width to the bottom at the hem. For the pants I added 1/2” to the center back crotch curve at the top. These alterations are mostly because he wears cloth diapers and needs extra room there.
Materials
I used cotton velour knits from Nature’s Fabrics for the hoodie, bear face, and both pairs of pants. For the face and lining of the ears and paws I used single knit cotton jersey, also from Nature’s Fabrics. I’m not entirely sure where I got the ribbing for the cuffs, hem band, and hood binding…it was probably also from Nature’s Fabrics but Fabric Mart is another possibility.
The zipper is a #3 molded plastic YKK zipper from WAWAK.
Construction
I have almost no experience with applique, and found the bear face finicky and time-consuming. Ottobre has you iron fusible knit backing to a piece of single knit and then cut out the eye, eyebrows, and mouth/nose pieces from that. I also added an iron-on tear-away stabilizer to the back of the brown bear head before doing the applique. The pieces are extremely tiny and very tricky to place and stitch, especially since velour isn’t the easiest fabric to transfer markings to nor to applique. My applique work is not perfect (as I mentioned before I have pretty much no experience with applique and velour can be tricky for fine work) but hey, it’s for a kid that will outgrow it sooner rather than later.
The good news is that once you’ve done the face applique and little ears and paws, the hardest part of the hoodie is over. I did find the instructions for the zipper a little confusing, but basically you take a piece of velour, fold it over, and place the raw edge at the bottom of the zipper and the folded section facing up towards the zipper pull. This is what it looks like when finished:
The pants are super simple. I did most of it on my sewing machine, just using the serger to finish the edges and to attach the waistband. Before sewing the waistband in place I ran a three step zigzag along the inside upper edge to make sure the elastic wouldn’t roll during washing:
Conclusion
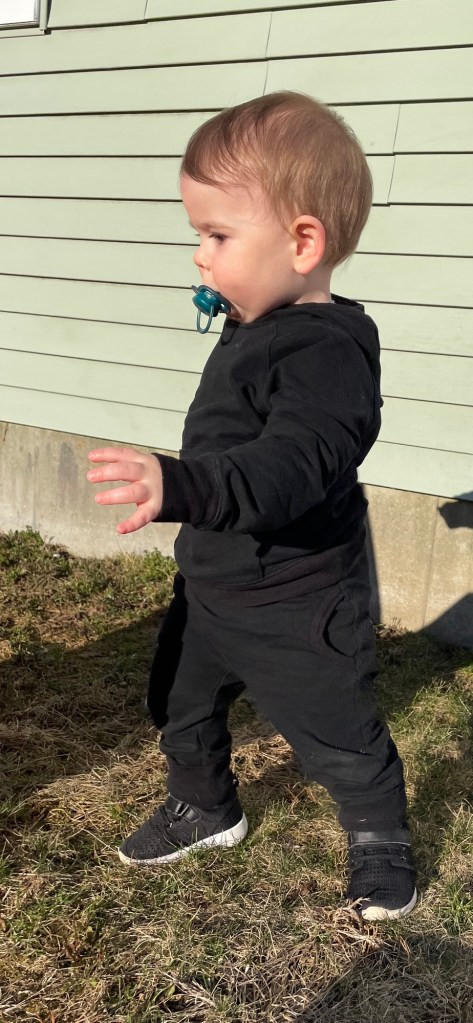
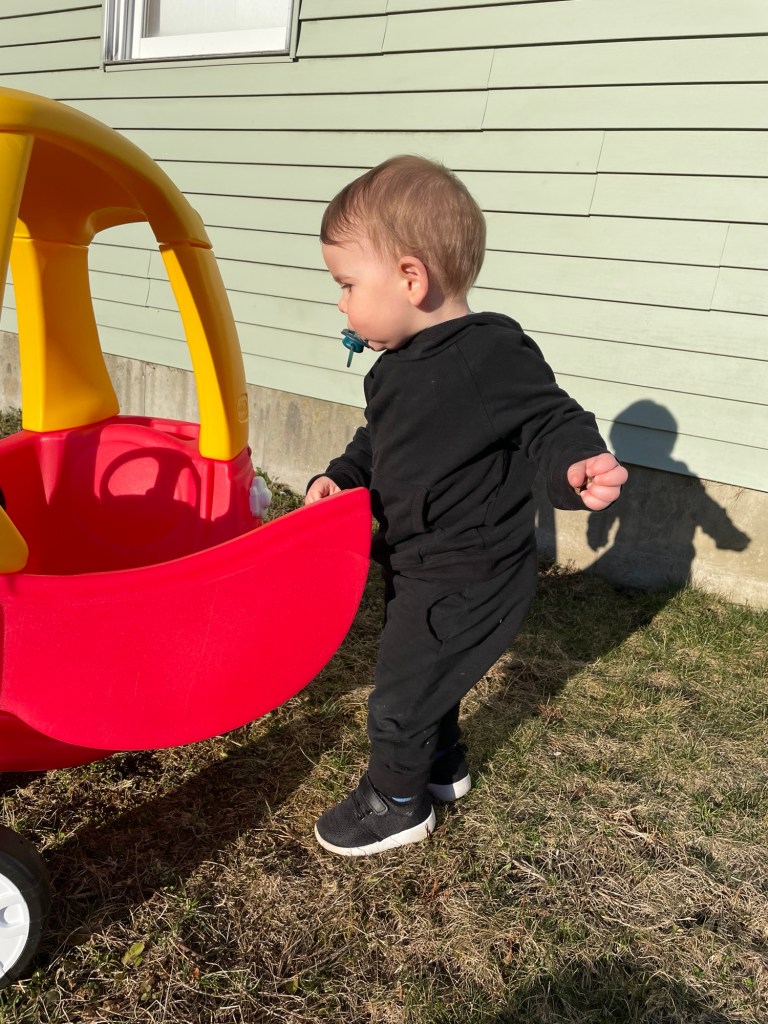
My son has gotten a lot of wear out of both his hoodie and pants. Velour is great for hoodies and pants – it is breathable, durable, easy to wash, and very easy to layer due to the smooth backing.
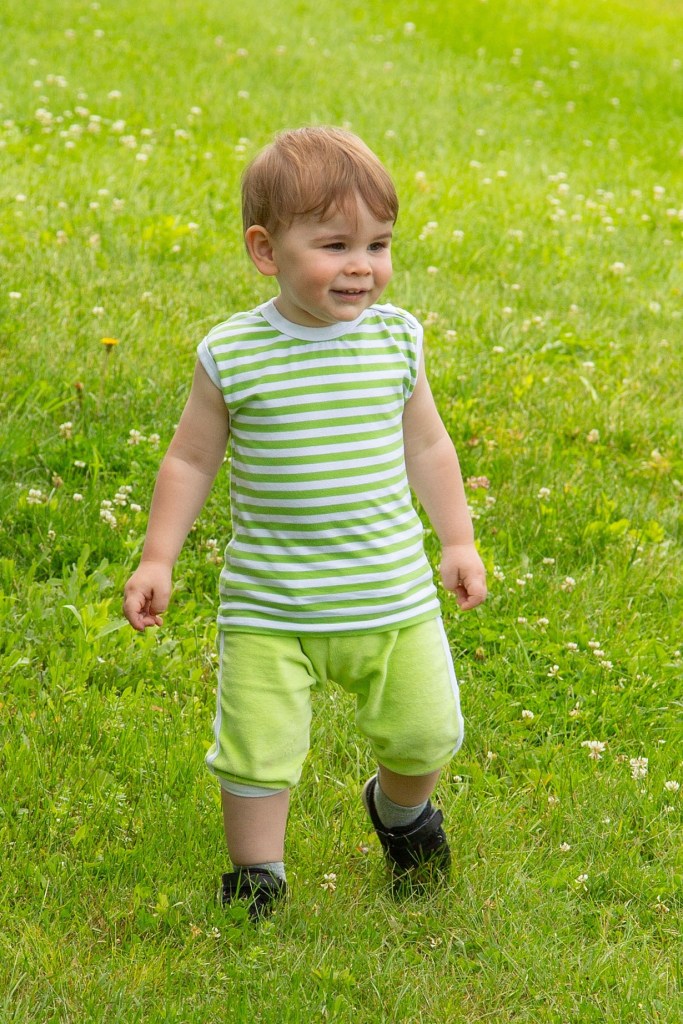
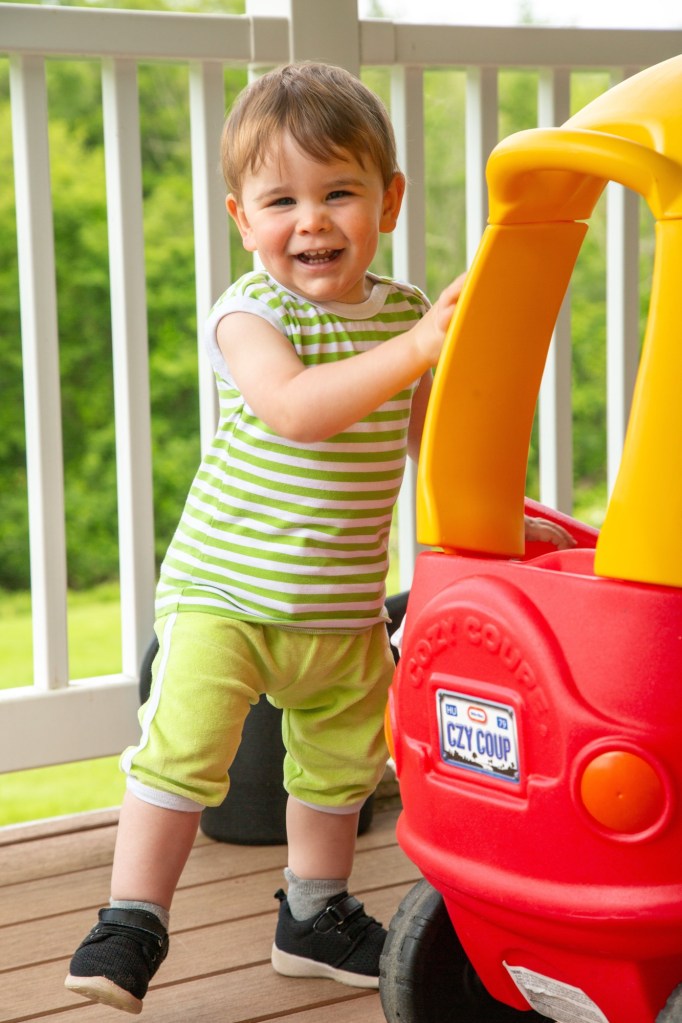
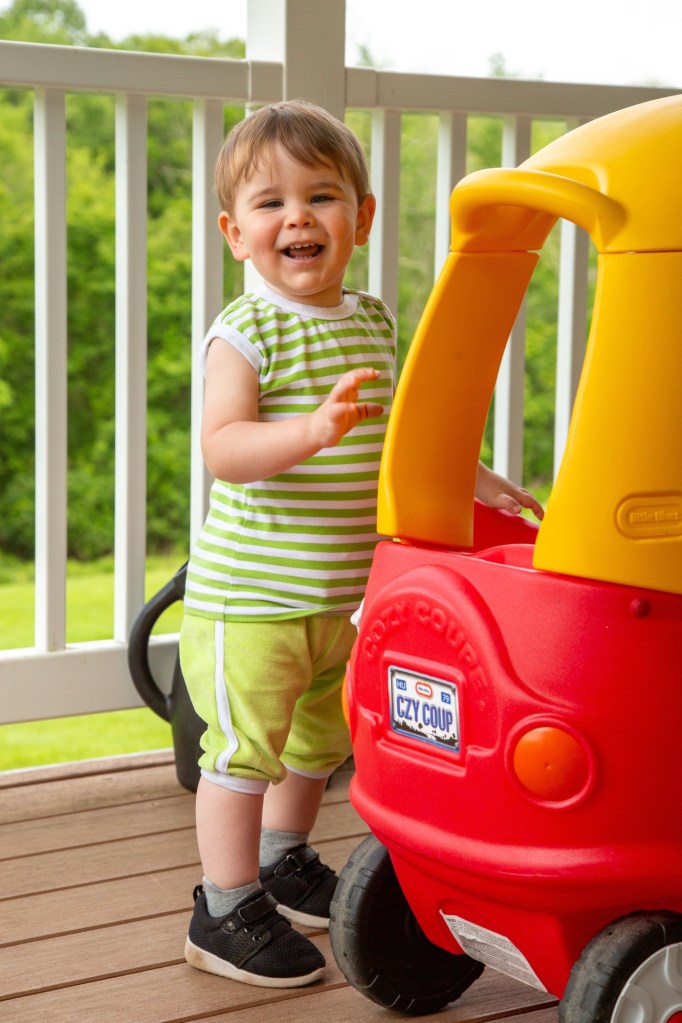
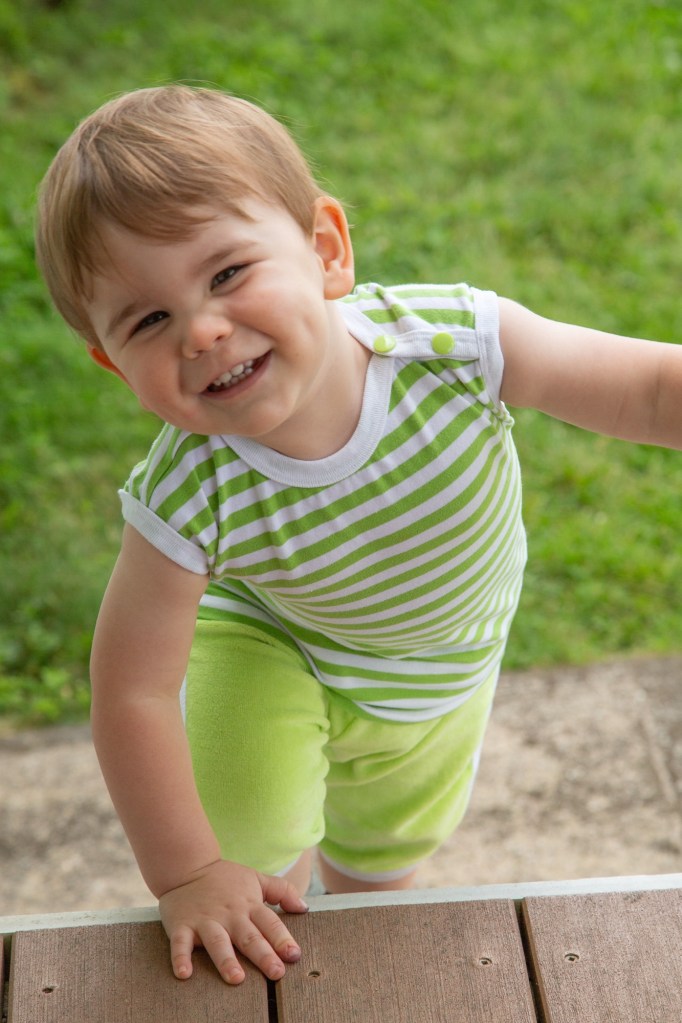
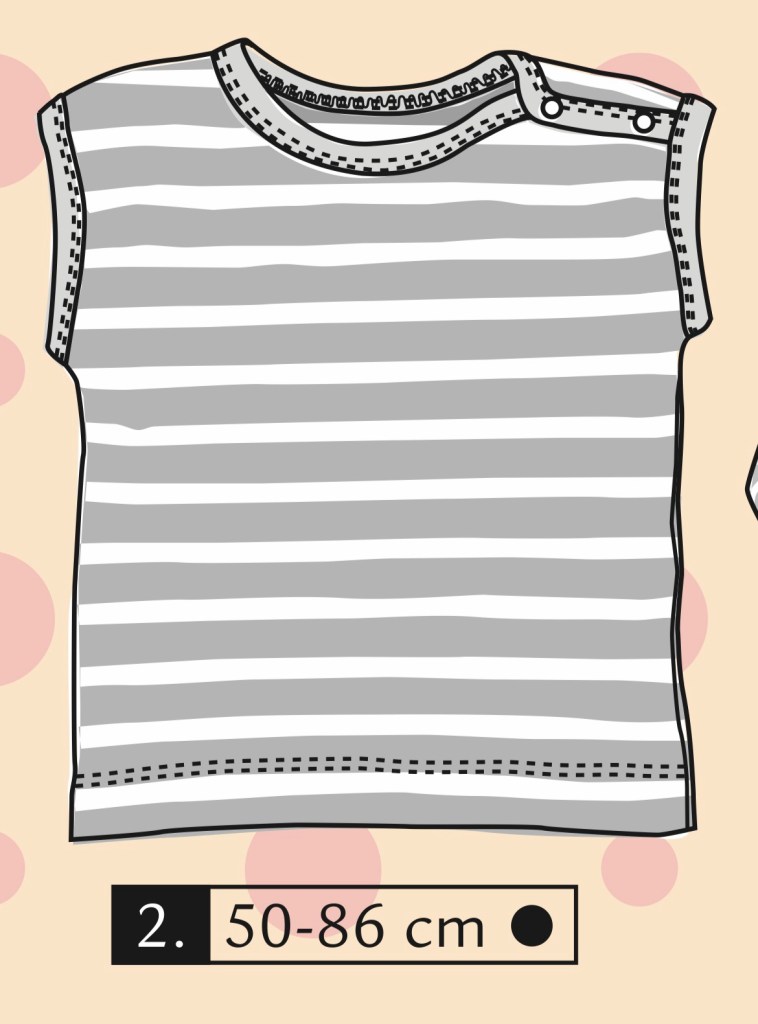
Ottobre 3/2012 #2 is a sleeveless knit shirt with a neckline and armholes finished with rib knit. Two snaps at the left shoulder help with dressing. It is drafted for sizes 50-86.
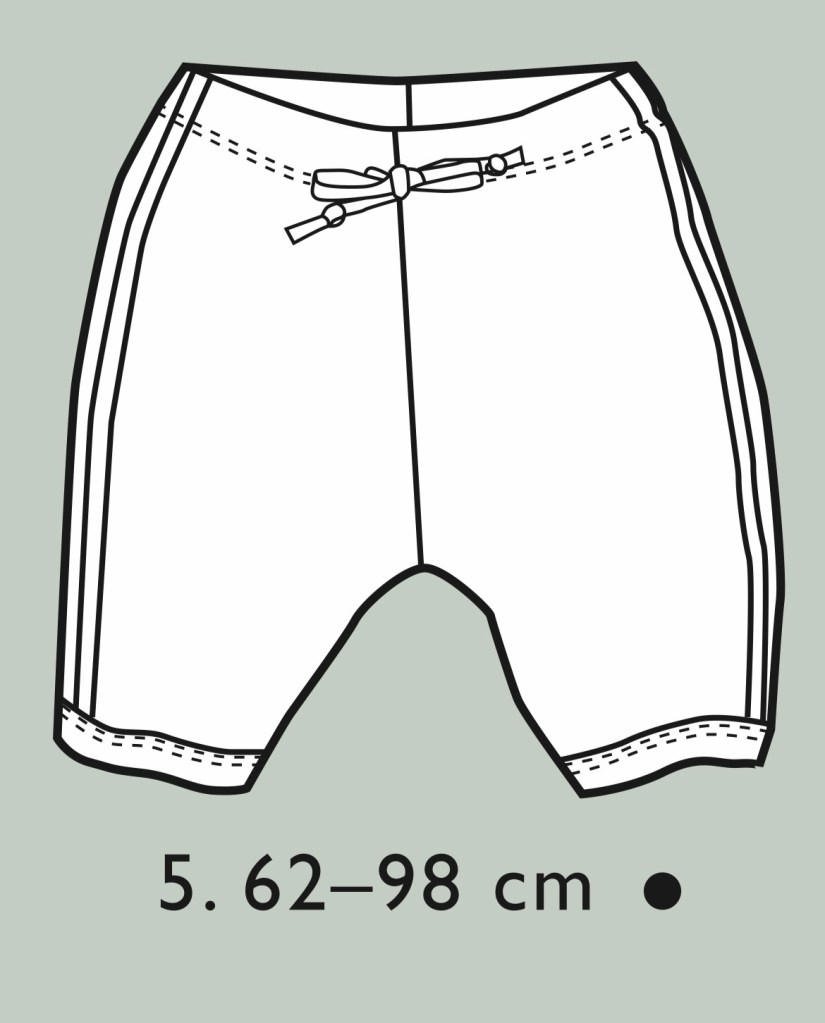
Ottobre 3/2023 #5 knit shorts are hemmed just below the knee, with a hem finished with rib knit. The side seam has a decorative stripe made out of rib knit. The waist is elastic, with a decorative drawstring at the center front. It is drafted for sizes 62-98.
Materials
For the top I used a cotton/lycra jersey from Nature’s Fabrics. I had it leftover from another project and it was just enough to squeeze this shirt out of it.
The shorts were made out of a cotton velour, also from Nature’s Fabrics. I really liked using this fabric for his shorts. It is durable, soft, and washes well.
The snaps are from KAM Snaps. The rib knit is from Fabric Mart. The grommets for the drawstring (not shown) are #00 metal grommets from WAWAK. The 3/8” wide cotton drawstring tape is from Amazon. The 1” elastic for the shorts waist is also from Amazon.
Fit
I used a size 86 for both shirt and pants.
For the shirt I added about 2” width to the hem at the hip. My son wears cloth diapers and I find that adding some width helps it not ride up as much over the bulk.
For the shorts I added 1/2” height to the center back seam.
Construction
I found I needed to mark where the binding went at the bottom of the armholes of the shirt, because otherwise it is hard to see exactly where the bottom of the armhole is when you’re binding it and you may end up halfway down the side seam! Otherwise it was a straightforward process constructing the shirt.
For the shorts, a Clover bias tape maker to make the binding for the side seams made the process go much easier. No having to manually turn under the edges, just run it through the tape maker and then sew it onto the front before stitching the side seams together.
For both projects I used a 5/8” finished width single fold binder for my cover stitch machine to attach the ribbing to the fabric. I found the velour was too fussy when it came time to stitch the elastic casing for the waist with my cover stitch machine (so many skipped stitches) so I ended up using a zigzag stitch on my regular sewing machine for that.
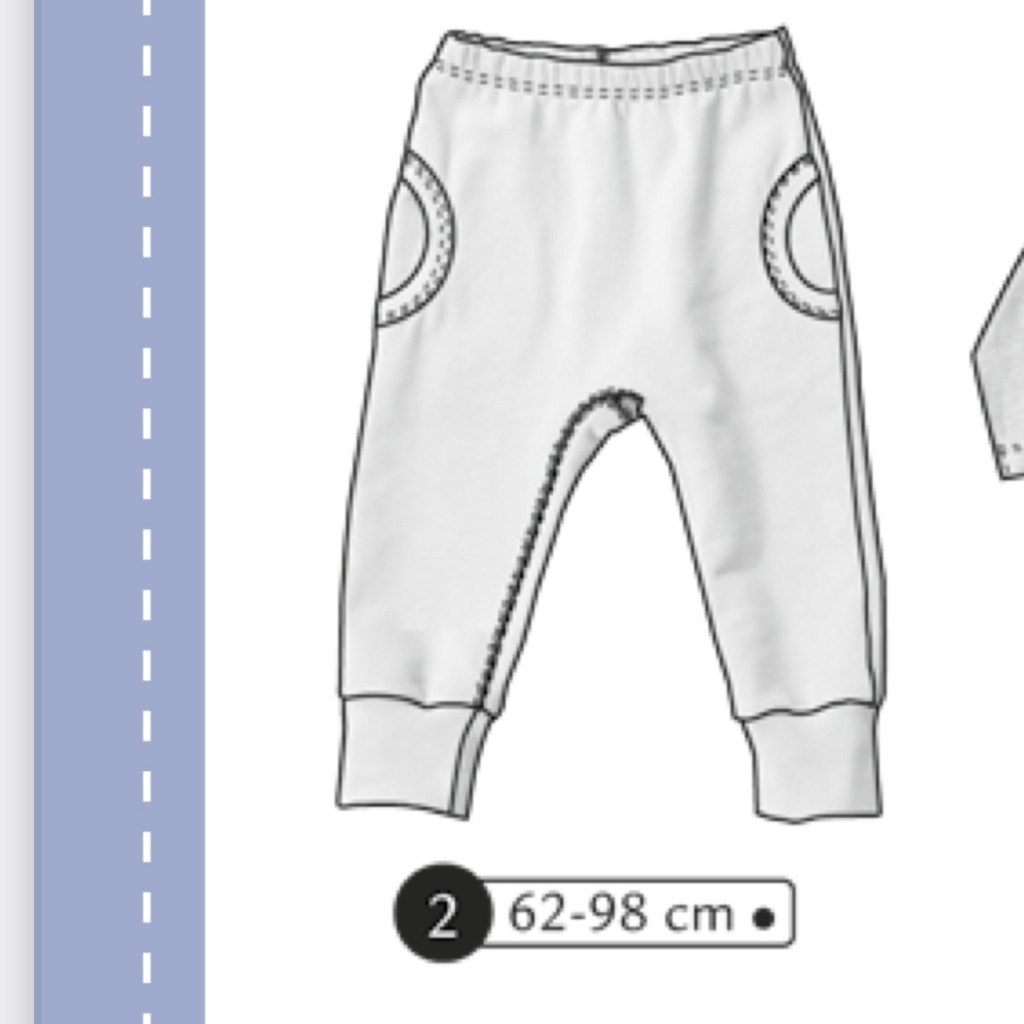
These are the coordinating pants for the Ottobre 4/2022 #1 hoodie. The main design feature are the curved front pockets finished with ribbing.
Materials
I used the same cotton rub knit and rayon/lycra French terry I used for the coordinating hoodie.
Fit, Alterations, and Construction
I made a size 86. He fits perfectly into size 80 right now but I want to reuse them in the fall.
I made no alterations. They are really long right now and I rolled up the leg cuffs all the way. My son has short legs to begin with so I’m not surprised they ended up too long!
These pants ended up being really quick and easy to construct. The ribbing makes quick work of the curved pocket edge. When I added the elastic I just serged it to the edge of the waist then turned it over and topstitched with a wide coverstitch.