Background

The Jalie Frédéric is drafted for men and boys, sizes 2T to 50 (XXL). It has zippered pockets, ribbed cuffs and hem, a full zip, and lined hood with drawstring. The front and back are seamed at the waist.
While it is drafted for men and boys, women can use this pattern too as long as they’re aware that it falls straight down from the chest and the hips are drafted smaller than they would be for a women’s pattern. (I’ve also found that Jalie men’s patterns tend to be drafted with longer body and sleeve lengths than the women’s patterns.)
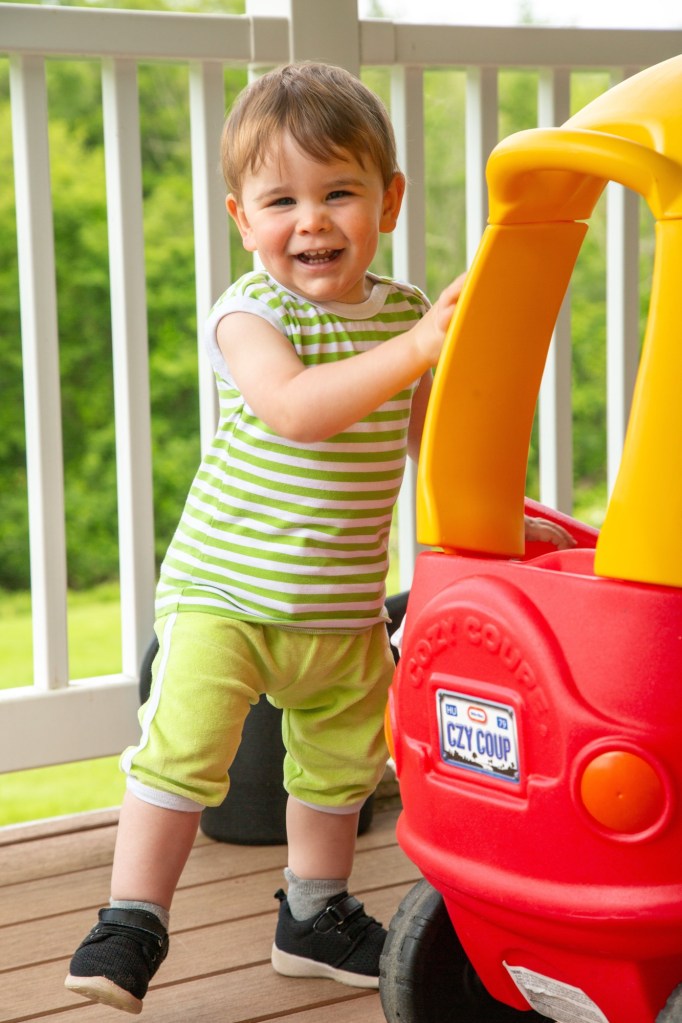
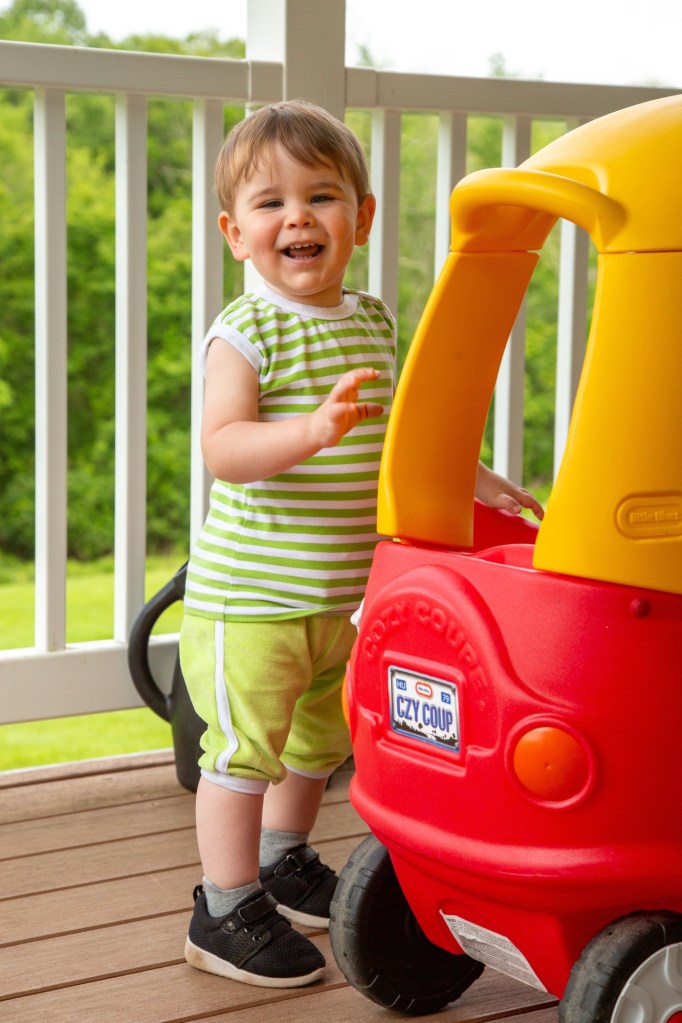
I made this for my two year old son. I was specifically looking to make him a non-bulky fleece jacket he could wear while traveling in his car seat during the cold months. (I never realized how problematic winter coats could be for kids using car seats until I actually had a kid and quickly found out that puffy down jackets are a no-no for car seats.)
Fabric and Notions
Suggested fabrics are stable sweatshirt fabrics, with rib knit for the cuffs and hem band and lightweight jersey for the hood lining. The seaming and colorblocking potential makes it a great stash buster, especially for the little sizes.
I used 4-way stretch Polartec fleeces for the body, sleeves, and hood. Both are scraps from previous projects and purchased years ago from Fabric Mart. I think it’s possible the black fleece is 15 years old at this point!
I used a black cotton ribbing from my stash for the cuffs and hem band. It was from either Nature’s Fabrics (my most common source for ribbing) or Fabric Mart. As a side note, Jumping June Textiles is also a great source for ribbing, especially if you’re looking for the heavier 230 gsm weight more suitable for sweatshirts.
The hood lining was cut from an old modal/cotton/lycra jersey Amazon Essentials t-shirt of mine.
The front zipper is a #3 YKK molded plastic separating zipper from WAWAK I had in my stash. The pocket zips are plain YKK #3 nylon coil non-separating zippers, also from WAWAK. The pattern referred to “nylon oil zipper” for the pockets, which left me totally confused until I realized it was likely a typo and meant to say “nylon coil zipper” instead.
The grommets for the drawstring are also from WAWAK. The drawstring for the hoodie was part of a 3/8” herringbone weave cotton drawstring color assortment from Amazon.
Fit and Sizing
I cut a size G (3T) for my son. It’s big for him, but he’s grown SO much since his birthday four months ago (like 1.5”) that I’m reluctant to make his actual size right now, which would be 2T.
The only alteration I made was widening the hip area by 2” to make more room for his cloth diapers.
I’m really happy with the fit. It isn’t too bulky and layers nicely over sweatshirts, while allowing plenty of room for future growth.
Construction
The most challenging part of this jacket is probably the zippered front pockets. If you look at the “Tutorials and Resources” section of the pattern listing on Jalie’s website there is a handy written tutorial with photos on how to construct them (though I didn’t use it myself).
The seam allowances included are 3/8”. When I make this pattern again (either for my son in a larger size, or for my husband) I will trim down the seam allowances on the pattern to 1/4” for everything that’s able to be sewn on the serger.
Since my fleece is so stretchy, when it came time to attach the zippers (both pockets and front) I ended up using strips of some Pro-Sheer Elegance fusible interfacing for stabilization. I also used a scrap of this interfacing for stabilizing the section of the hood where the grommets are set.
Conclusion
I’m very pleased with how this jacket came out. It isn’t a super quick project that I could bang out in a couple of hours, but he’s wearing it so much that it was well worth the effort.
With the chaotic tariff nonsense causing issues with importing back issues of the Ottobre pattern magazine, I find myself using Jalie patterns more and more. I’m doing a lot of family style sewing at this point in my life and the wide range of sizes, reliable drafting, simplicity, practicality, and often unisex styles make them surprisingly cost effective.