Background
This pattern is a basic fitted maternity t-shirt top, with 3/4 sleeves and gathering at the front side seams. The scoop neckline is finished with 5/8″ width binding.
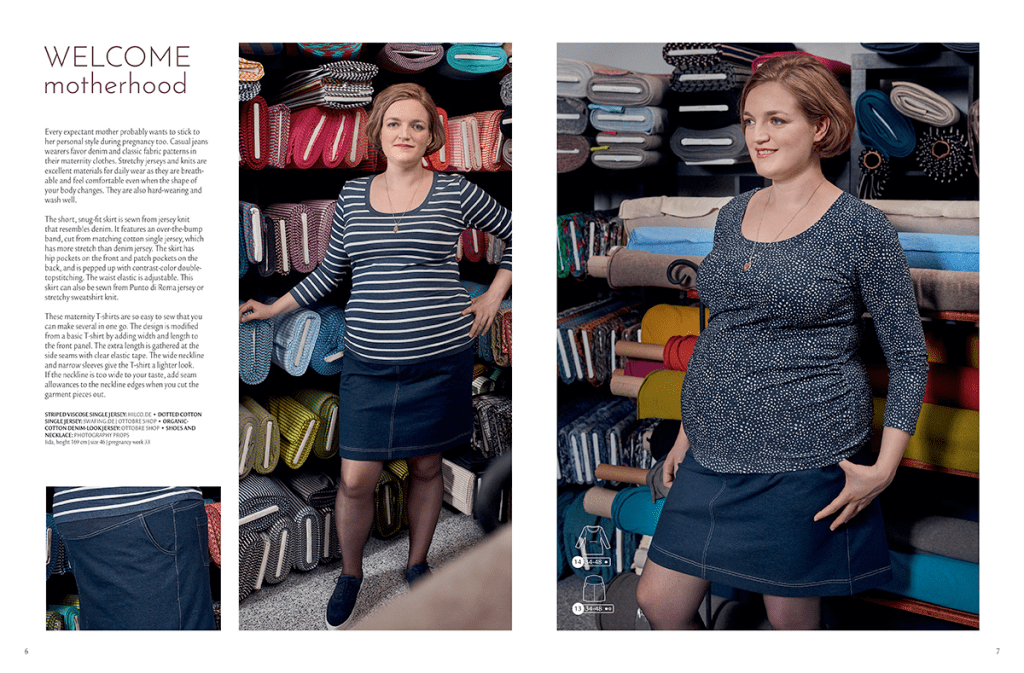
Ottobre suggests this top for the the third trimester, but I am still in my second trimester and found that it was just what I needed. Maternity clothes just feel more comfortable at this point, even if I’m not completely filling them out yet.
Alterations
I first started off with a size 42, with the following alterations:
- 3/8″ sloped shoulder alteration
- 3/8″ forward shoulder alteration
- Lengthened 1″
- Shortened the sleeves to short sleeve length (the underarm seam is about 2″ long)
- Added about 1/2″ width to each sleeve
- Added 4″ to the hips
After making it up I found out that despite my pear shaped figure the hips were far too wide and the hem was flaring out. Overall it just seemed too big everywhere. Even the gathering was too low because it wasn’t properly snugging against my figure.
So for my next try I sized down to 40, which is probably close to what my pre-pregnancy size was. I cut a straight size 40, with no extra room at the hips, and left the length the same as my size 42 pattern. While I had to snug up the sleeves where they attach to the bodice at the side seam, I did my best to maintain the extra 1/2″ I had added with my first version. The fit this time was far better. This is one of the few instances where going with my pre-pregnancy size actually worked!
Materials
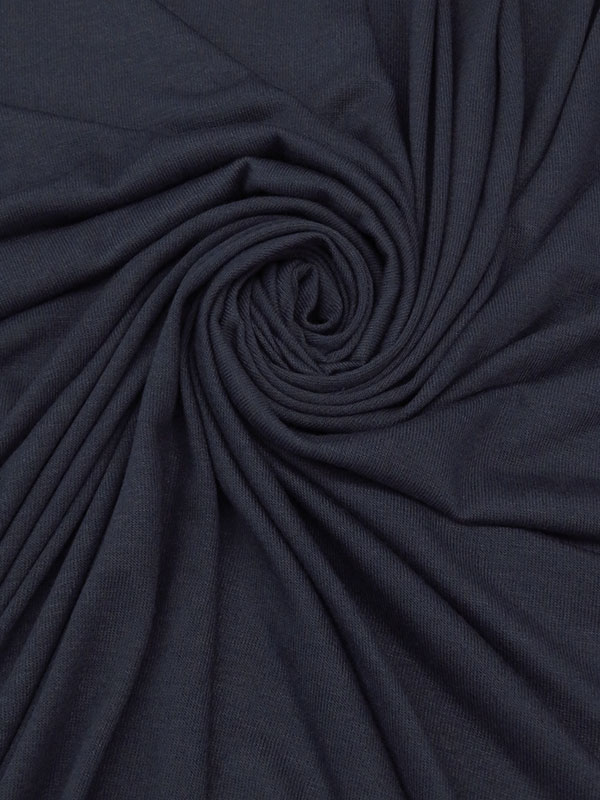
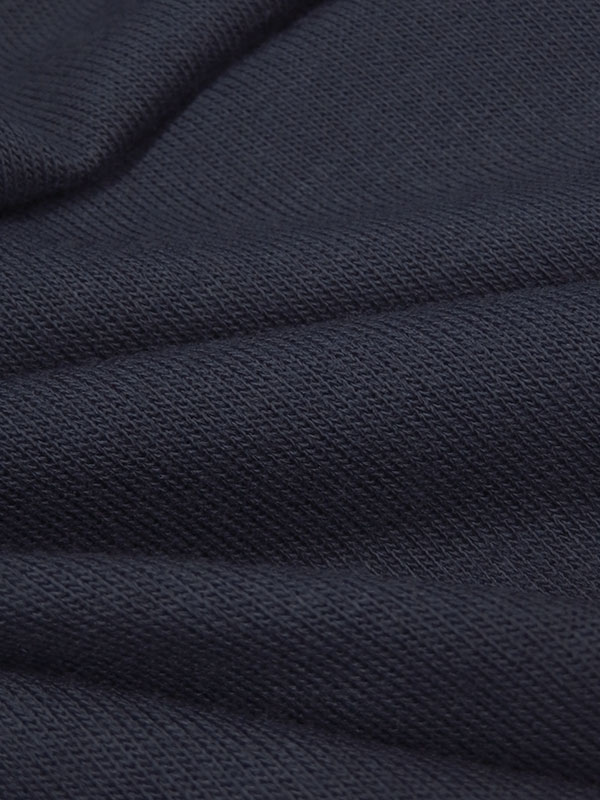
Both of my tops were made out of jerseys with four-way stretch, though the striped fabric has less stretch than the seafoam green one. Both of the fabrics used for the tops photographed are from the Etsy seller Koshtex. Each length of fabric was about 60″ and with careful layout, each top took about a yard of fabric.
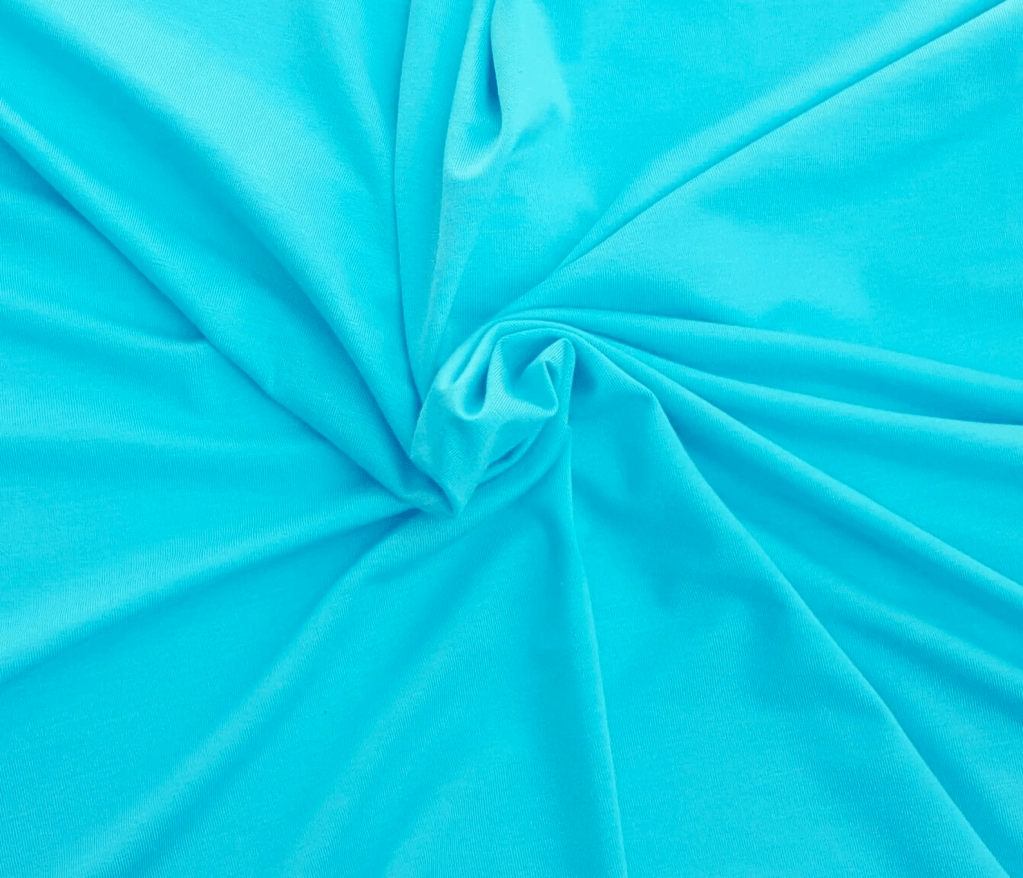
My first version was a modal/lycra jersey. Even though the description calls it aqua and shows a bright blue, the fabric I actually received was closer to a seafoam green.
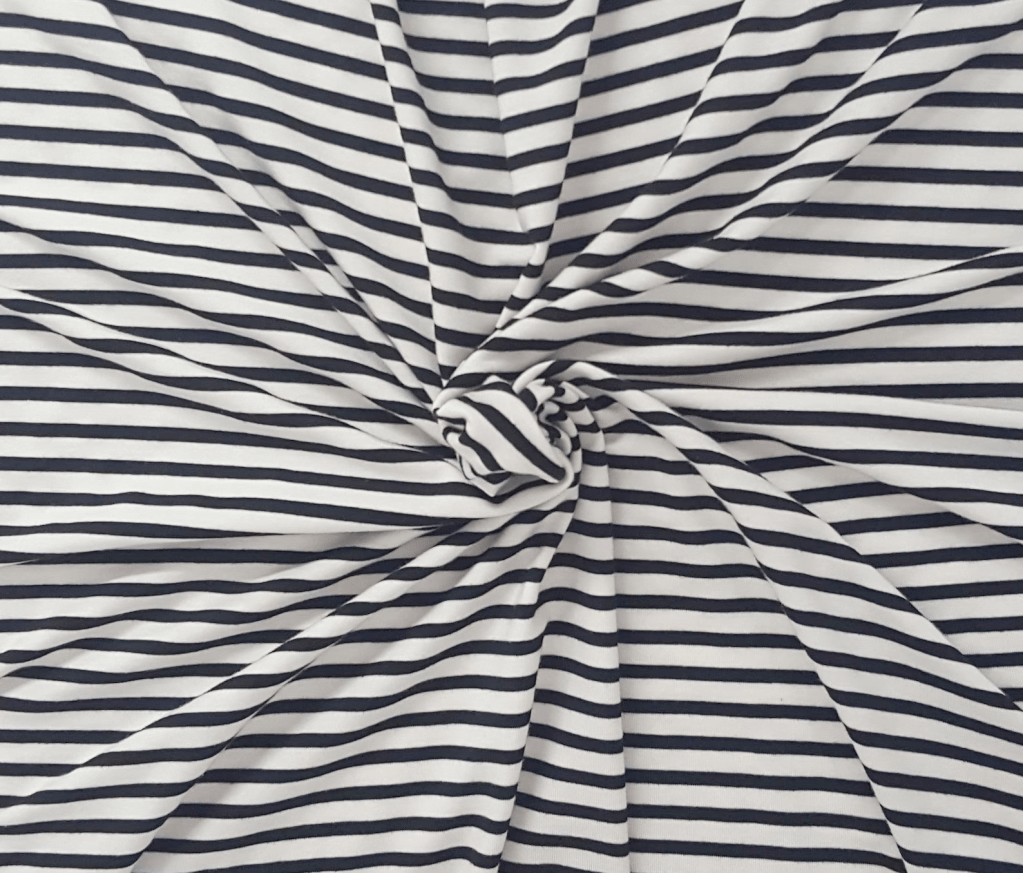
My second version was a 1/4″ black and off-white striped tencel/poly/lycra jersey. This one had the least amount of stretch out of all the fabrics I used, and the fabric feels slightly less delicate due to the polyester content. It was wonderful to work with!
To stabilize the shoulder seams I used superfine straight Design Plus stay tape. (I can never seem to get 1/4″ clear elastic to work on my serger.) For gathering the front side seams I used 3/8″ clear elastic.
Pattern and Construction Notes
The instructions tell you to use clear elastic to gather the front side seams between the notches to 12cm (about 4.75″). I found when making my size 42 top that this wasn’t quite enough. On the back pattern piece there’s a couple of notches at the side seam. Gather the side seams to match this length instead (which for my size 40 I think was closer to around 3.5″).
When gathering with the clear elastic, I stretch it before even cutting it off the spool. I then cut a length longer than I need so that there is a “tail” to hold onto when starting and ending the gathering and mark the length needed for the pattern with a Sharpie pen. I use a Teflon foot on my sewing machine and put the elastic on top of the fabric so it is against the Teflon foot and not the feed dogs. I set my machine to a 4.0mm width and 3.5mm length zigzag stitch and carefully match the edge of the elastic to the edge of the fabric, stretching it as I sew along. I try to sew closer to the edge, without actually hitting the cut edge of the fabric and edge of the elastic. When I sew the front to the back I always sew with the clear elastic facing up and not against the feed dogs. Doing all this gives me perfect gathering with no tunneling, and the zigzag is hidden within the serged edge of the fabric.
The instructions have you sew one shoulder seam, then bind the neckline and then sew the other shoulder seam. I found I had a harder time doing it this way and instead sewed both shoulder seams and then bound the neckline. It just seems like it is easier to get the binding evenly stretched this way. I also sewed the sleeve caps to the top flat (ie before sewing the side seams) instead of in the round (sewing the side seams of the top, the sleeve side seams, then attaching the sleeve cap to the bodice). It seemed both quicker and easier this way, especially when I was working with the striped fabric. I didn’t get the stripes perfectly lined up at the side seams, but they’re good enough!
I used my sewing machine to gather the front side seams, but otherwise this was entirely constructed on my serger. The hems and the edge of the neckline binding were all finished using my coverstitch machine. Since the neckline binding part can be so thick with all the layers of fabric I lengthened the stitch from 3.0mm to 3.5mm so the stitching would appear normal length and not super tiny.
Overall I’m really happy with this top, and it is just what I need to get through the spring and summer. So easy in the cooler spring mornings to just pop a denim jacket over it and be on my way! I can make each one for less than $10 and it takes a max of 1.5 hours now. I find that RTW maternity clothing is either expensive ($39 for this maternity t-shirt) or the fabric is poor quality. I guess they figure they can get away with it since in the first case people just pay whatever it costs in order to have something that fits, and in the second case most people aren’t wearing maternity clothes longer than a few months so they just put up with it.