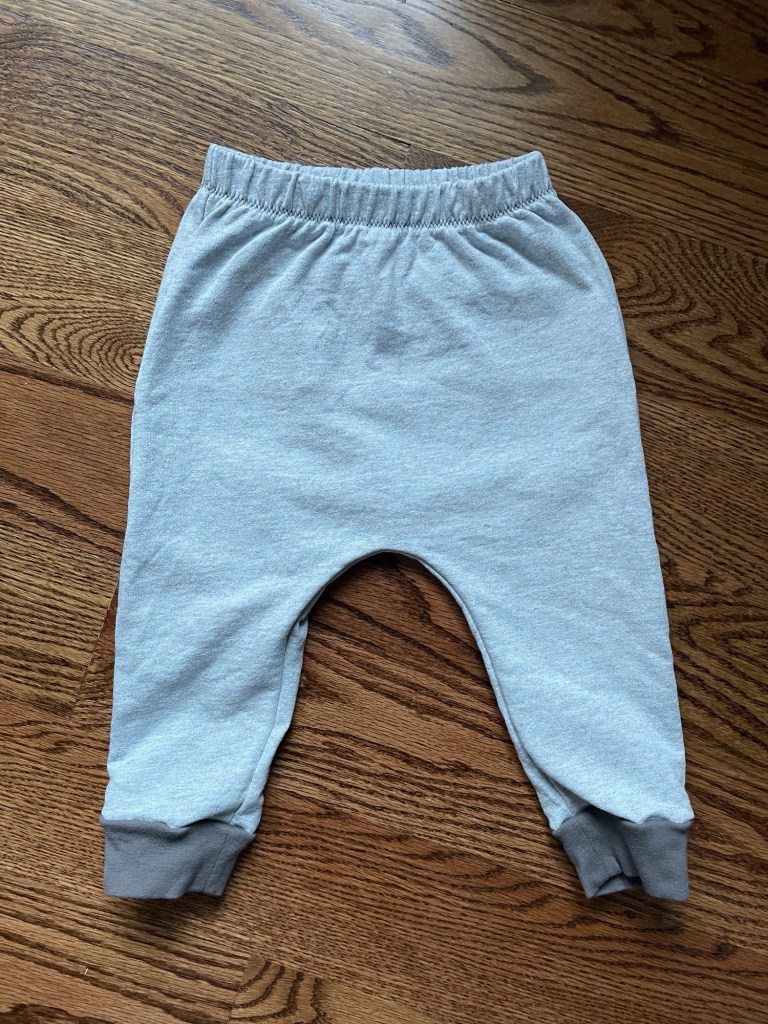
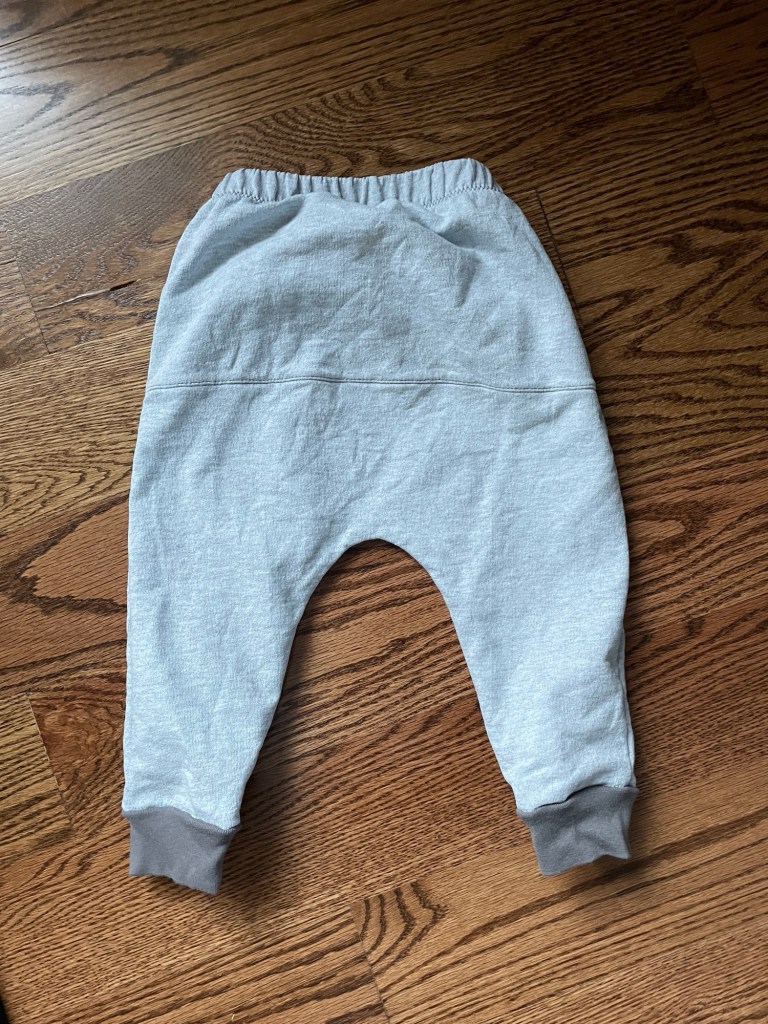
Ottobre 1/2020 #4 & 5: Baby/Toddler Sweatsuit

Second version:

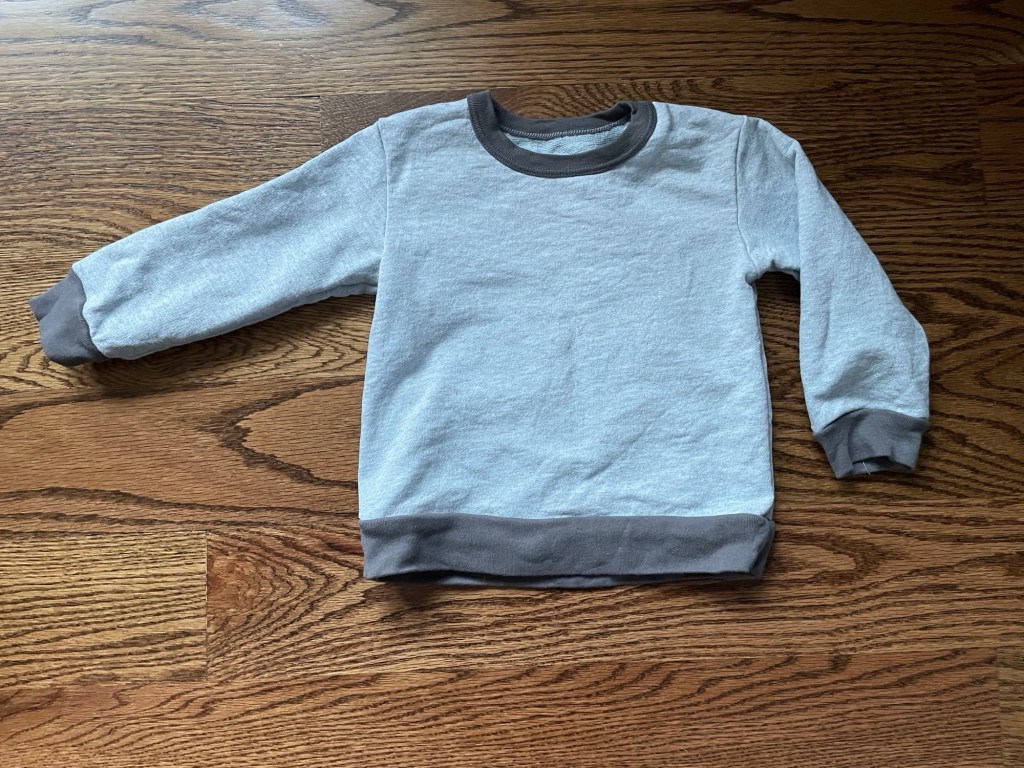
First version:
Materials

For the first version I used a heathered powder blue cotton French terry from Fabric Mart for the main fabric, and a baby rib knit from Nature’s Fabrics for the ribbing.
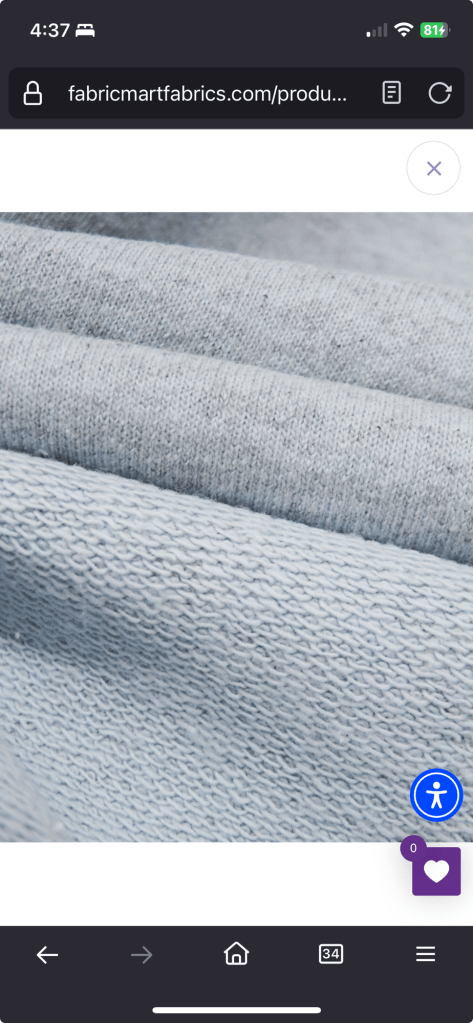
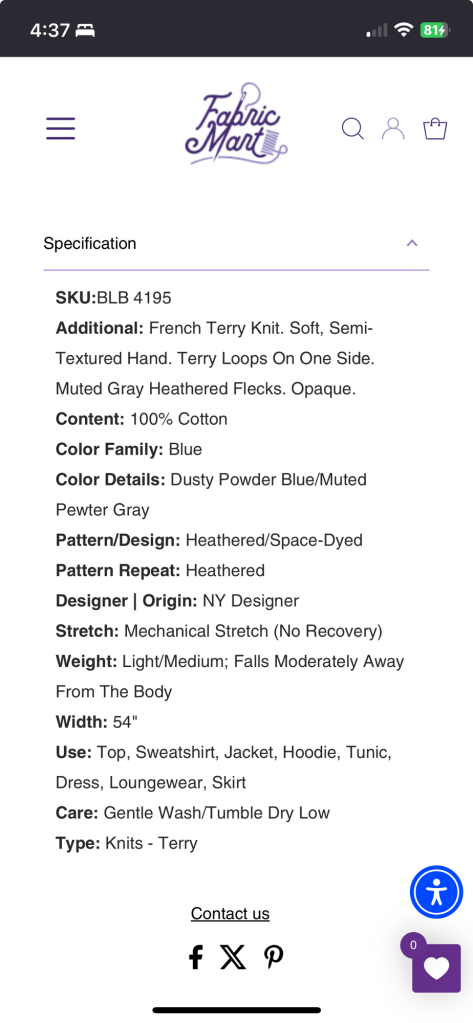
I really disliked working with this French terry. It was stiff and bulky and tightly woven, and at some point during the project my Janome 1100D serger got knocked out of time and required a trip to the dealer. Fortunately I have an old Janome MyLock 204D serger my parents gave to me way back when I was still in college and just learning to sew. I hadn’t used it in years, but after giving it a thorough cleaning, a couple of squirts of WD-40 in some strategic areas, and then more cleaning and a good oiling it was up and running. Even though it’s more difficult to thread and more work getting the tension correct, it did a better job handling this fabric than the 1100D.

Despite my dislike for working with this fabric my son has no issues wearing it! I can tell it will wear like iron too. He’s still not walking yet and the drier fall air is making the skin on his knees more sensitive, so I like him to wear pants out of sturdy fabrics.

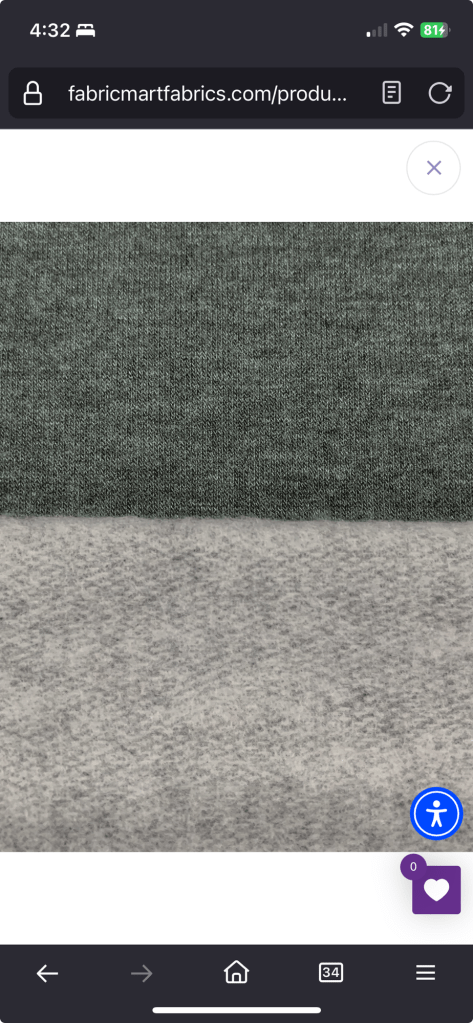
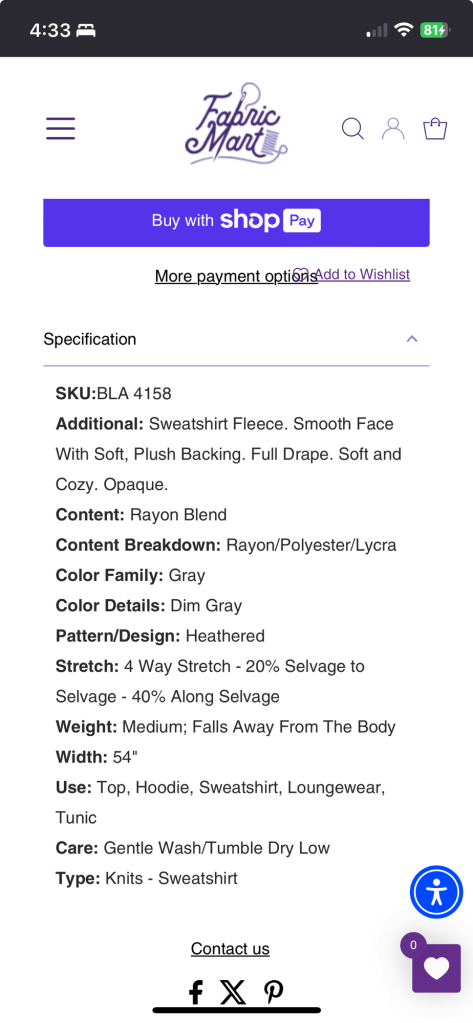
For my second version I used a much softer and flexible rayon/poly/lycra sweatshirt fleece from Fabric Mart for the main fabric. For the rib trim I used a cotton rib knit purchased years ago, likely from Fabric Mart. Since the stretch was greater along the selvage I cut it cross grain. I used the reverse side for the cat appliqué.
#4: Sweatshirt

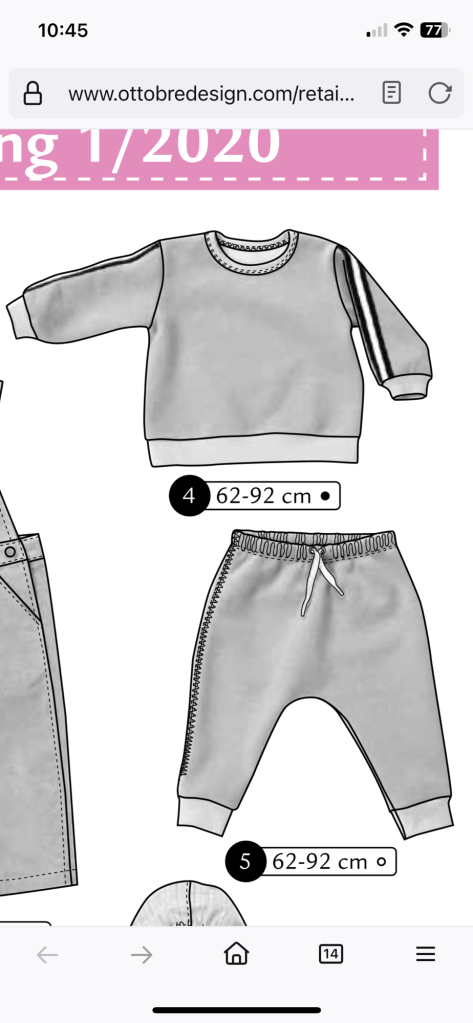
This pattern is a simple crewneck sweatshirt pattern, with set-in sleeves and ribbing finishing off the cuffs and bottom band as well as the neckline. the pattern has placement markings for if you want to add a ribbon trim going down the sleeve.

I didn’t make any alterations. I was able to construct this entirely on the serger aside from cover stitching the neck band in place and securing the end of the ribbing once the right shoulder seam had been sewn. Ottobre has you usually attach bindings flat vs in the round and I much prefer it this way. I can adjust on the fly vs trying to guess how long the binding strip should be before attaching it. Once you sew the other shoulder seam you tack the binding/seam allowance in place with a small straight stitch.

After attaching the neckline ribbing to the gray version I felt like it would be nice to do something extra, so I decided to do my first ever appliqué. I chose a cat because my son likes cats and the design was simple. I first copied the cat from Kwik Sew’s Sewing for Baby book. I then cut out the piece of paper, traced it onto a scrap piece of fabric interfaced with Pro-Sheer Elegance with a Frixon marker, then traced the outline of the pattern again onto Sulky Solvy. I didn’t have any fusible web so I attached it to the fabric with a glue stick. Then I put another piece of Solvy on top of the one I glued in place to prevent it from sticking to my presser foot. I used some Magnifico thread from Superior Threads I had in my stash for the outline. For most of the appliqué I used a 4mm wide and 0.75 length zigzag stitch. For the smaller details, like the tip of ear, eyes, and mouth I changed to a 1.5mm width. The nose was tricky, I ended up starting with a 4mm width stitch and kept decreasing as I went further down towards the mouth. The workmanship isn’t as fine as I would have liked and I should have used a dark gray or black for the eyes and mouth, but I do think it helps add more visual appeal without requiring an embroidery machine.

#5: Sweatpants

The sweatpants pattern has a two panel back with a horizontal seam and a drawstring at the elastic waist. There’s no crotch seam, instead all the shaping is done using that back horizontal seam. The back horizontal seam and the side seams are topstitched with a double sided cover stitch.

I chose to omit the drawstring because it was more materials to procure with little benefit, IMO.

For fit I did my usual alteration of adding 3/8” height at the center back. I find it makes pants fit better when he’s wearing cloth diapers.

For my first version I topstitched the center back seam with an ordinary straight stitch close to the edge. For my second version I skipped on topstitching the horizontal back seam entirely. I own the Janome Coverpro 2000CPX, which just does normal two and three thread cover stitches, not the double-sided cover stitch Ottobre recommends. I tried experimenting with the honeycomb stitch on my Janome 6500P and wasn’t impressed with the look, so I chose to just press it in place. It seems fine this way. Same for the side seams.

After making the Green Bean Baby pants and now these, I much prefer the Ottobre version. The back horizontal seam gives a lot of shaping over the butt area and the fact that the elastic is sewn in directly to the pants then folded over and topstitched instead of being inserted into a casing makes it much more secure (no rolling!) and easier to construct. The back seam also makes it more husband-friendly, as he struggles knowing the back from the front in home sewn clothes. The Green Bean Baby required more effort to fit and even so I feel like it still doesn’t fit as well as the Ottobre one does. The Green Bean Baby pattern seems short in the torso, long in the legs, and, if you’re making the full length pajamas, also seemed to run large in the neck. It often falls down over my son’s shoulder when he’s crawling around on the rug. Meanwhile the Ottobre patterns seemed to fit more consistently all over. I know Ottobre has a clothing industry background and even designed their own children’s collection at one point, so maybe that’s part of why the drafting seems to be better quality than the Green Bean Baby.

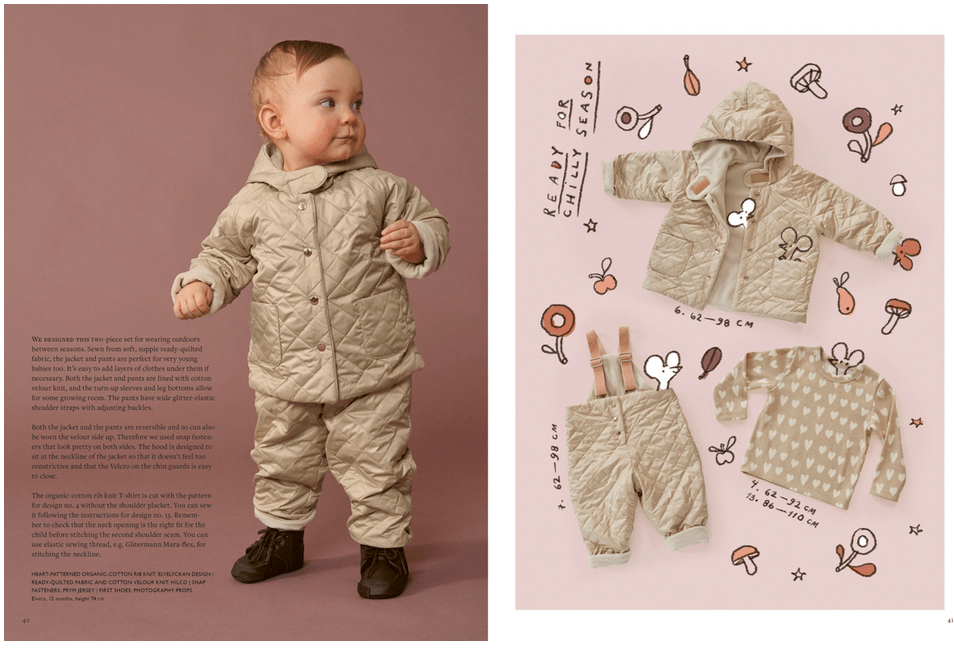
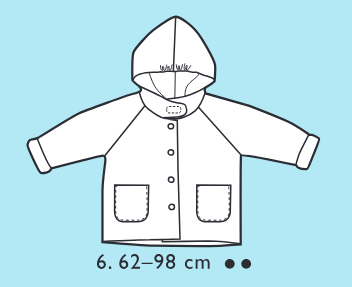
Ottobre 4/2023 #6: Infant/Toddler Coat

Background

Ottobre 4/2023 #6 is a children’s winter coat pattern for European sizes 62-98 (basically infants through toddlers). It features rounded patch pockets, a hood with darts at the back and elastic at the middle front for additional shaping, and extra long raglan sleeves meant to be cuffed. This jacket is fully lined.

I made a size 80 for my son. I think he’s about 31″ long and 22-23 pounds so at this point (just a guess, he’s really hard to measure now).

Materials

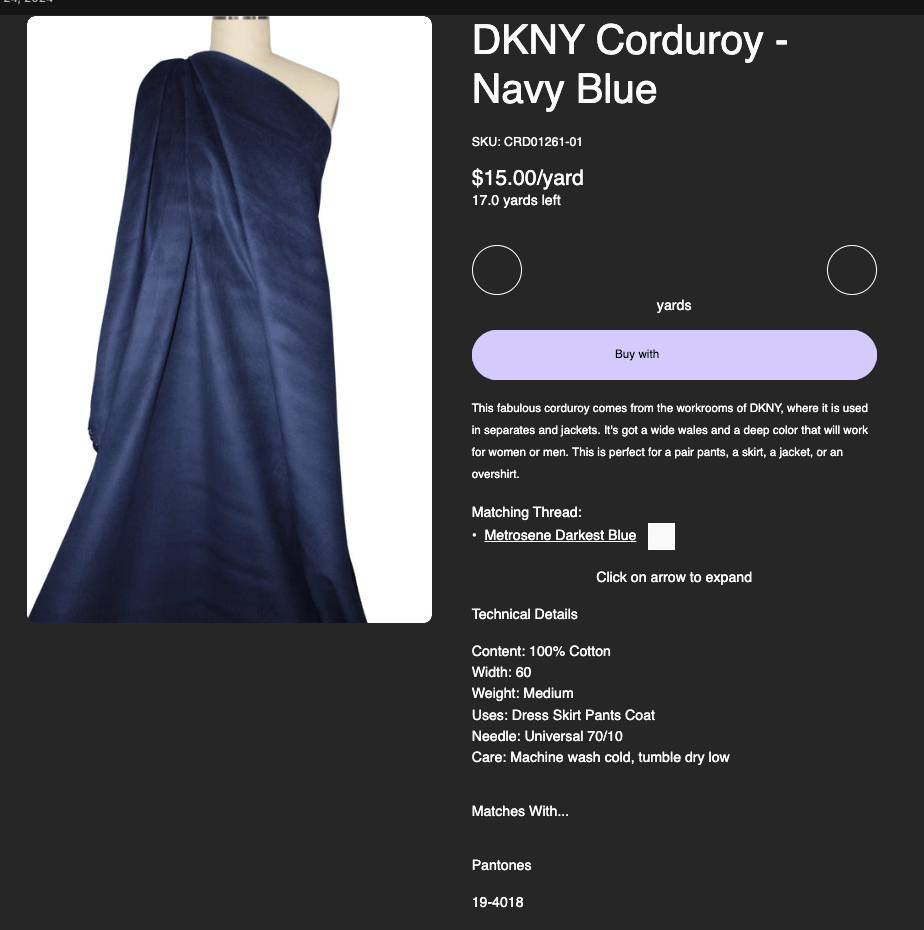
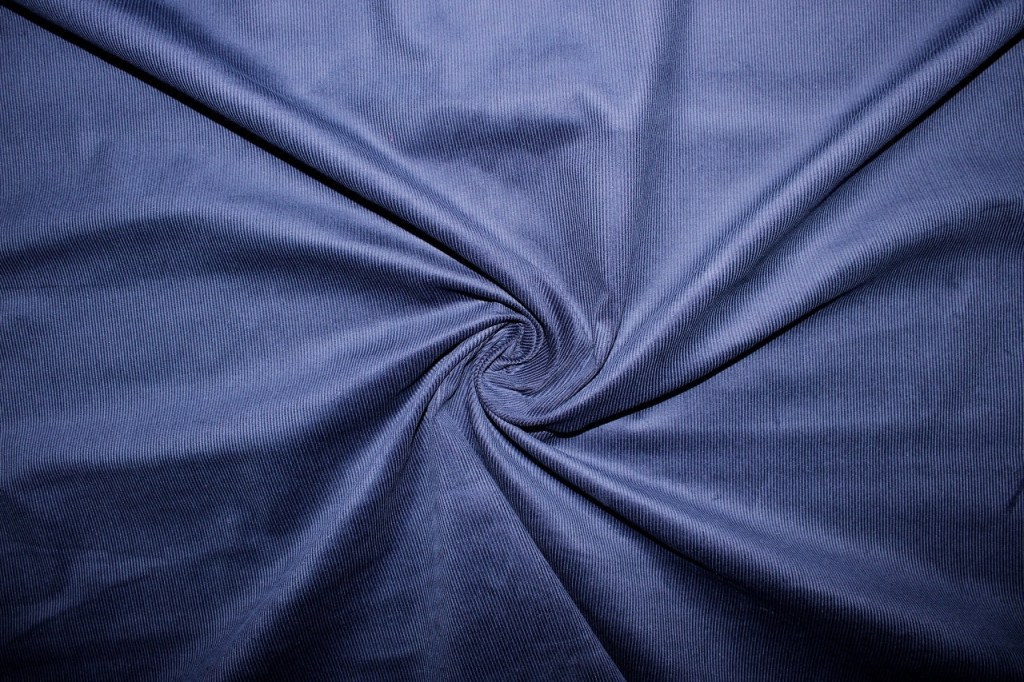
The pattern calls for ready-quilted fabric and fleece lining. I chose instead to use a wide wale deep navy medium weight corduroy from Gorgeous Fabrics.

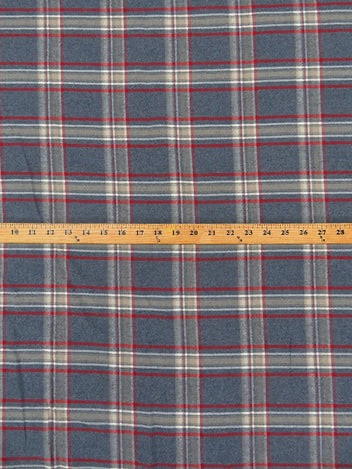
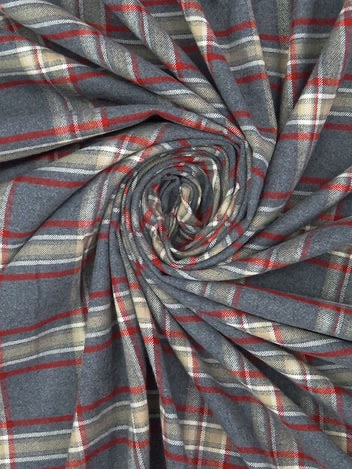
For the lining I used a soft, sturdy cotton flannel from Fabric Mart (which was left over from my husband’s pajama pants).

Since this is meant to be a winter jacket I wanted more warmth, so I used 3M Thinsulate C150 from Vogue Fabrics for the interlining. I actually bought the Thinsulate a dozen years ago…just getting around to using it!

Instead of velcro for the hood and snaps for the front I chose to use wood buttons. It seemed to fit in more with the rustic corduroy and flannel fabrics.

Construction

The pockets are a single piece which is folded over, sewn, then turned out. This makes it very easy to get a nice rounded edge, plus it provides a self lining.

For the Thinsulate interlining I placed attached it directly to the lining, with the fleecy side facing the wrong side of the lining and the quilted side facing the wrong side of the corduroy. I never worked with Thinsulate before so it was a new experience for me. I didn’t need to baste it to the lining as the flannel provided plenty of “grip.” I did trim it down to 1/8″ seam allowances after sewing a seam. This stuff is pretty fragile with heat, so pressing the seams needed to be done lightly and carefully. (I accidentally melted a section of it.) It does have some loft but is lightweight and easy to sew through. I had no problem making the buttonholes, though I did use a buttonhole stabilizer plate simply due to wanting to eliminate error with the bulky fabric.

Ottobre instructions are quite minimal (basically the same as Burda’s used to be) so you should have some experience with sewing a coat before you attempt this pattern. The nice thing again about baby clothes is since they take so little fabric it isn’t a big deal if you need to recut and start over again! I haven’t sewed a lined jacket/coat in forever so I needed to think a bit about how to bag the lining, but I managed just fine. There’s no front facing so that makes things simpler.

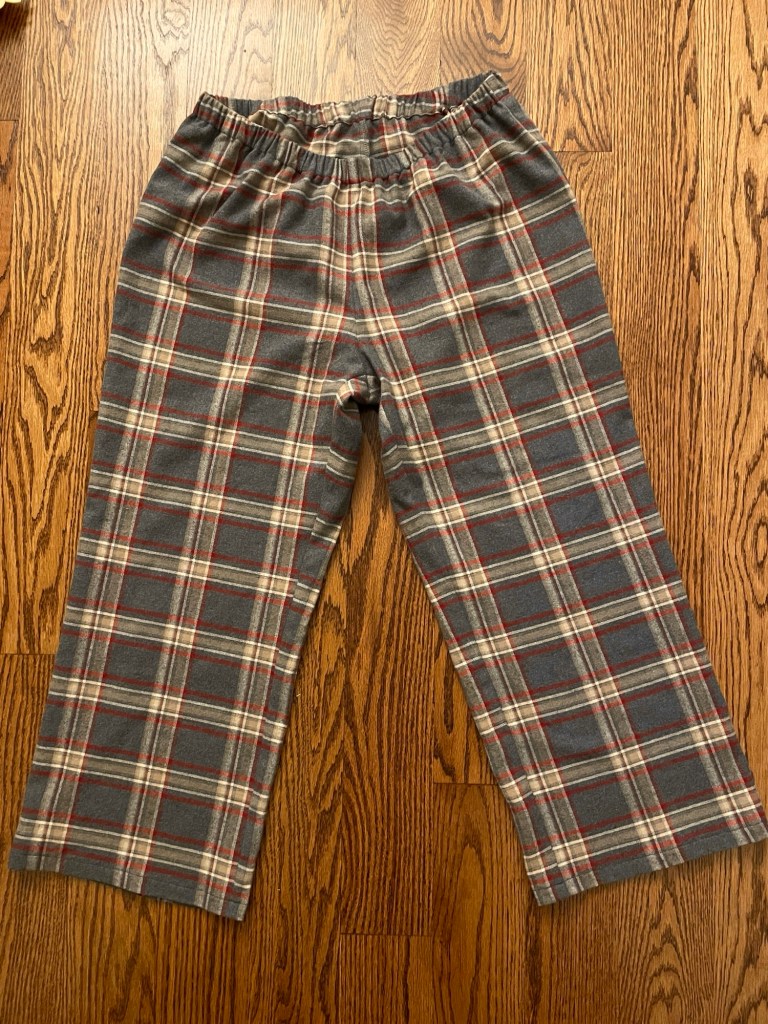
Ottobre 7/2018 #6: Men’s Pajama Pants

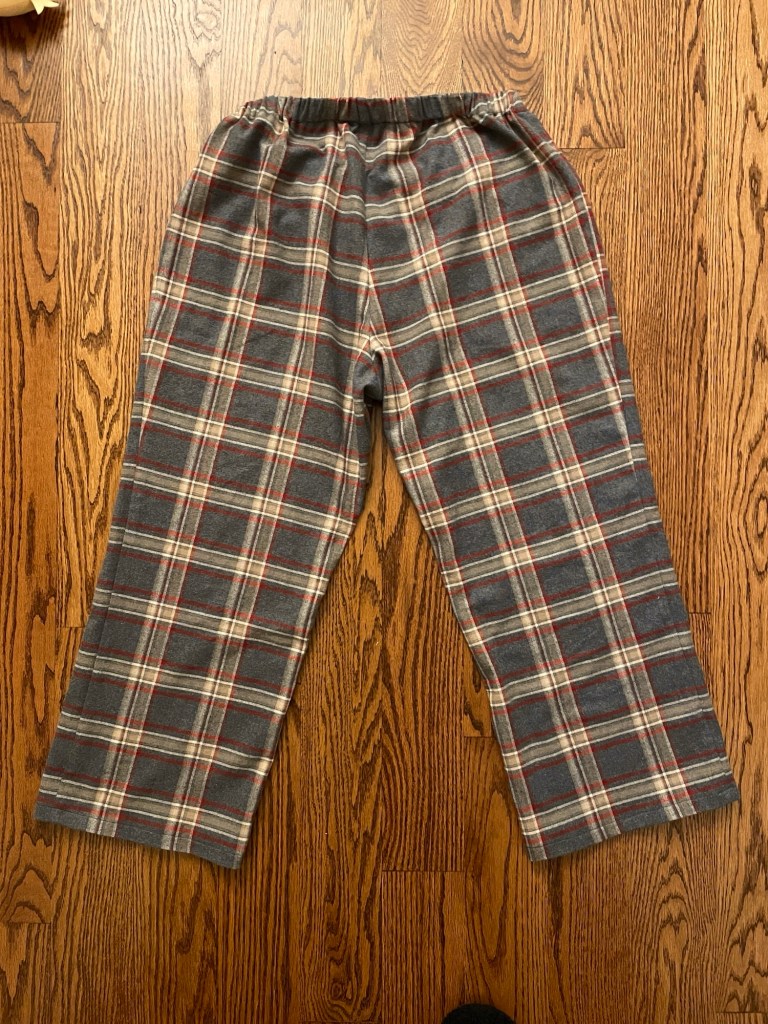
I couldn’t stand seeing the holes in my husband’s pajama pants any longer, so I got to work in the swing room.

Front
Back

Sorry, no modeled photos – my husband is camera shy!

Background

The 7/2018 issue of Ottobre is the “family” issue, which means it includes menswear as well as women’s clothing. These issues also sometimes include maternity patterns. This particular pattern is for men’s pajama pants with an elastic waist and side seam pockets. Very plain and simple, but it is exactly what I was looking for right now.

Materials

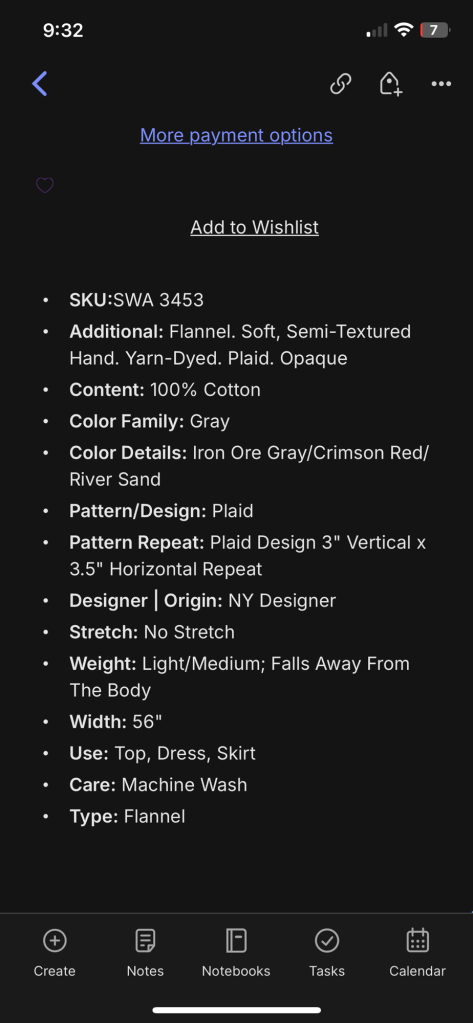
I used a double napped cotton flannel from Fabric Mart, purchased during their recent Columbus Day weekend sale. I’m really happy with it, it is very sturdy and a good neutral tone plaid.

I used 1” elastic from Amazon for the waist.

Fit and Construction

I cut a size 52. Ottobre drafts for a 6’ tall man. I believe this is a good 2” taller than what Burda drafts for. My husband is 5’4” sp to start I shortened the legs 4”. During fitting I discovered I needed to shorten them an additional 2.5”. (He told me “I told you I was short! You don’t believe me!” 😂)

After fitting I also lowered the front rise by 1.5”. My husband has a bit of a belly and prefers to wear his pants lower in the front. I noticed they hung much better after this adjustment.

I cut out the pocket pieces as well, but my husband said he didn’t want them so I left them out. Made it even easier for me!

Conclusion

When asked how they felt my husband said “they’re comfy!” He also noticed they’re much warmer and thicker than his old RTW pants. He wears stuff into the ground (seriously, he has some pieces of clothing that are around 25 years old) so I fully anticipate him getting full use out of his new pants!

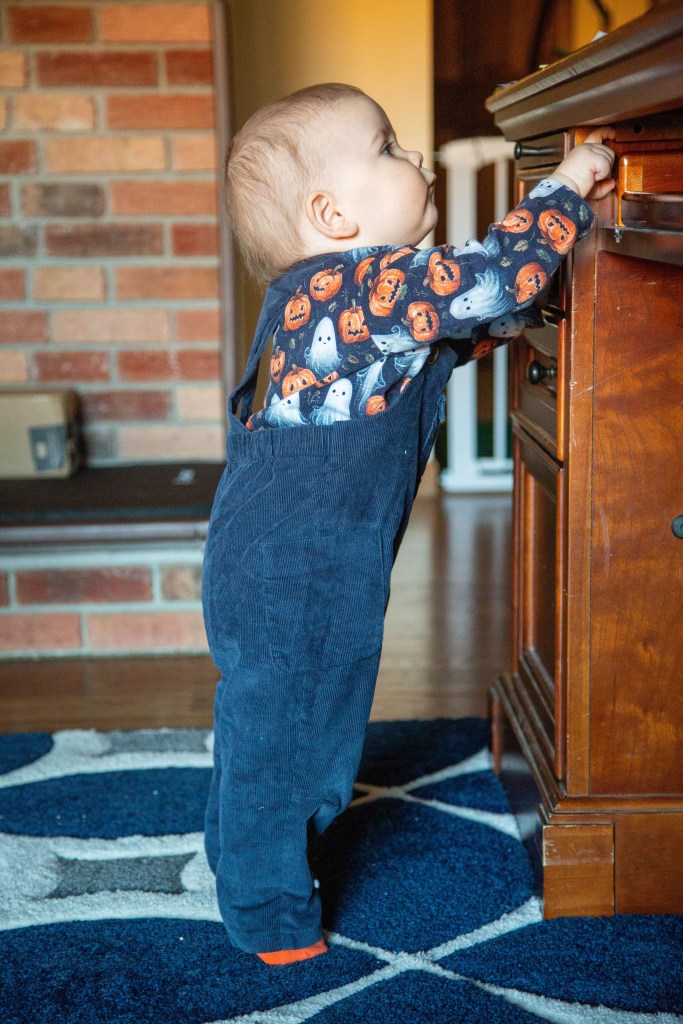
Ottobre 4/2023 #4: Shirt and Ottobre 1/2022 #6: Overalls

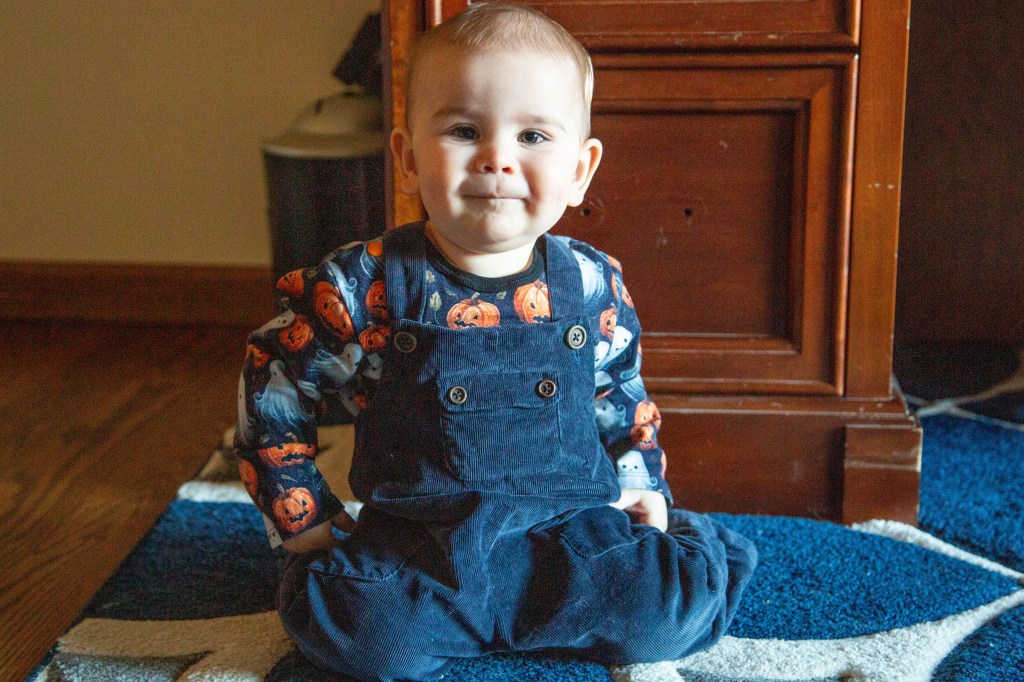
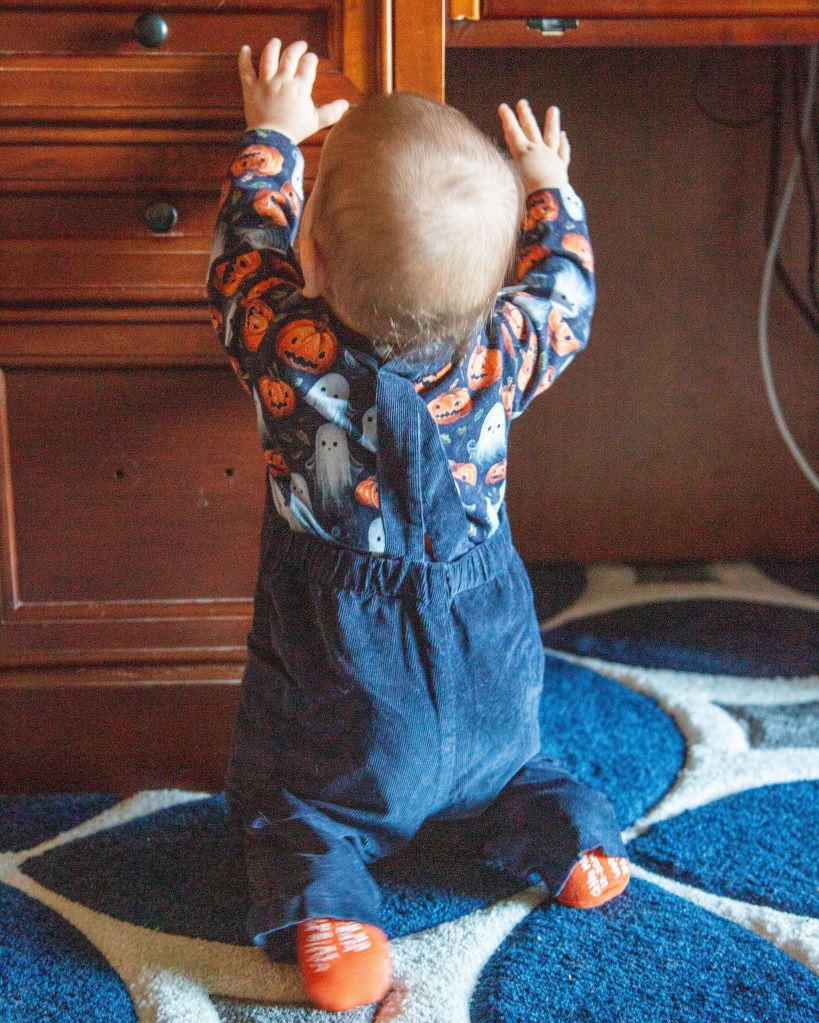
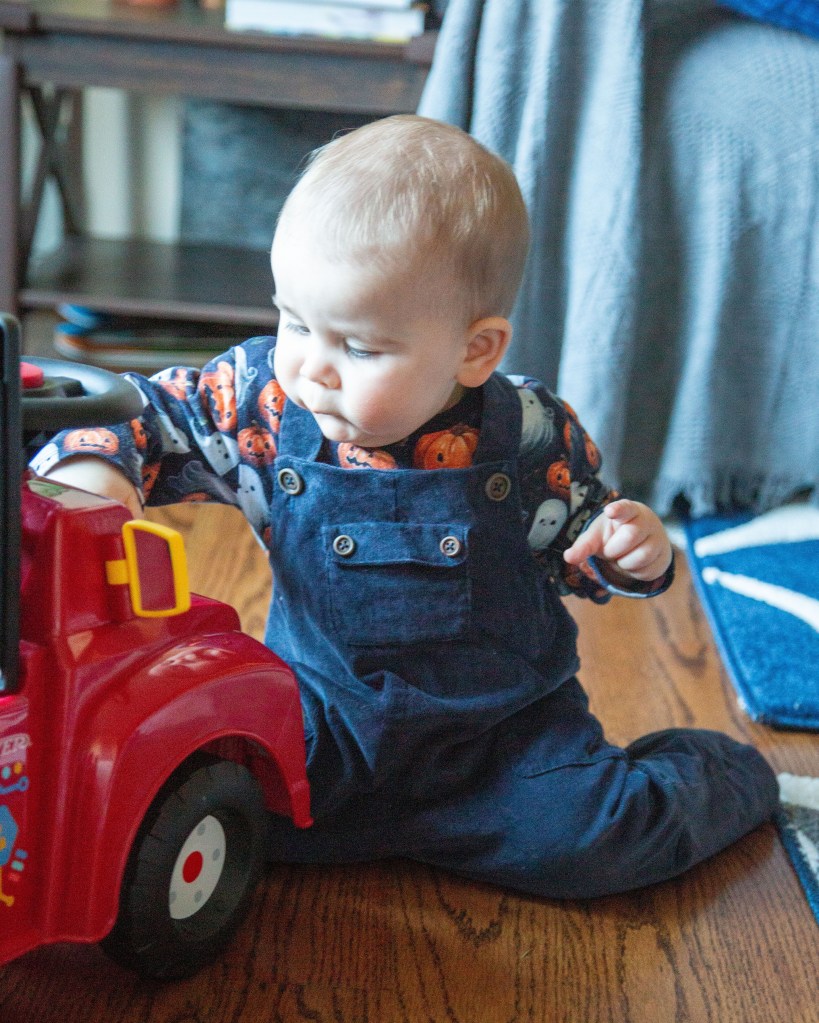
Photos

Pattern Background

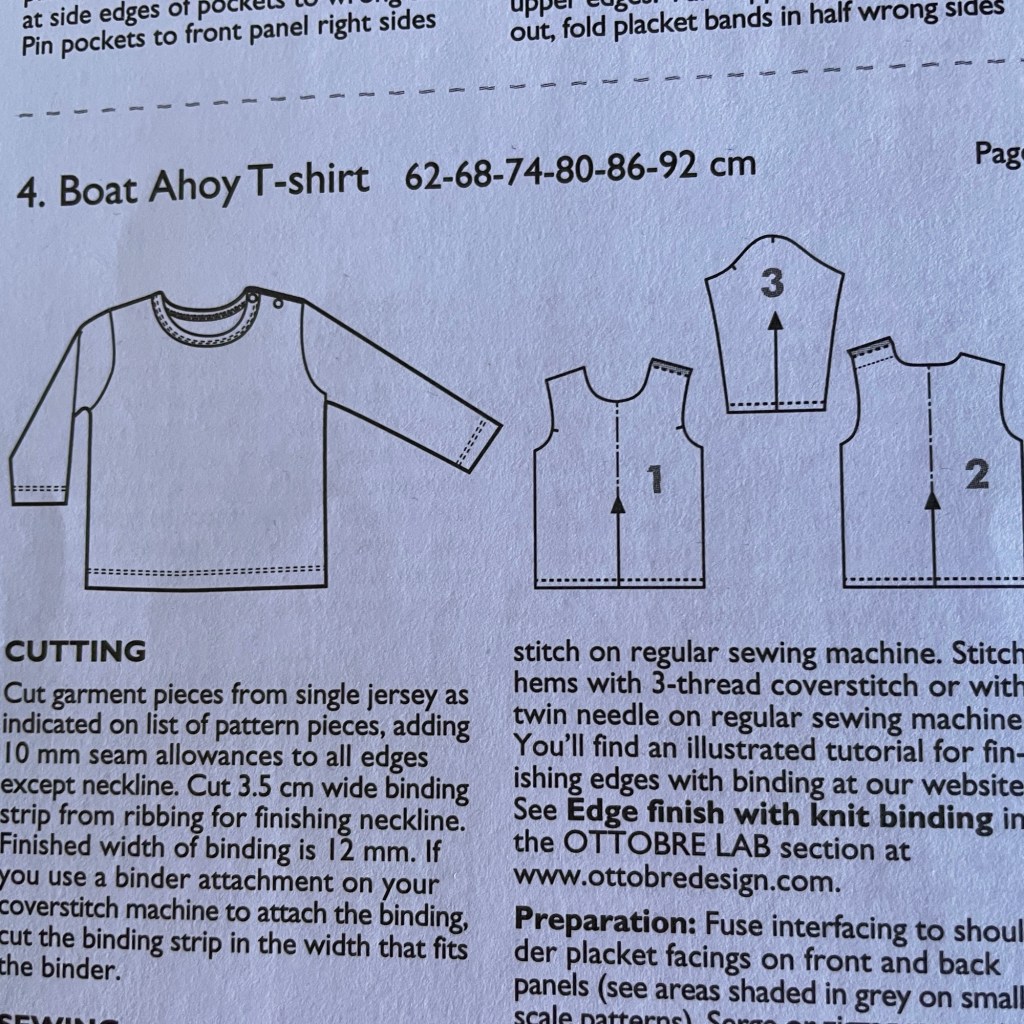
As noted in the title, both of these pieces are from the Ottobre pattern magazine (single issues are available from the Ottobre website). Both are available in sizes 62-92 (approximately newborn through toddler).

The shirt is drafted for knits with about 20% stretch (your average single knit jersey). There’s a couple of snaps at the shoulder.

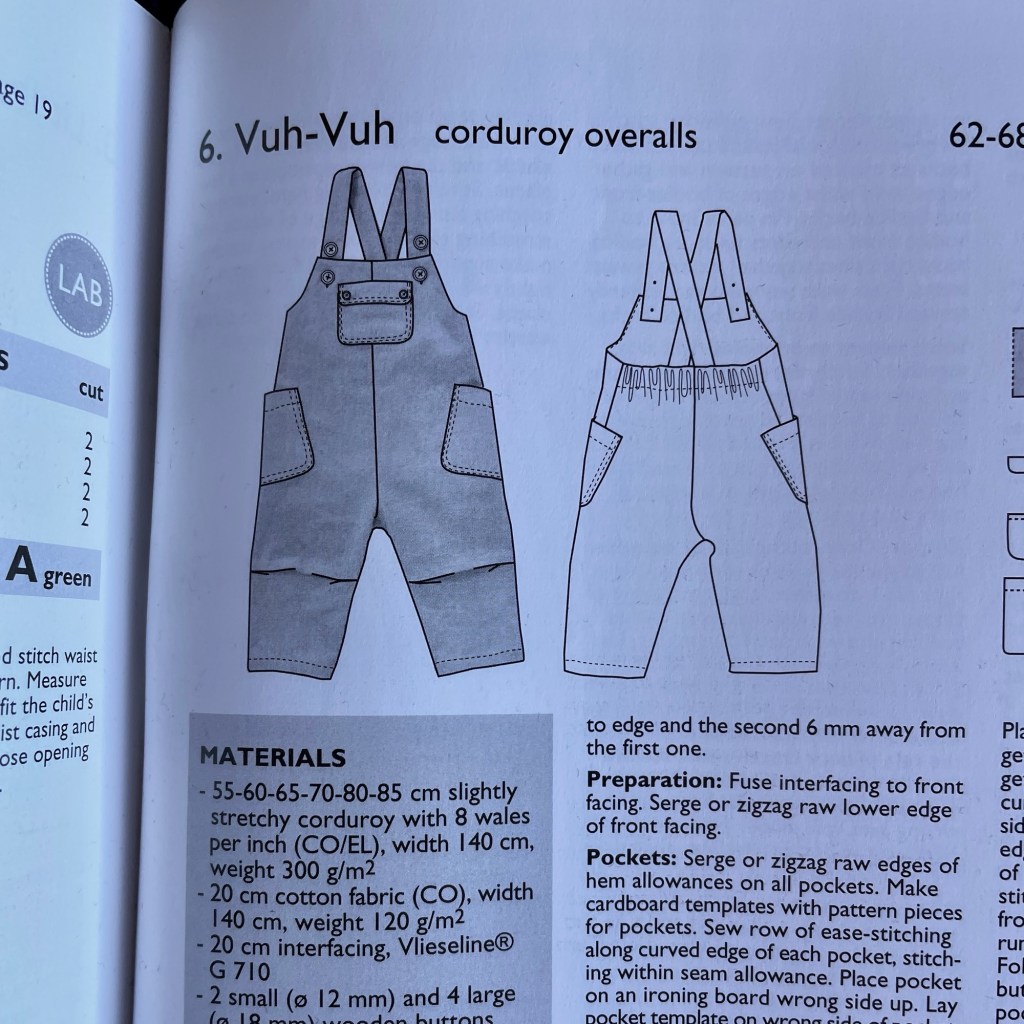
The overalls are drafted for woven fabrics. There’s two offset pockets (one at each hip) and one pocket at the chest with a non-working buttoned flap. The straps cross at the back and have two buttons on each strap for better sizing as your child grows. There’s also tucks at the knees to help facilitate room for crawling (which I really appreciate for him right now!) and elastic at the back waist to help keep things snug.

Materials

For the shirt I used a cotton/lycra jersey from Nature’s Fabrics for the main fabric, and a cotton ribbed knit for the neckline binding. The snaps are KAM plastic snaps. I interfaced the section where the snaps are secured with Pro-Sheer Elegance from Fashion Sewing Supply.

For the overalls I used a navy stretch corduroy from Gorgeous Fabrics.

The buttons are wood buttons from Amazon. I also interfaced with Pro-Sheer Elegance from Fashion Sewing Supply.

Construction and Fit

I made these about six weeks ago and chose a size 80, as I was paranoid it wouldn’t still fit for Halloween. Well, as with the Green Bean baby set I should have instead gone with an altered 74. It ended up too big. I usually cuff both the sleeves and pants legs. In the photos they look particularly loose because he’s got a disposable diaper on today instead of a cloth one, so there’s far less bulk in the seat area.

The shirt went together easily enough. My issue was when setting in the snaps I had to try several times before I got them to secure properly. Ottobre has you set one of the snaps along the binding but it was just too bulky and I kept having to redo that one particular snap. I had also never used plastic snaps so there was also a slight learning curve.

The overalls weren’t difficult, just time consuming with all the pocket curves and various details. I ripped out my topstitching a few times because I was unhappy with it, so that took some time. Once they were completed I had issues with the straps not staying in place, so I crossed and topstitched them in the back. I need to move the stitching as I just guessed about where to place it, and it ended up being too high. But I do recommend stitching the back straps in place for more security.

Conclusion

This set gets him a LOT of attention when we are out and about in public! Some people have remarked on how it is slightly unusual for American baby clothes.

I am not thrilled with the snaps at the shoulder and would probably use an envelope style top for shirts in the future. It was just too fussy setting the snaps with all the bulk of the ribbing.

I love the overalls! They are cozy and so sturdy when he crawls in the ground outside, and give a more formal appearance than knit pants. The tucks at the knees give him plenty of room to bend his knees when he’s crawling. A well designed pattern! I am thinking of making another pair for him in the near future.

Ottobre Family 7/2018, #14: Maternity Tee

Background

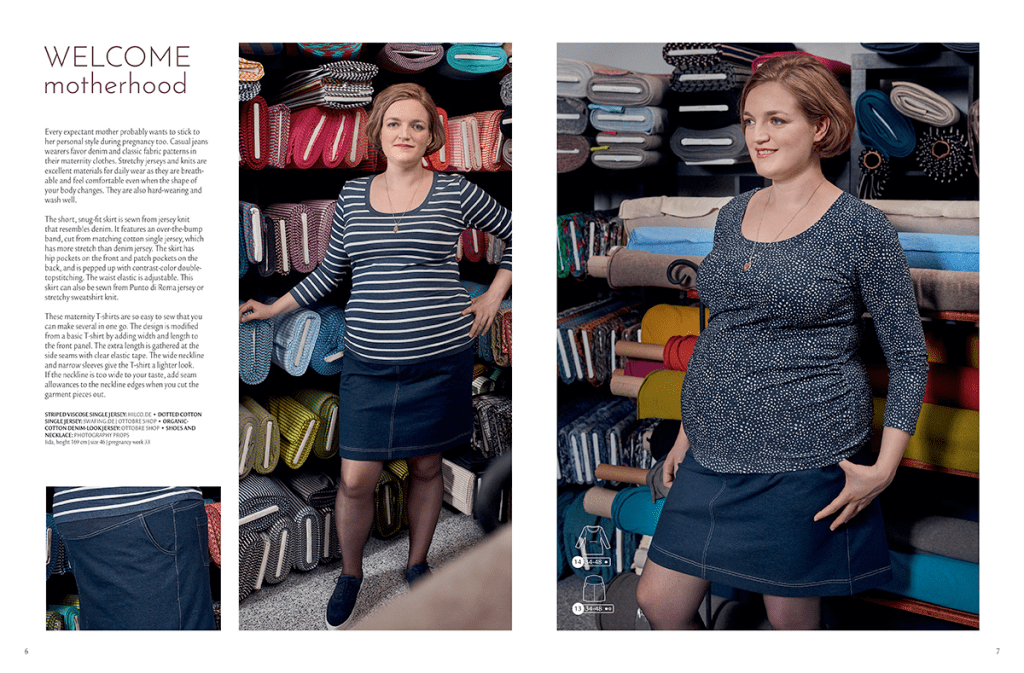
This pattern is a basic fitted maternity t-shirt top, with 3/4 sleeves and gathering at the front side seams. The scoop neckline is finished with 5/8″ width binding.

Ottobre suggests this top for the the third trimester, but I am still in my second trimester and found that it was just what I needed. Maternity clothes just feel more comfortable at this point, even if I’m not completely filling them out yet.

Alterations

I first started off with a size 42, with the following alterations:

  • 3/8″ sloped shoulder alteration
  • 3/8″ forward shoulder alteration
  • Lengthened 1″
  • Shortened the sleeves to short sleeve length (the underarm seam is about 2″ long)
  • Added about 1/2″ width to each sleeve
  • Added 4″ to the hips

After making it up I found out that despite my pear shaped figure the hips were far too wide and the hem was flaring out. Overall it just seemed too big everywhere. Even the gathering was too low because it wasn’t properly snugging against my figure.

So for my next try I sized down to 40, which is probably close to what my pre-pregnancy size was. I cut a straight size 40, with no extra room at the hips, and left the length the same as my size 42 pattern. While I had to snug up the sleeves where they attach to the bodice at the side seam, I did my best to maintain the extra 1/2″ I had added with my first version. The fit this time was far better. This is one of the few instances where going with my pre-pregnancy size actually worked!

Materials

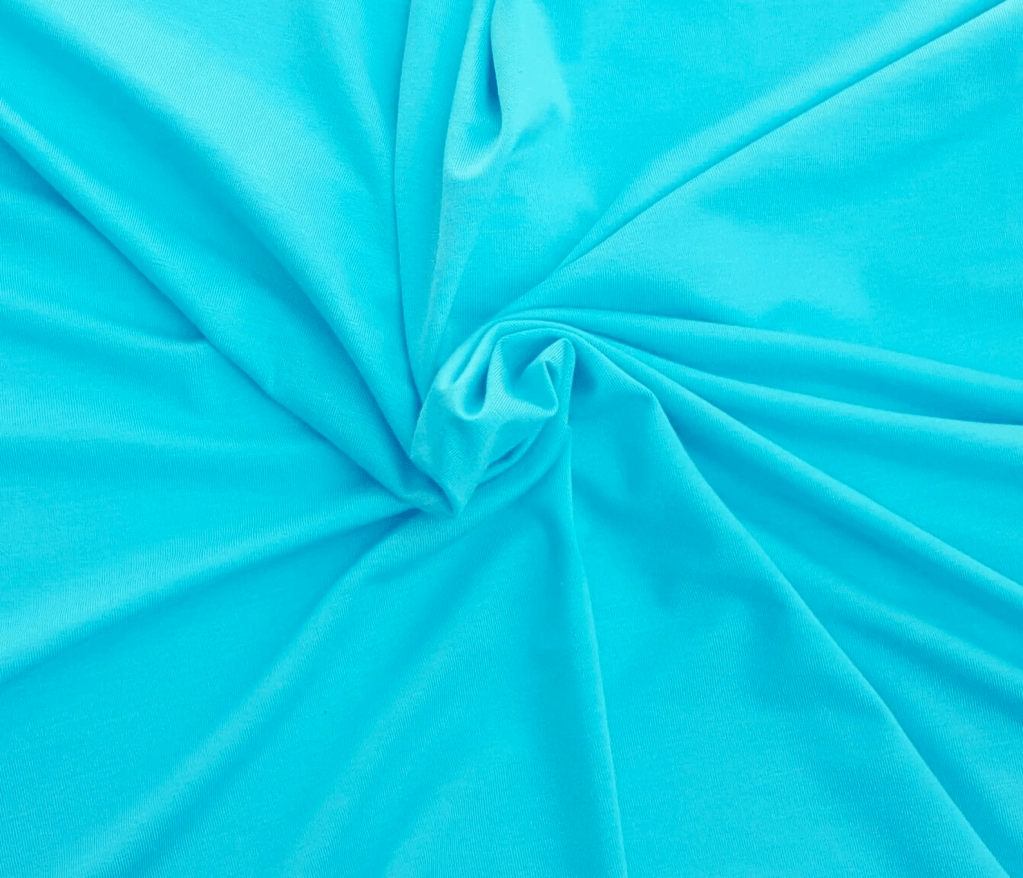
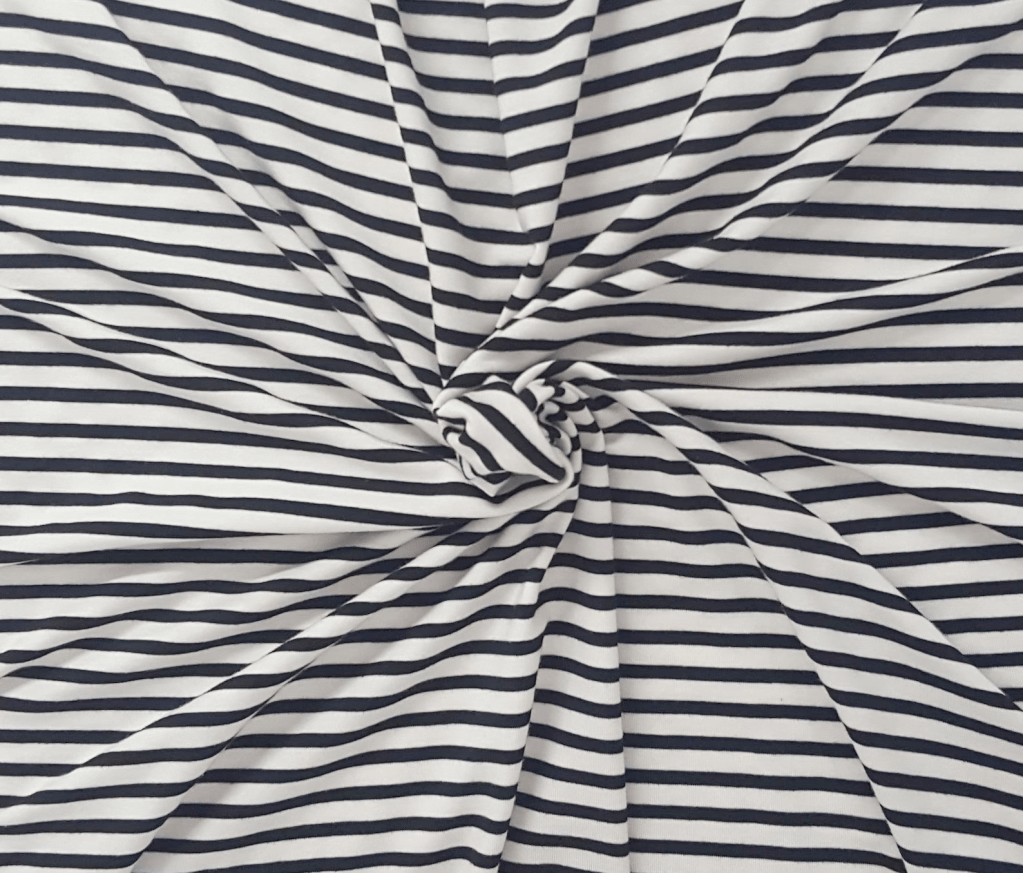
Both of my tops were made out of jerseys with four-way stretch, though the striped fabric has less stretch than the seafoam green one. Both of the fabrics used for the tops photographed are from the Etsy seller Koshtex. Each length of fabric was about 60″ and with careful layout, each top took about a yard of fabric.

My first version was a modal/lycra jersey. Even though the description calls it aqua and shows a bright blue, the fabric I actually received was closer to a seafoam green.

My second version was a 1/4″ black and off-white striped tencel/poly/lycra jersey. This one had the least amount of stretch out of all the fabrics I used, and the fabric feels slightly less delicate due to the polyester content. It was wonderful to work with!

To stabilize the shoulder seams I used superfine straight Design Plus stay tape. (I can never seem to get 1/4″ clear elastic to work on my serger.) For gathering the front side seams I used 3/8″ clear elastic.

Pattern and Construction Notes

The instructions tell you to use clear elastic to gather the front side seams between the notches to 12cm (about 4.75″). I found when making my size 42 top that this wasn’t quite enough. On the back pattern piece there’s a couple of notches at the side seam. Gather the side seams to match this length instead (which for my size 40 I think was closer to around 3.5″).

When gathering with the clear elastic, I stretch it before even cutting it off the spool. I then cut a length longer than I need so that there is a “tail” to hold onto when starting and ending the gathering and mark the length needed for the pattern with a Sharpie pen. I use a Teflon foot on my sewing machine and put the elastic on top of the fabric so it is against the Teflon foot and not the feed dogs. I set my machine to a 4.0mm width and 3.5mm length zigzag stitch and carefully match the edge of the elastic to the edge of the fabric, stretching it as I sew along. I try to sew closer to the edge, without actually hitting the cut edge of the fabric and edge of the elastic. When I sew the front to the back I always sew with the clear elastic facing up and not against the feed dogs. Doing all this gives me perfect gathering with no tunneling, and the zigzag is hidden within the serged edge of the fabric.

The instructions have you sew one shoulder seam, then bind the neckline and then sew the other shoulder seam. I found I had a harder time doing it this way and instead sewed both shoulder seams and then bound the neckline. It just seems like it is easier to get the binding evenly stretched this way. I also sewed the sleeve caps to the top flat (ie before sewing the side seams) instead of in the round (sewing the side seams of the top, the sleeve side seams, then attaching the sleeve cap to the bodice). It seemed both quicker and easier this way, especially when I was working with the striped fabric. I didn’t get the stripes perfectly lined up at the side seams, but they’re good enough!

I used my sewing machine to gather the front side seams, but otherwise this was entirely constructed on my serger. The hems and the edge of the neckline binding were all finished using my coverstitch machine. Since the neckline binding part can be so thick with all the layers of fabric I lengthened the stitch from 3.0mm to 3.5mm so the stitching would appear normal length and not super tiny.

Overall I’m really happy with this top, and it is just what I need to get through the spring and summer. So easy in the cooler spring mornings to just pop a denim jacket over it and be on my way! I can make each one for less than $10 and it takes a max of 1.5 hours now. I find that RTW maternity clothing is either expensive ($39 for this maternity t-shirt) or the fabric is poor quality. I guess they figure they can get away with it since in the first case people just pay whatever it costs in order to have something that fits, and in the second case most people aren’t wearing maternity clothes longer than a few months so they just put up with it.