This was a very quick and easy Friday night project. I’ve been trying to get ahead of a summer wardrobe and needed some lightweight pajama shorts.
Pattern Background
Jalie 3243 pull-on pants and shorts have front patch hip pockets, an elastic waistband, and the option of having either the waistband facing showing on the front (nice if you want to do a contrasting color) or hidden inside. This pattern is drafted for wovens.
Sizes go from 2T all the way up to women’s size 22. As is often the case with Jalie, I chose this pattern because the wide size range and classic styling mean I can use it for my toddler son as he grows as well as for myself and my husband.
Materials
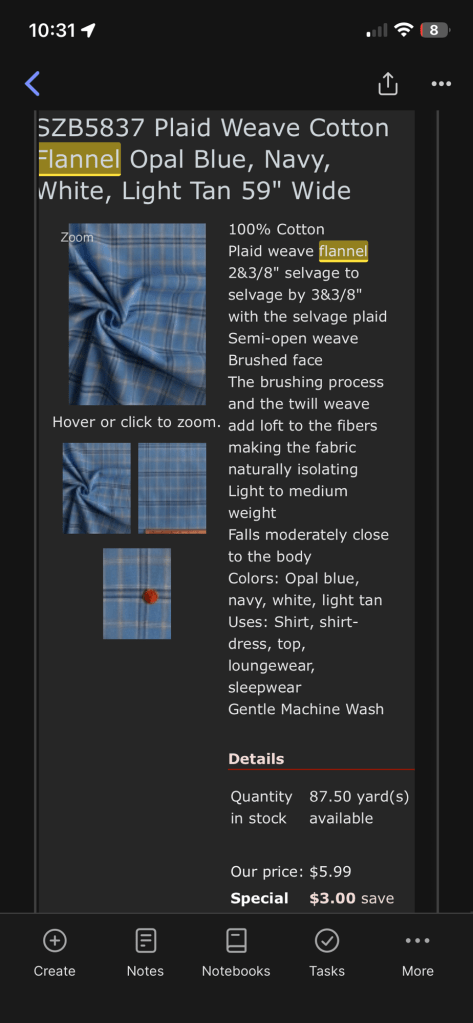
You can use both regular and stretch wovens. I used a lightweight plaid flannel I bought back in 2012 from Fabric Mart. It isn’t the best quality flannel but since I wanted these for summer pajama shorts the light weight and minimal nap worked in my favor. (And yes I really paid only $3 a yard! How I miss the times before rampant inflation and tariffs.)
Size and Alterations
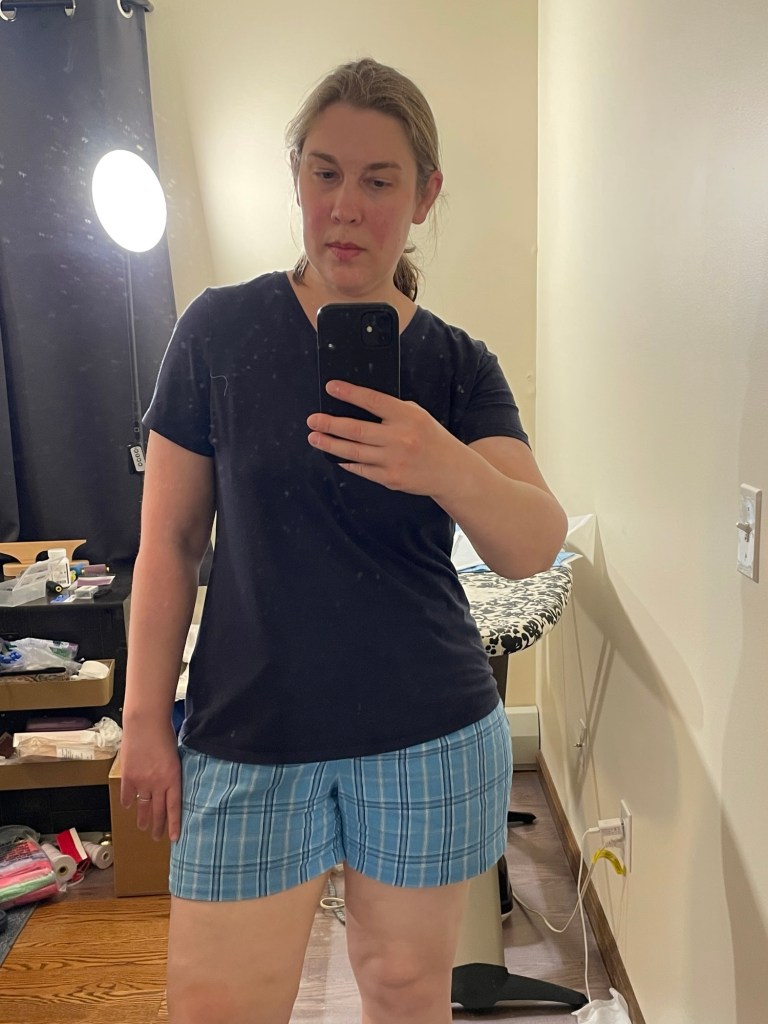
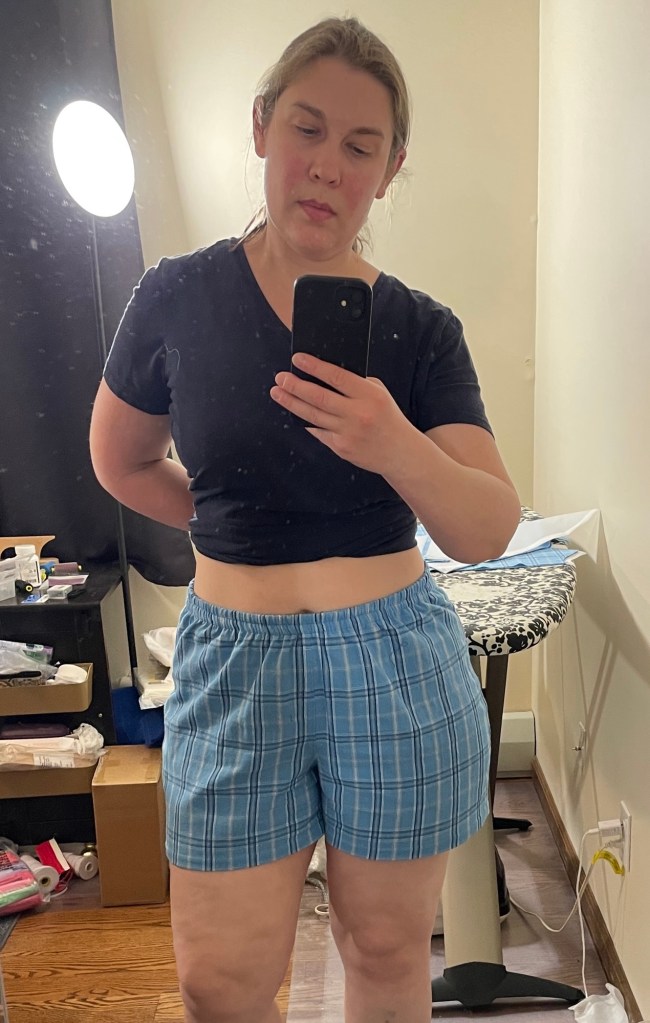
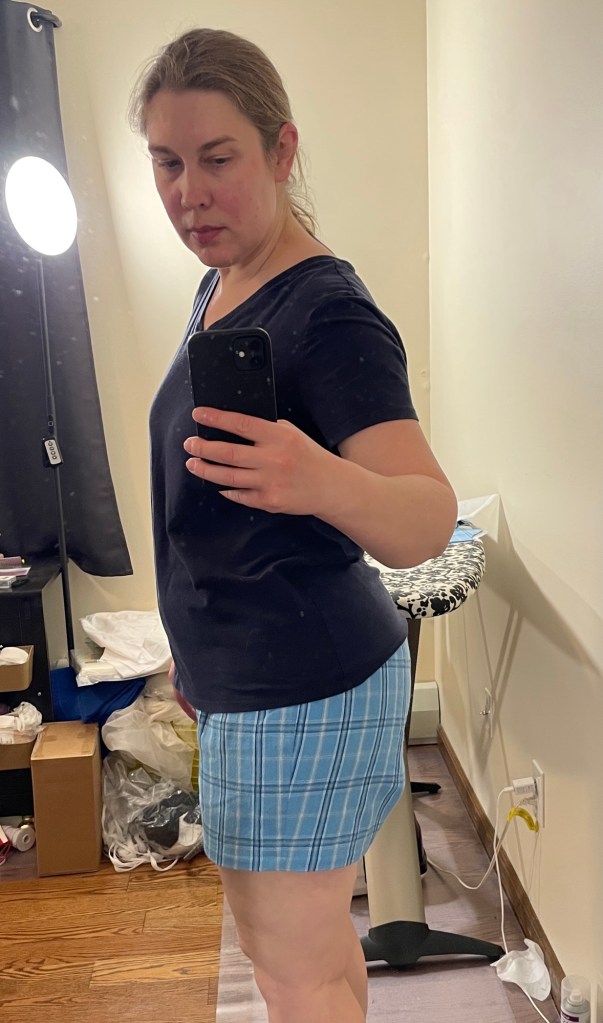
I cut a size CC based on my hip measurement. For alterations I added 2.5” to the center back seam height, tapering to nothing at the center front. I also added 1/4” width to the front inseam. I left the pockets off because these are for pajamas and I just didn’t want to deal with trying to pattern match that.
My first pair wasn’t uncomfortable but they just seemed too snug for my taste. Jalie does note on their website that if you want a looser fit in the hip you should go up a size or use a stretch fabrics.
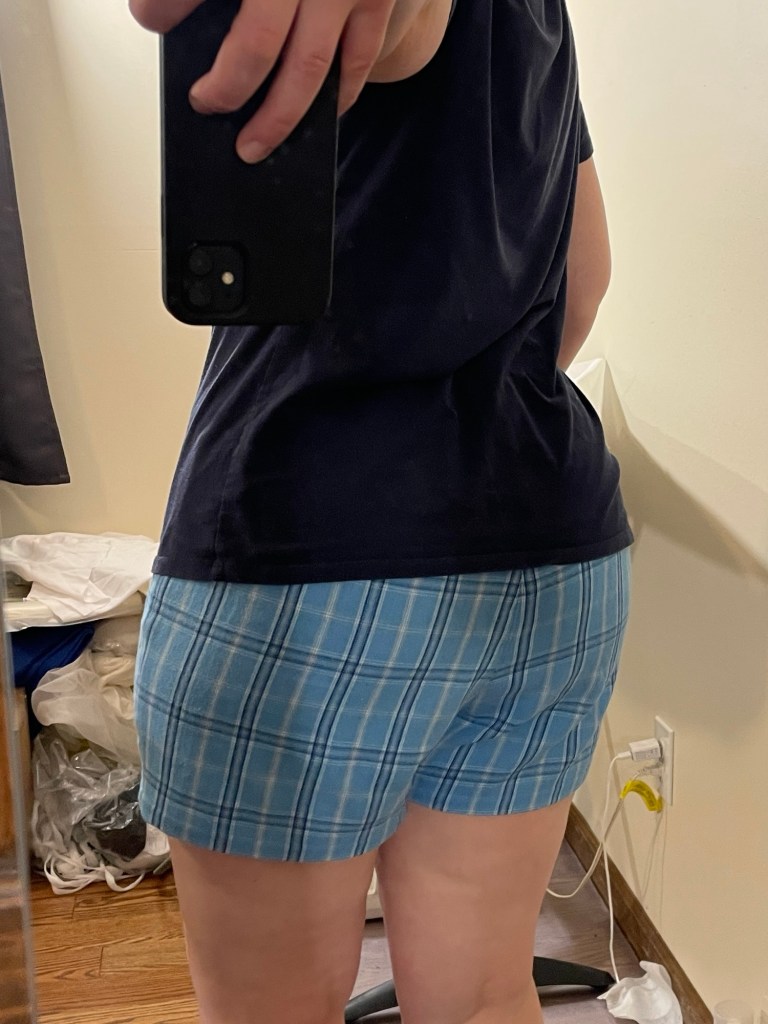
I also noticed they were too tight in the butt and the side seam wasn’t hanging straight. So for my second version I added 1/4” to all side seams, thus giving myself another 1” of ease, and added another 1/2” width to the back side seam at the hip. Here’s what the back piece looked like after I was done:

These alterations made my second pair much better.
Construction
These pants are very quick to make. I sewed them on my Juki TL-2010Q (always a pleasure to sew on for light to medium weight fabrics) and finished the inside seams on my serger. I did a couple things slightly different from the instructions though.
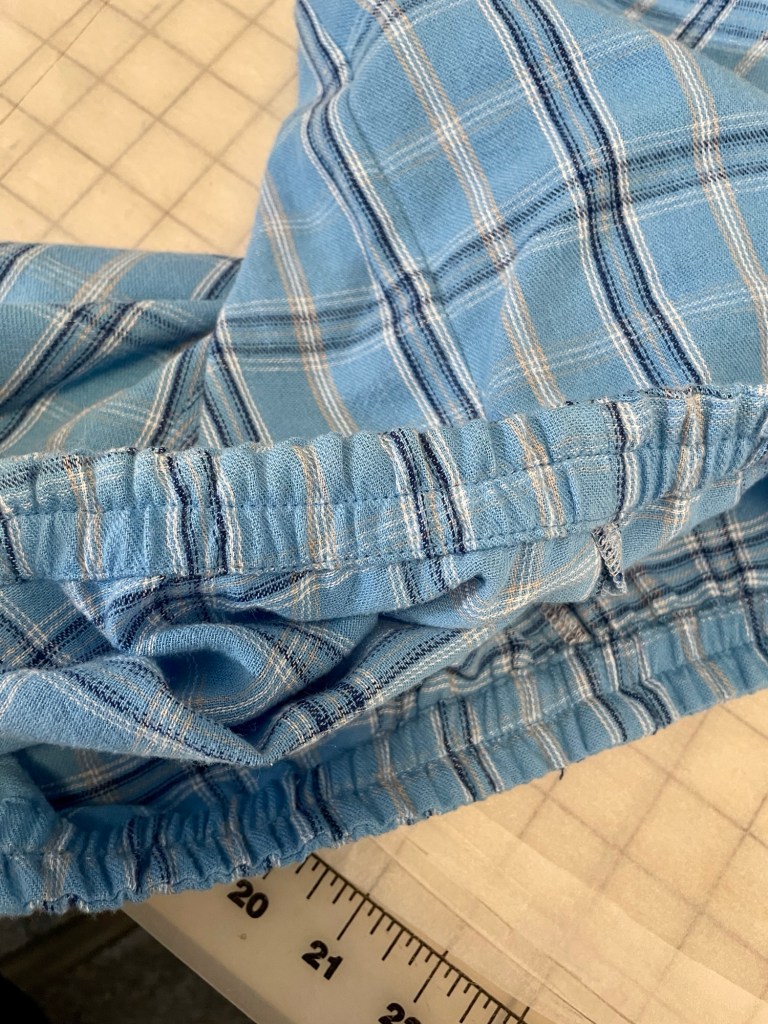
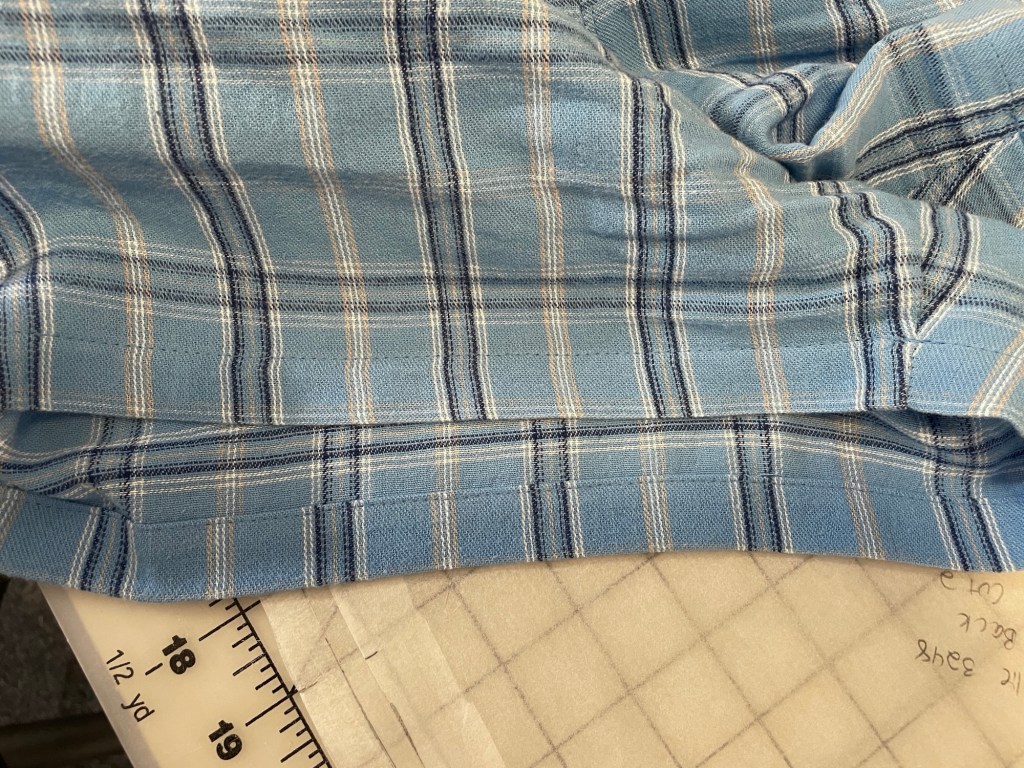
Rather than creating a casing and then pulling the waistband elastic through, I sewed the seam allowance of the waistband facing piece directly on top of the elastic, overlapping the edge of the seam allowance about 1/4” from the left edge of the elastic and using a 4mm length stitch so I wouldn’t overwork the elastic and stretch it out of shape. Then after I rolled the elastic to the inside of the shorts I stitched very close to the lower edge of the elastic. Once it was done the elastic was completely encased and then I topstitched in the middle. No need to make a casing and then pull the elastic through.
Of course it isn’t as adjustable after the fact so probably not good for kids clothes or your first version, but good for situations where you have confidence that you won’t need to alter it after the fact.
When I did the hem I first turned it up only 1/4”, then turned it up again another 3/4” and stitched very close to the edge. Very similar to how I did the waistband. This made for a very neat hem finish:
In the past I used to serge then fold to the inside and then topstitch over the serged edge, but I find myself preferring to try new things and do finishes like this lately. Helps distract from some recent sadness like my father’s health struggles and losing my beloved cat recently. (My dad actually improved enough that he was able to go home to my mom a couple of weeks ago, but I’m still doing a significant amount of caregiving duties. And while my cat had some health struggles the past six months, I wasn’t anticipating losing him quite so soon and miss him terribly.)
Conclusion
This is a really nice pull on pants pattern for all ages. The waistband facing eliminates having to measure and turn up a waistband casing, and the fit is actually quite tailored for this style of pants. I do recommend going up a size though if you use a non-stretch woven.
