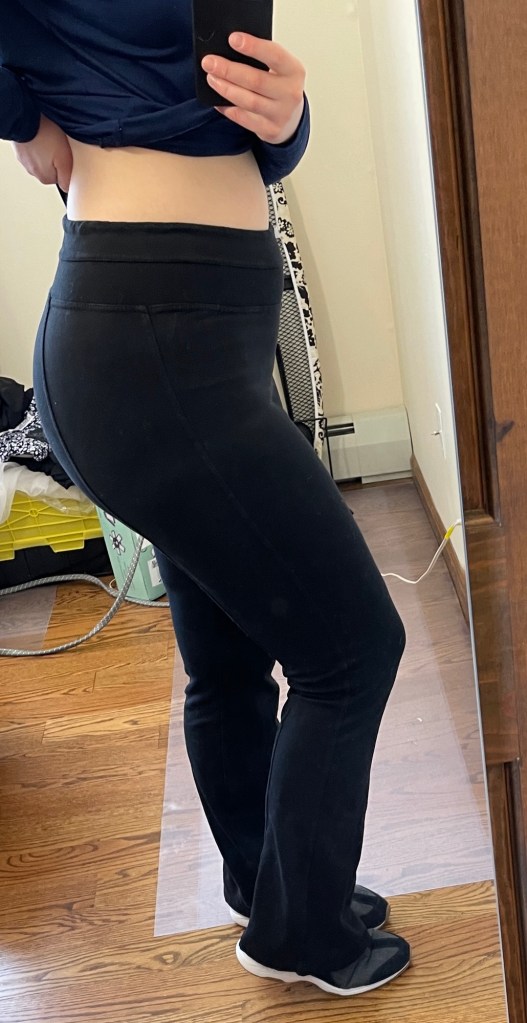
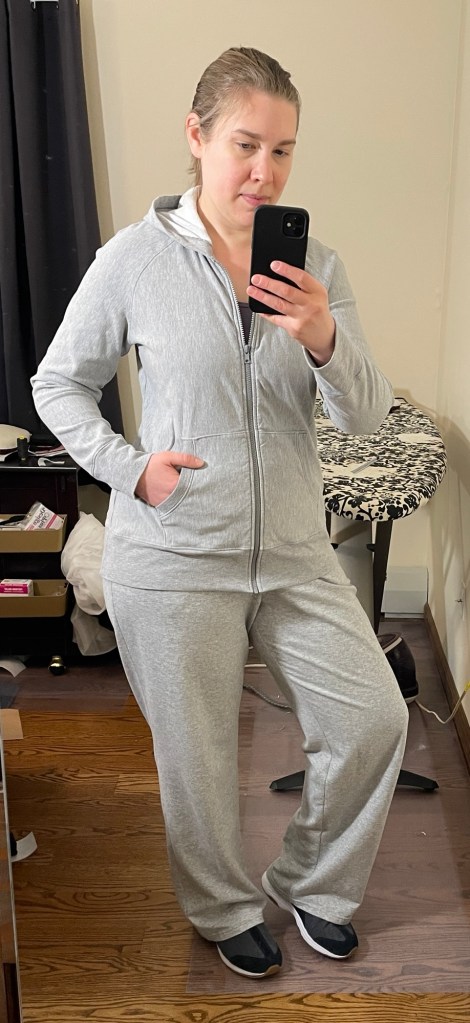
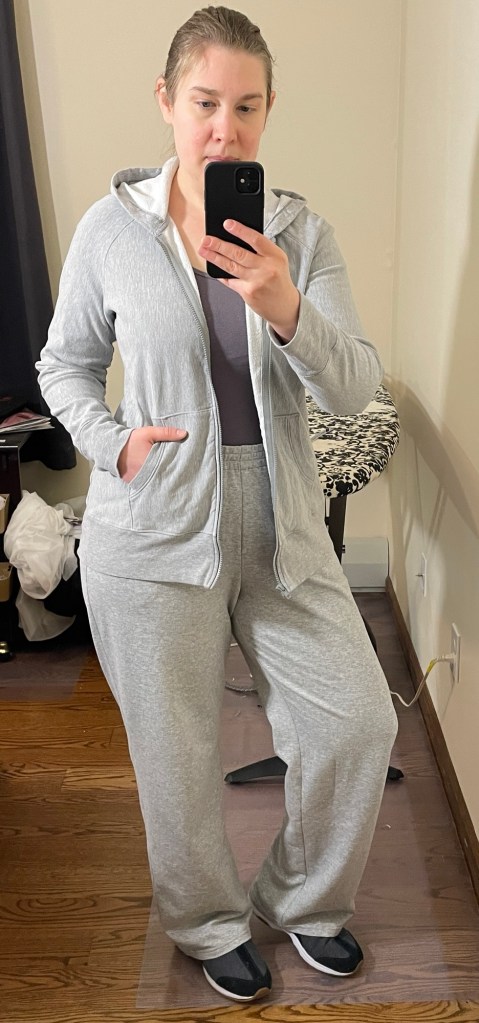
Perfect pants for a cold, lazy Sunday!

Background
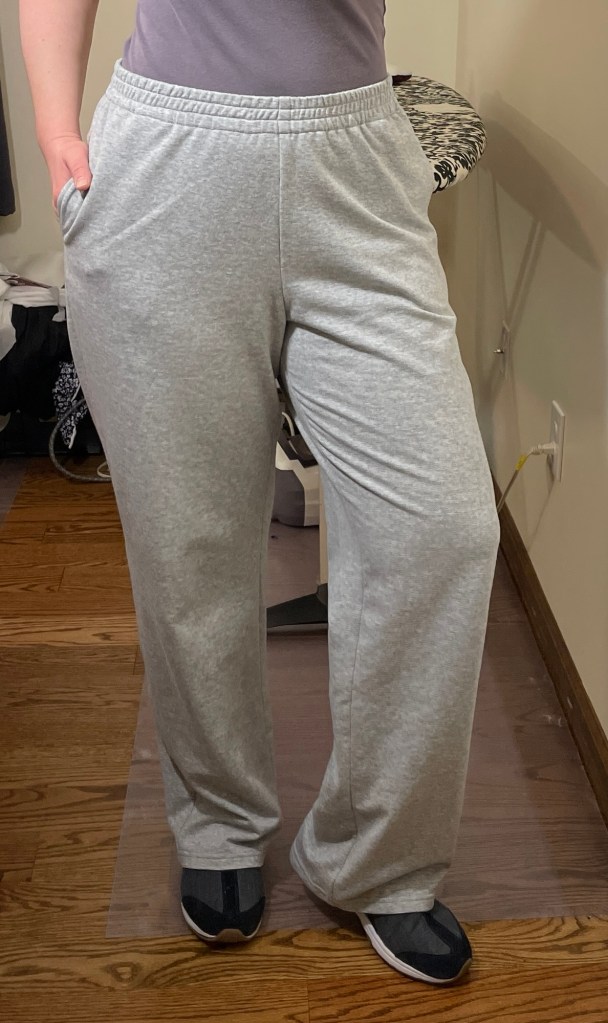
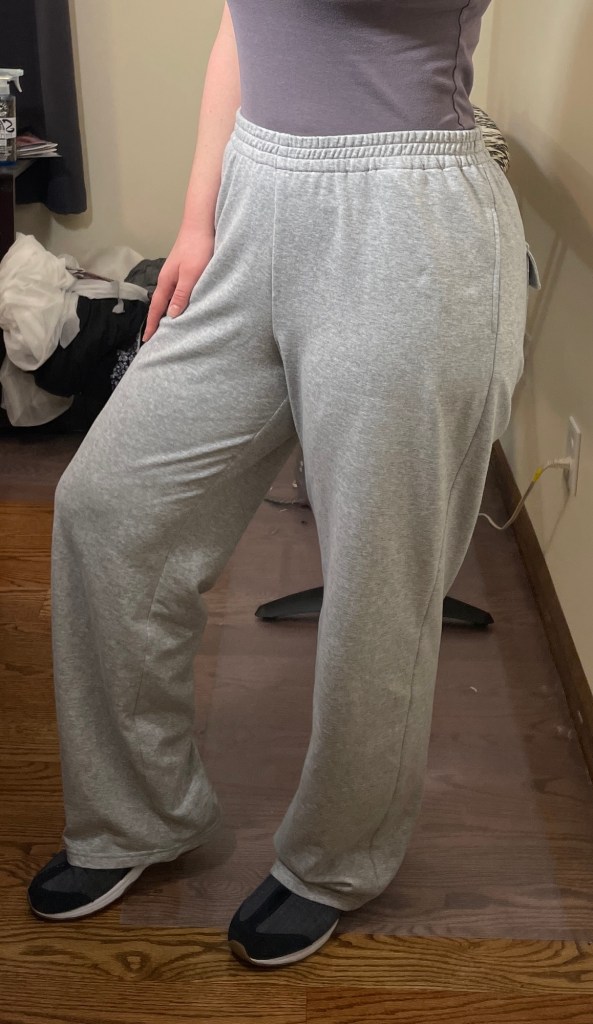
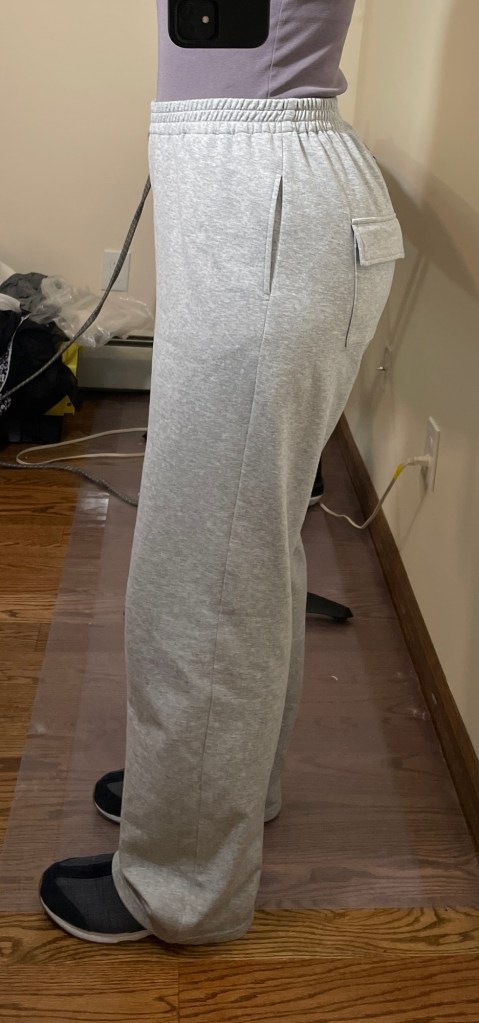
Jalie 4457 is a pattern for sweatpants and shorts that includes side cargo pockets, side inseam pockets, and back patch pockets with flaps. The pants have a wider straight leg. The waist is finished with elastic that is topstitched in place with one or two rows of stitching (this will vary based on the size you make).
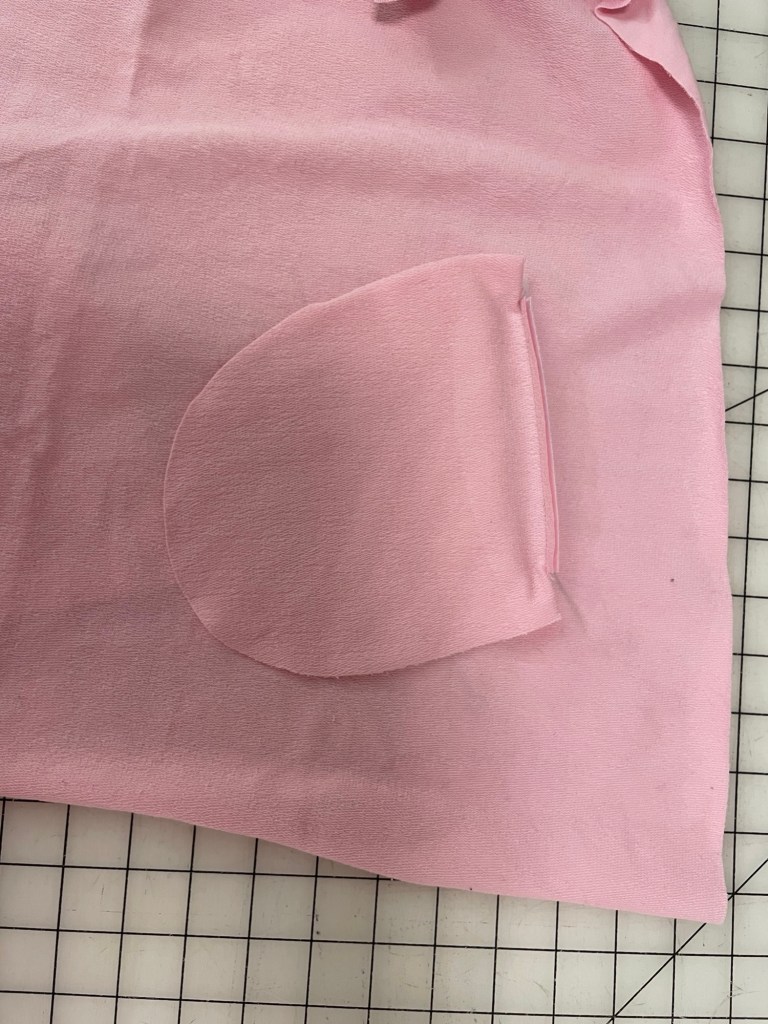
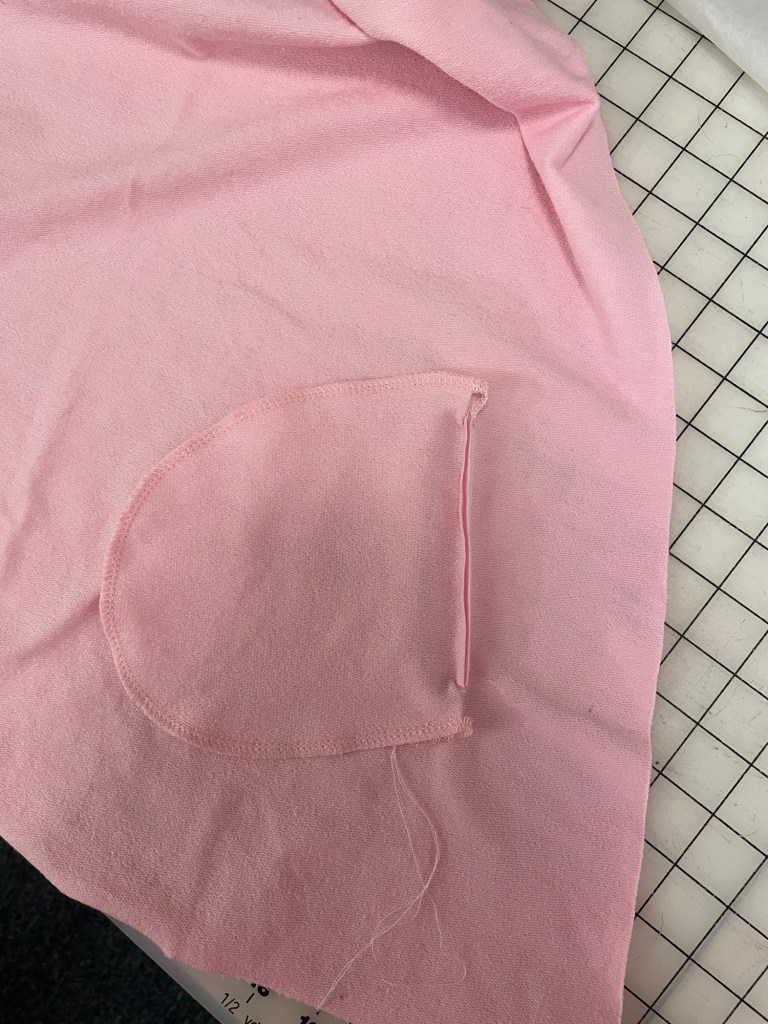
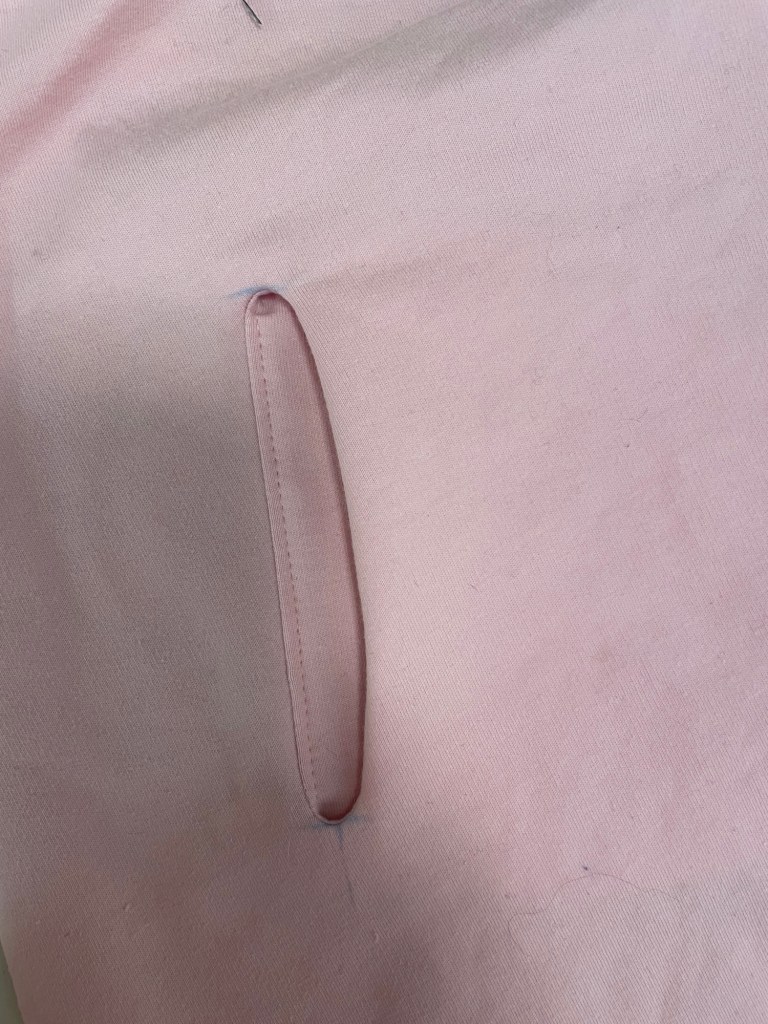
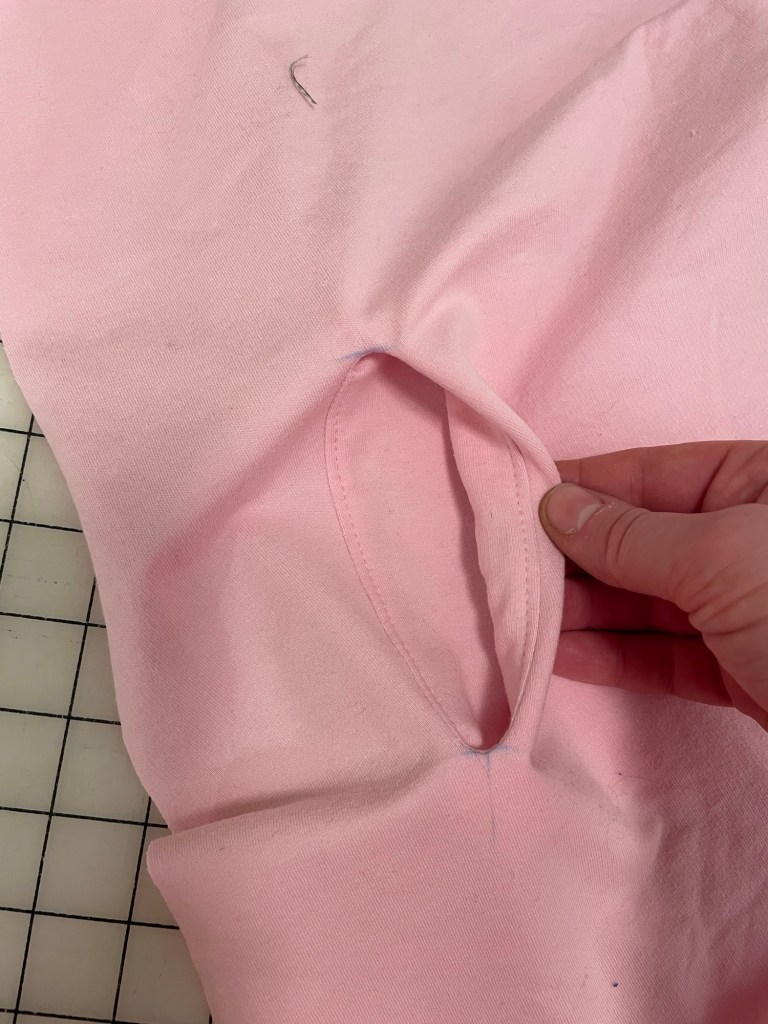
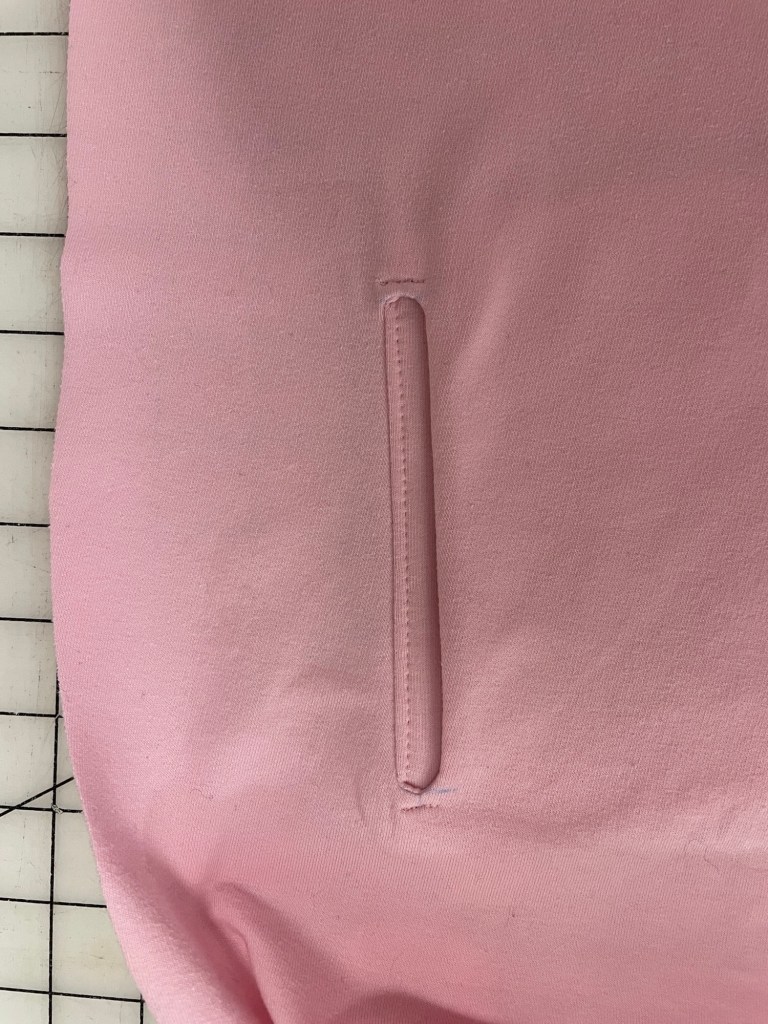
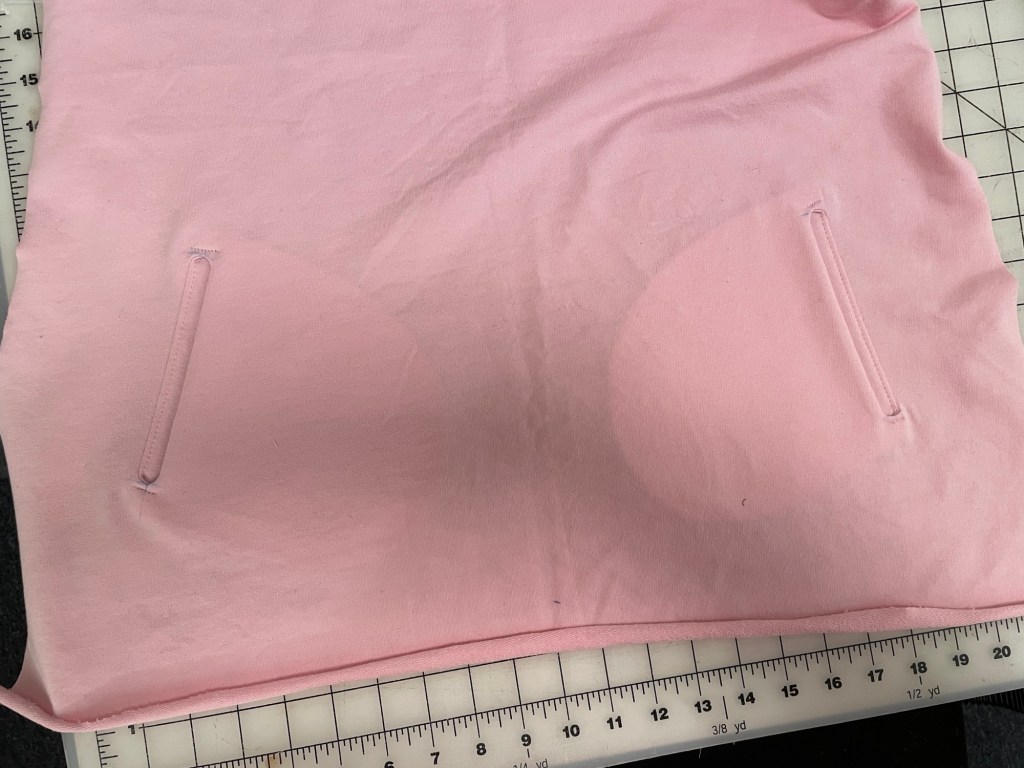
The side seam pockets can be made from one piece of jersey with the facing pocket piece self fabric to help reduce bulk. They hang from where the waistband is stitched, thus reducing bunching.
There’s the normal range of Jalie sizes, from 2T to women’s plus size 2X. I think they have an extended size pattern also available on their website that has more plus sizes. You can make these for men too though, especially if you are willing to shorten the back crotch curve for their typically flatter butts.
Materials
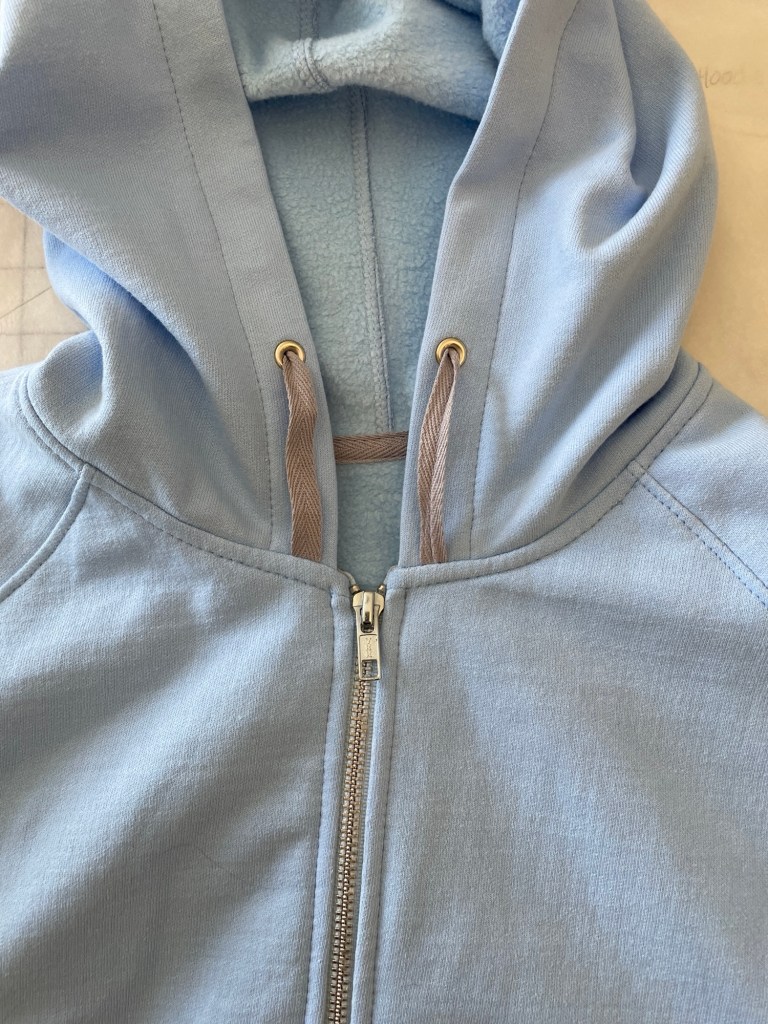
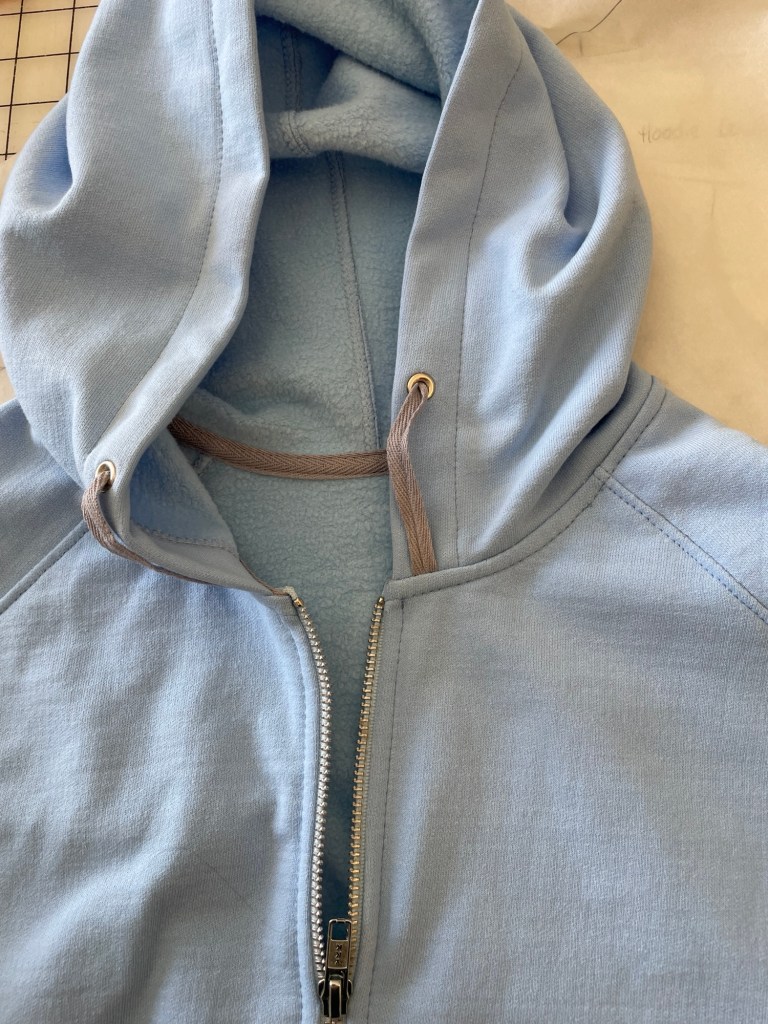
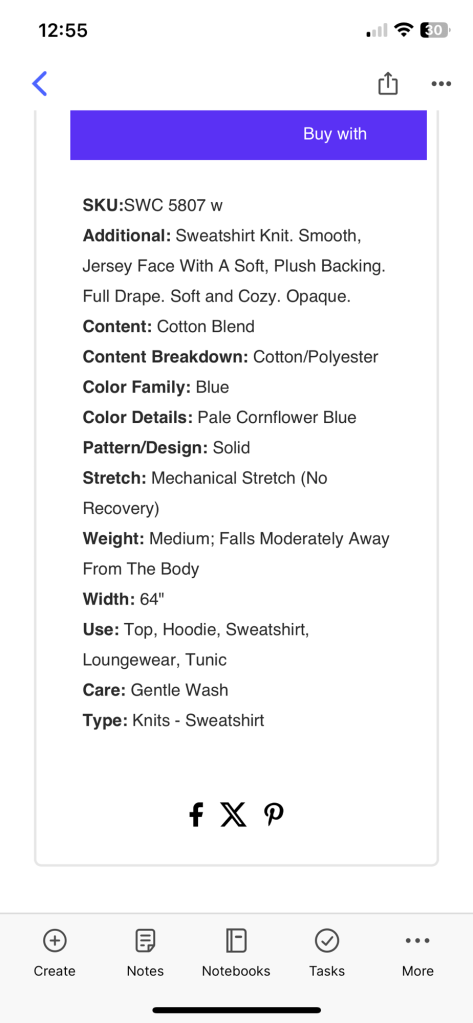
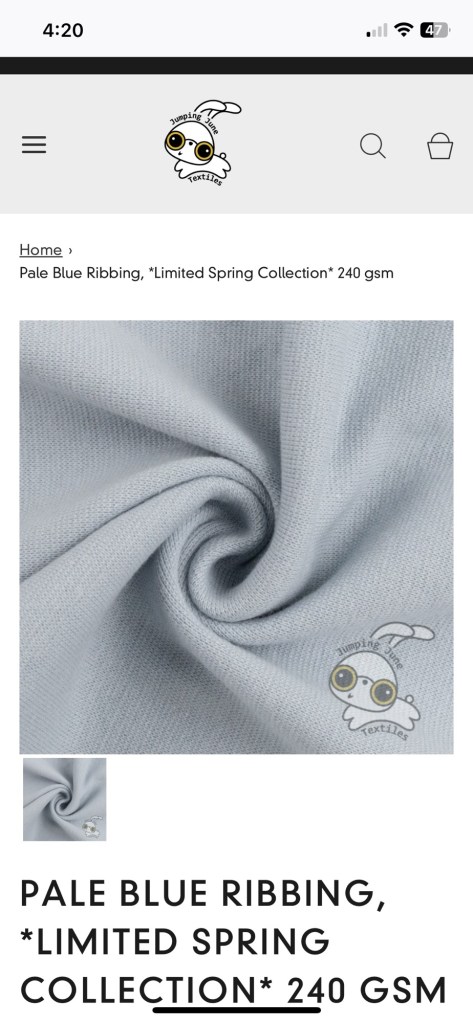
Jalie suggests sweatshirt fleece, French terry, and heavier jersey with at least 20% stretch across the grain.
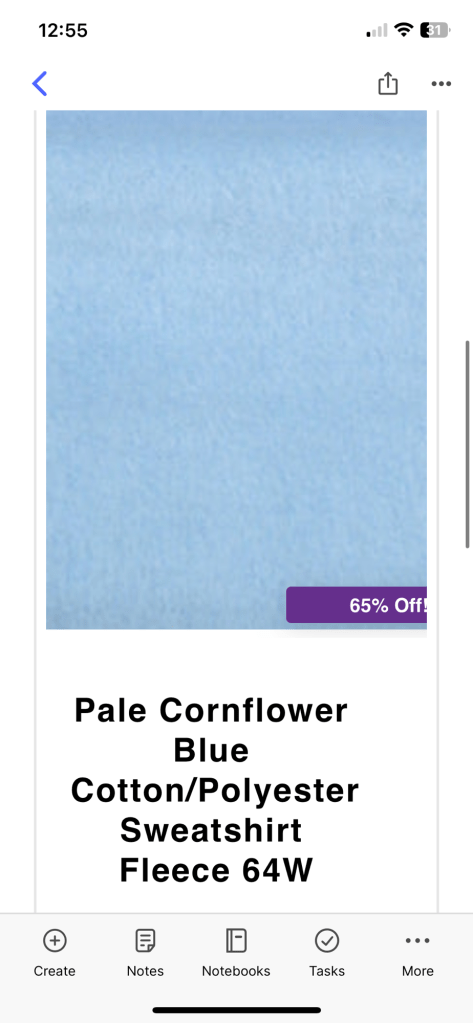
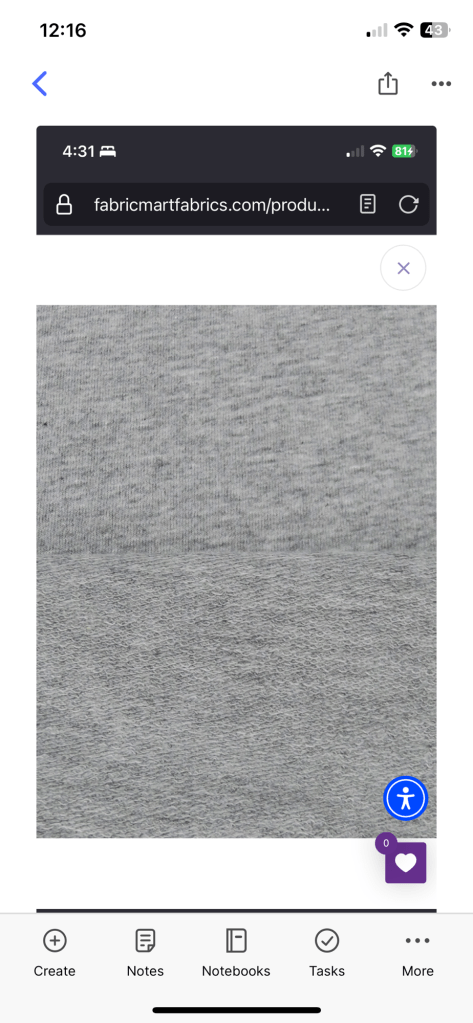
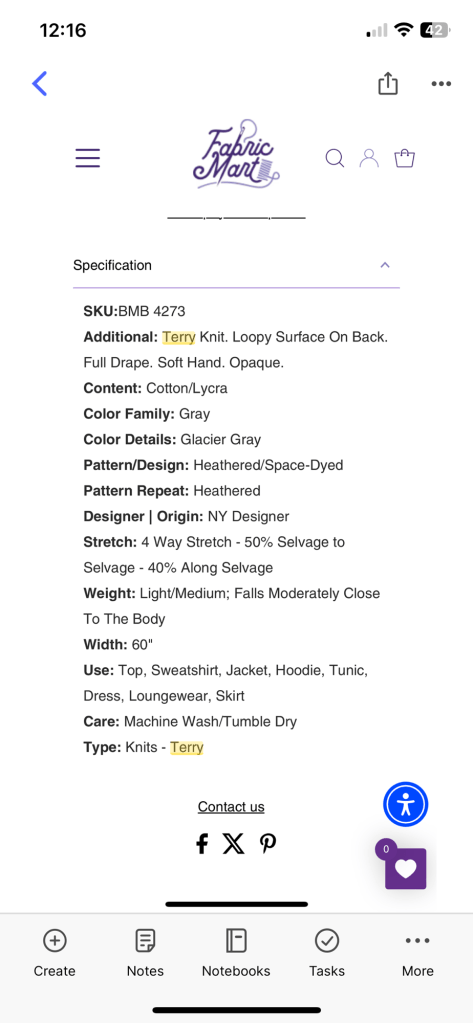
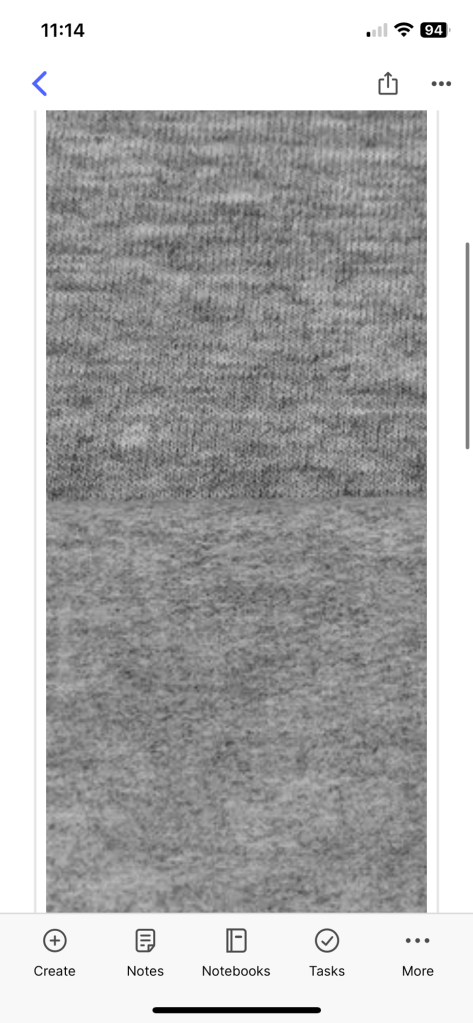
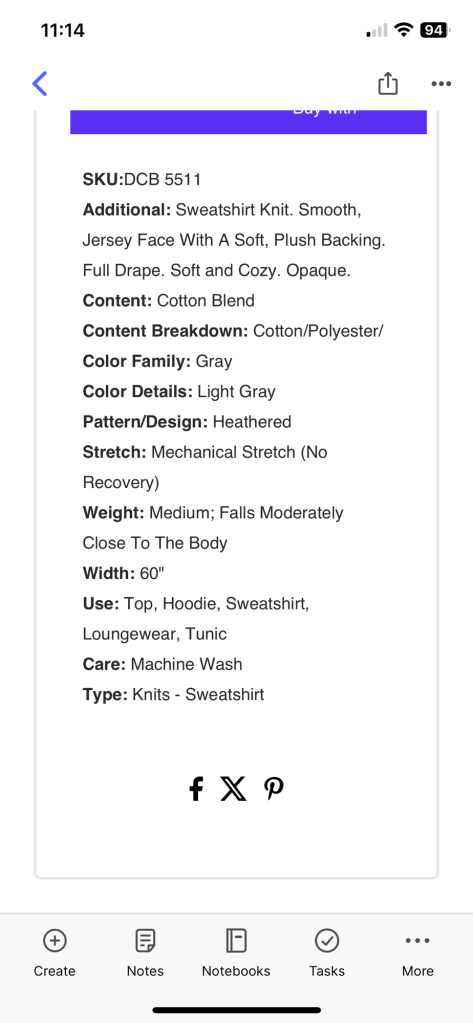
I used a mid weight French terry with a brushed, fleecy back from Fabric Mart with 20% stretch widthwise and 40% stretch along the length. It is sooo soft and has great drape – perfect for the wider legs of this pattern!
Fit and Alterations
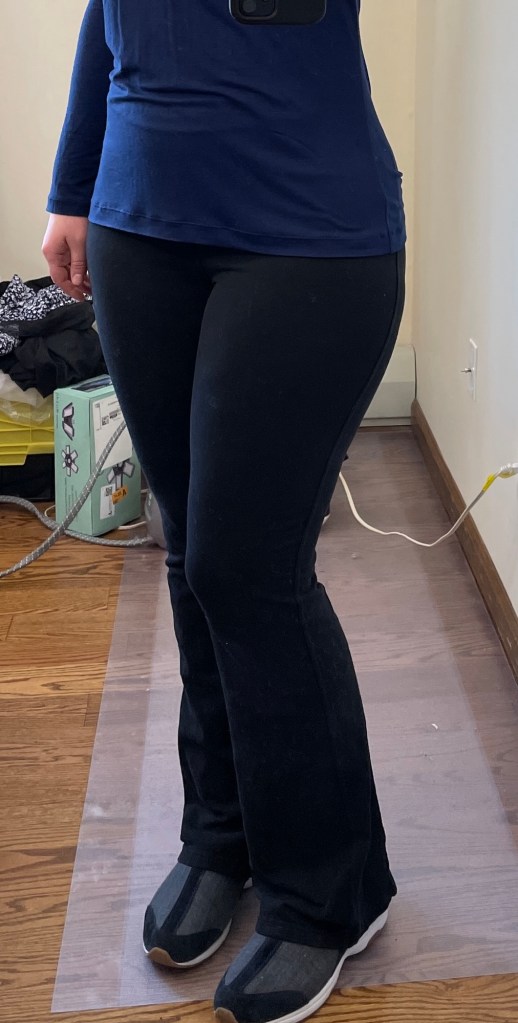
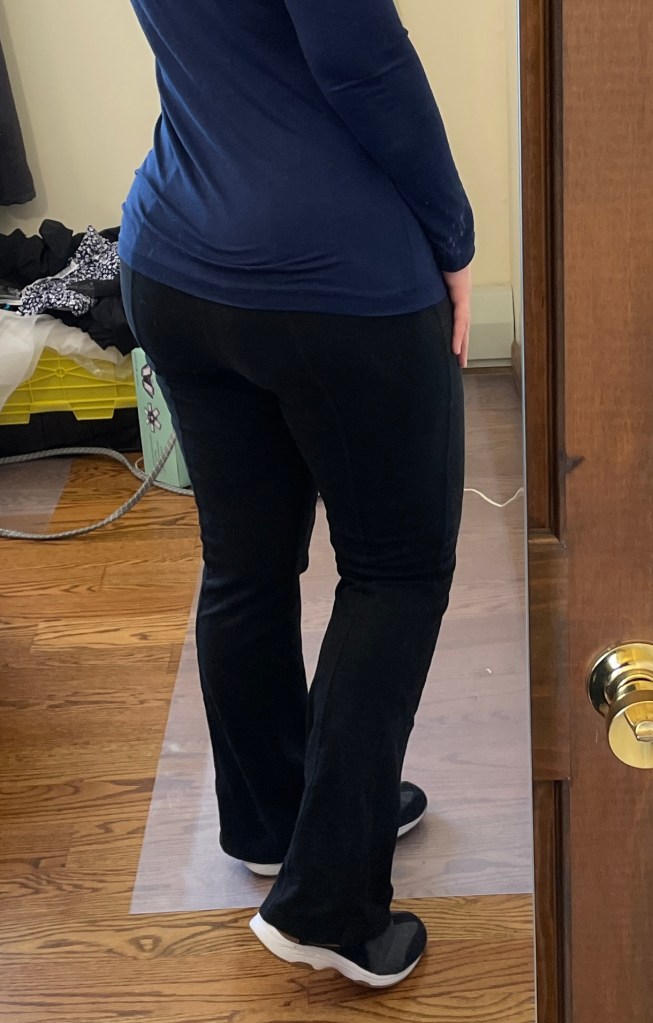
Based on my hip size I made a AA. I cut a size Z for the waistband elastic.
I left off the side cargo pockets. Maybe I will add them to summer shorts. I mostly bought this for the cut, not the cargo detail.
For alterations I lengthened the legs 1.25”. I probably only need an inch but I like to allow a little bit of extra fabric for new pants as I have noticed no matter how much I preshrink, as time goes on the length tends to contract. I also added 3” at the center back seam, tapering to nothing at the center front.
The 3” seems like such a dramatic amount of height to add, but a couple of years ago I got some pajama pants from Lands End that fit really well (balanced at the waist, no pulling down in the back when sitting) and when I measured them I discovered it was because the back crotch curve was so much longer/taller than the front. I use these measurements as a guide now for altering pants.
Construction
Jalie has great instructions for this pattern, perhaps even better than some of their old patterns. The pattern sheet is also color coded for the lines rather than the old style pattern sheets which are all black and white, which makes it very easy to trace your size.
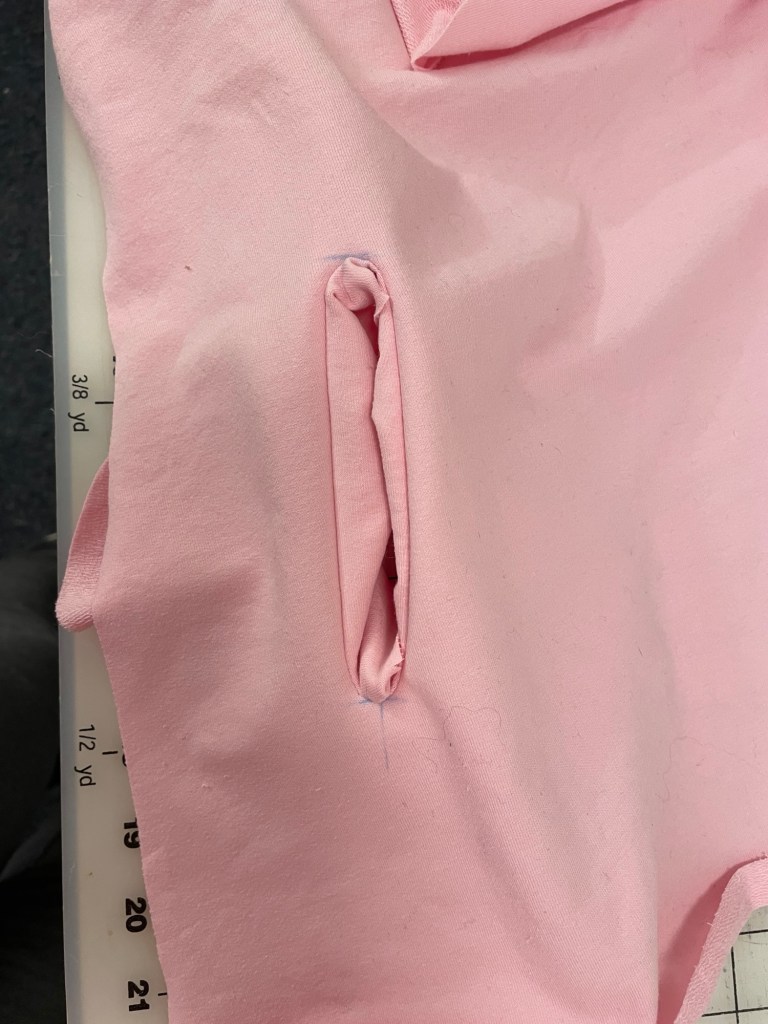
The entire pants pattern uses 3/8” seam allowances, not 1/4”. You sew on a regular sewing machine then finish the edges on a serger as you go along. When it comes time to do the waistband casing you finish the edge with a serger then fold it over and stitch in place. This makes for a lot less bulk than folding the edge under. Also, when you make the front side seam pockets you baste them 3.25” (for my size) from the upper waistband raw edge, then trim close to the stitching. This way when you make the waistband casing the raw edges are caught in the seam, but you don’t have any extra bulk.
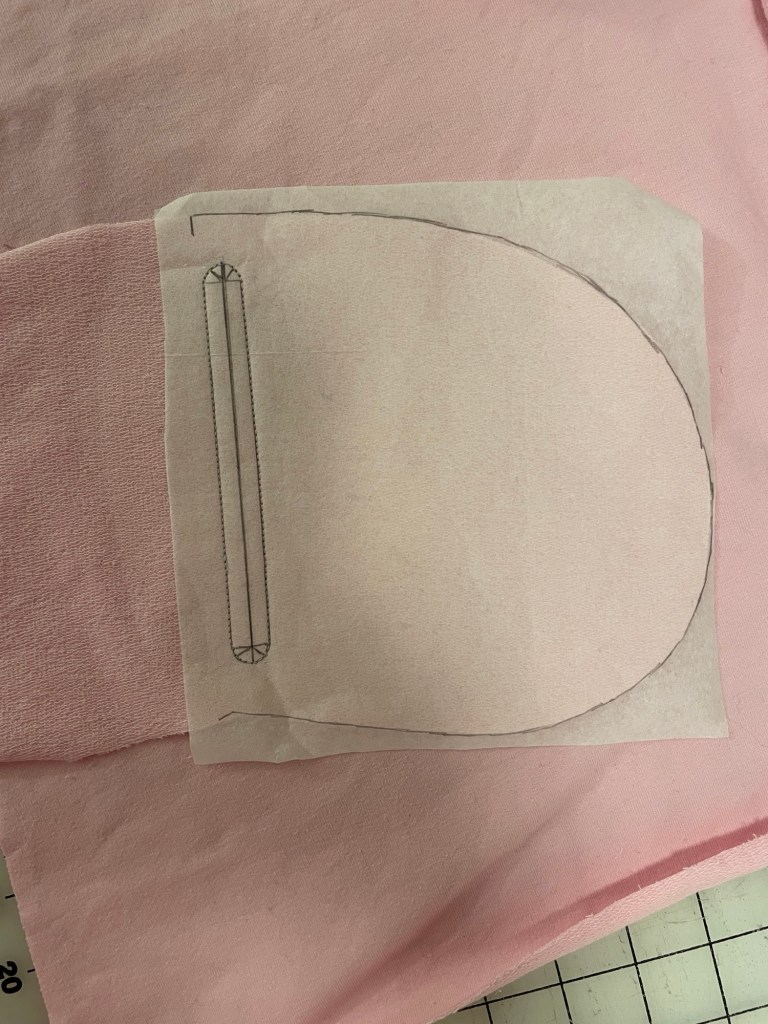
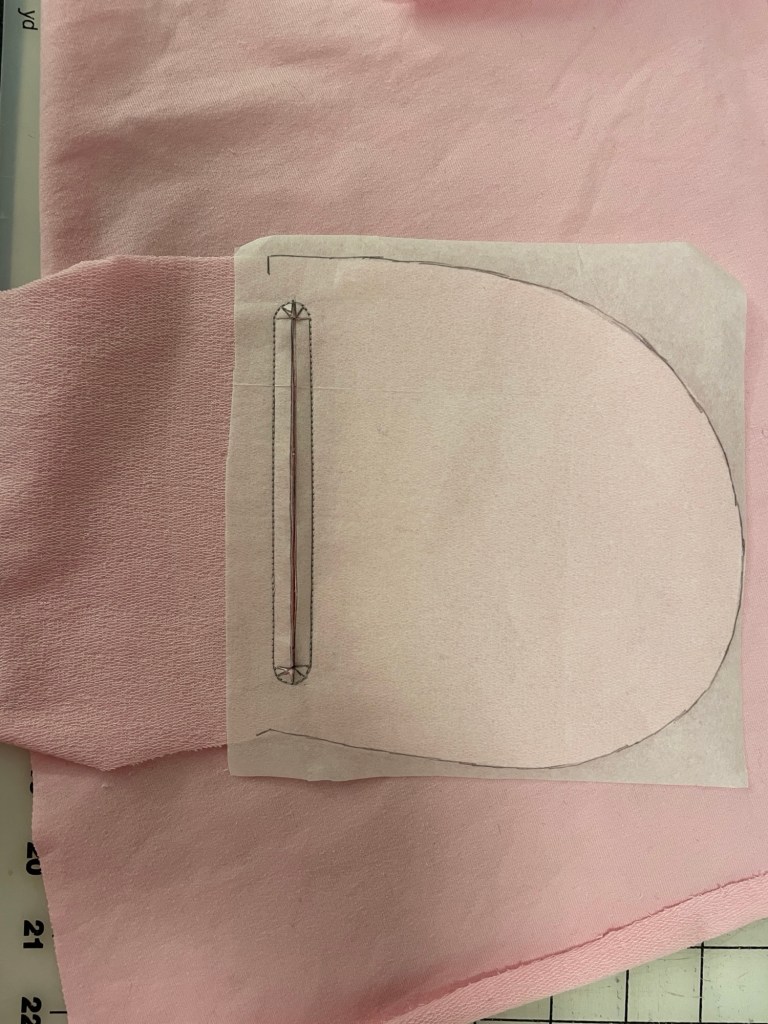
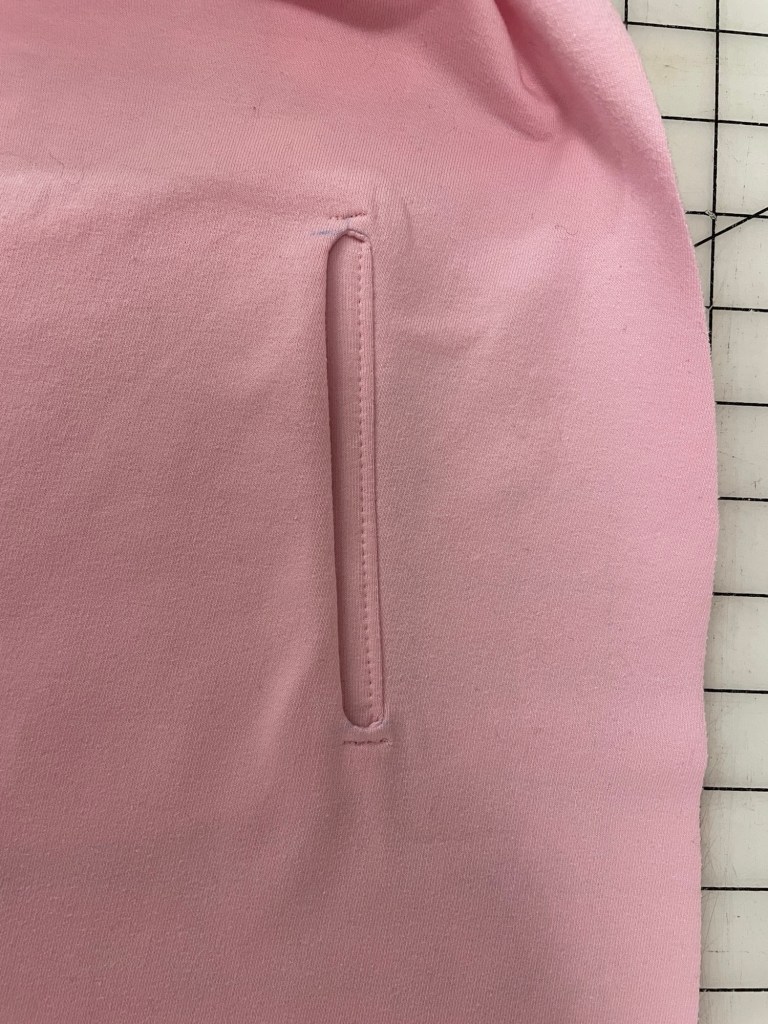
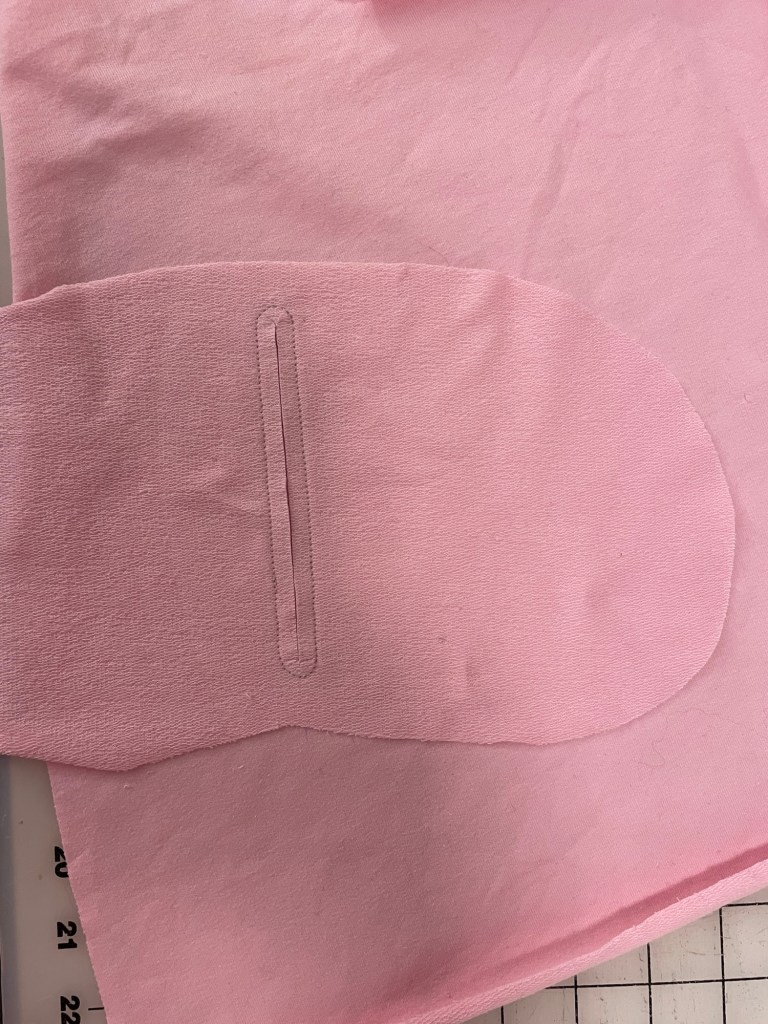
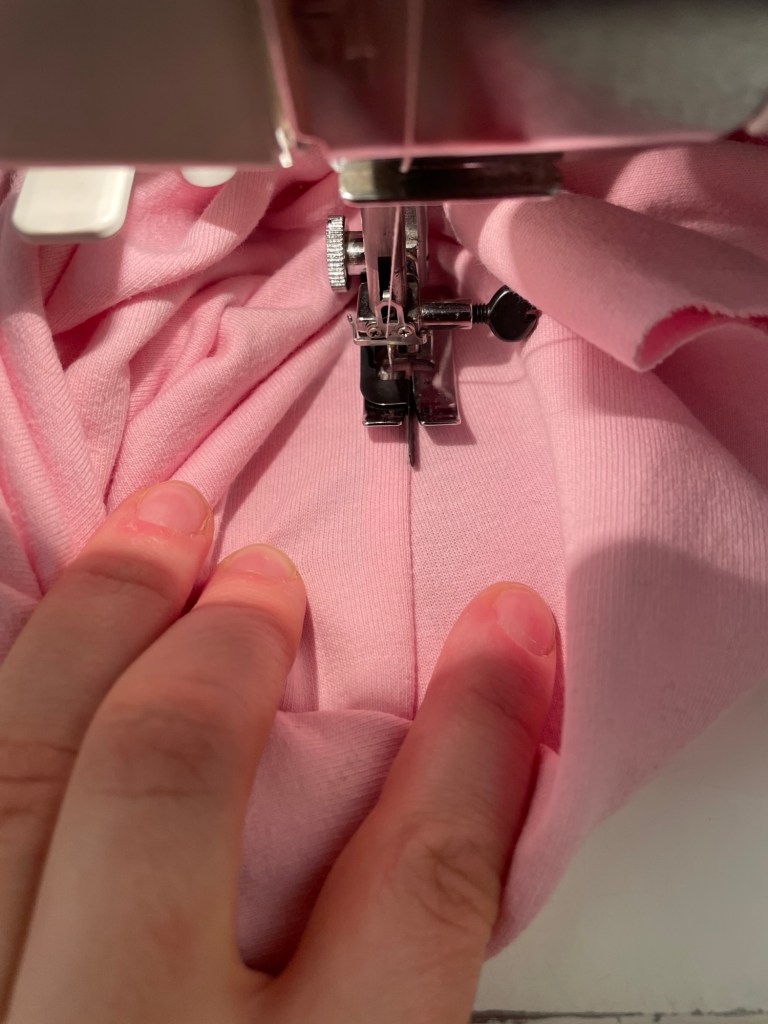
When I added the back pockets and flaps I used Design Plus fusible web tape to hold everything in place. Highly recommend over pins!
I recommend that after you sew the waistband casing in place and pull through the elastic that you try them on and adjust the gathering before topstitching the elastic in place. The first time I just went ahead after evenly gathering all around and the pockets were gaping with a lot of diagonal pulling towards the front. When I unpicked the topstitching (needed something to do after I couldn’t fall asleep after my son woke up) I adjust the gathers so there was almost none at the front and they were mostly in the back. Much better! The side seams were straight, the pockets flat, and the front was much flatter and more flattering.
Conclusion
Great comfortable sweatpants and shorts pattern for the slightly stretchier heavier knits out there.